
Hello, I hope you had a Merry Christmas and are resting up with family and friends! I know Christmas is over, but I couldn’t post any of the stuff I made as gifts until I gave them out, but you could still make them for yourself or birthdays, or just wait till next year. So here we have wood burned bamboo spoons, hand stamped cork coasters, and yes, those are the marble clay dishes from A Beautiful Mess! 

Tag Archives: DIY
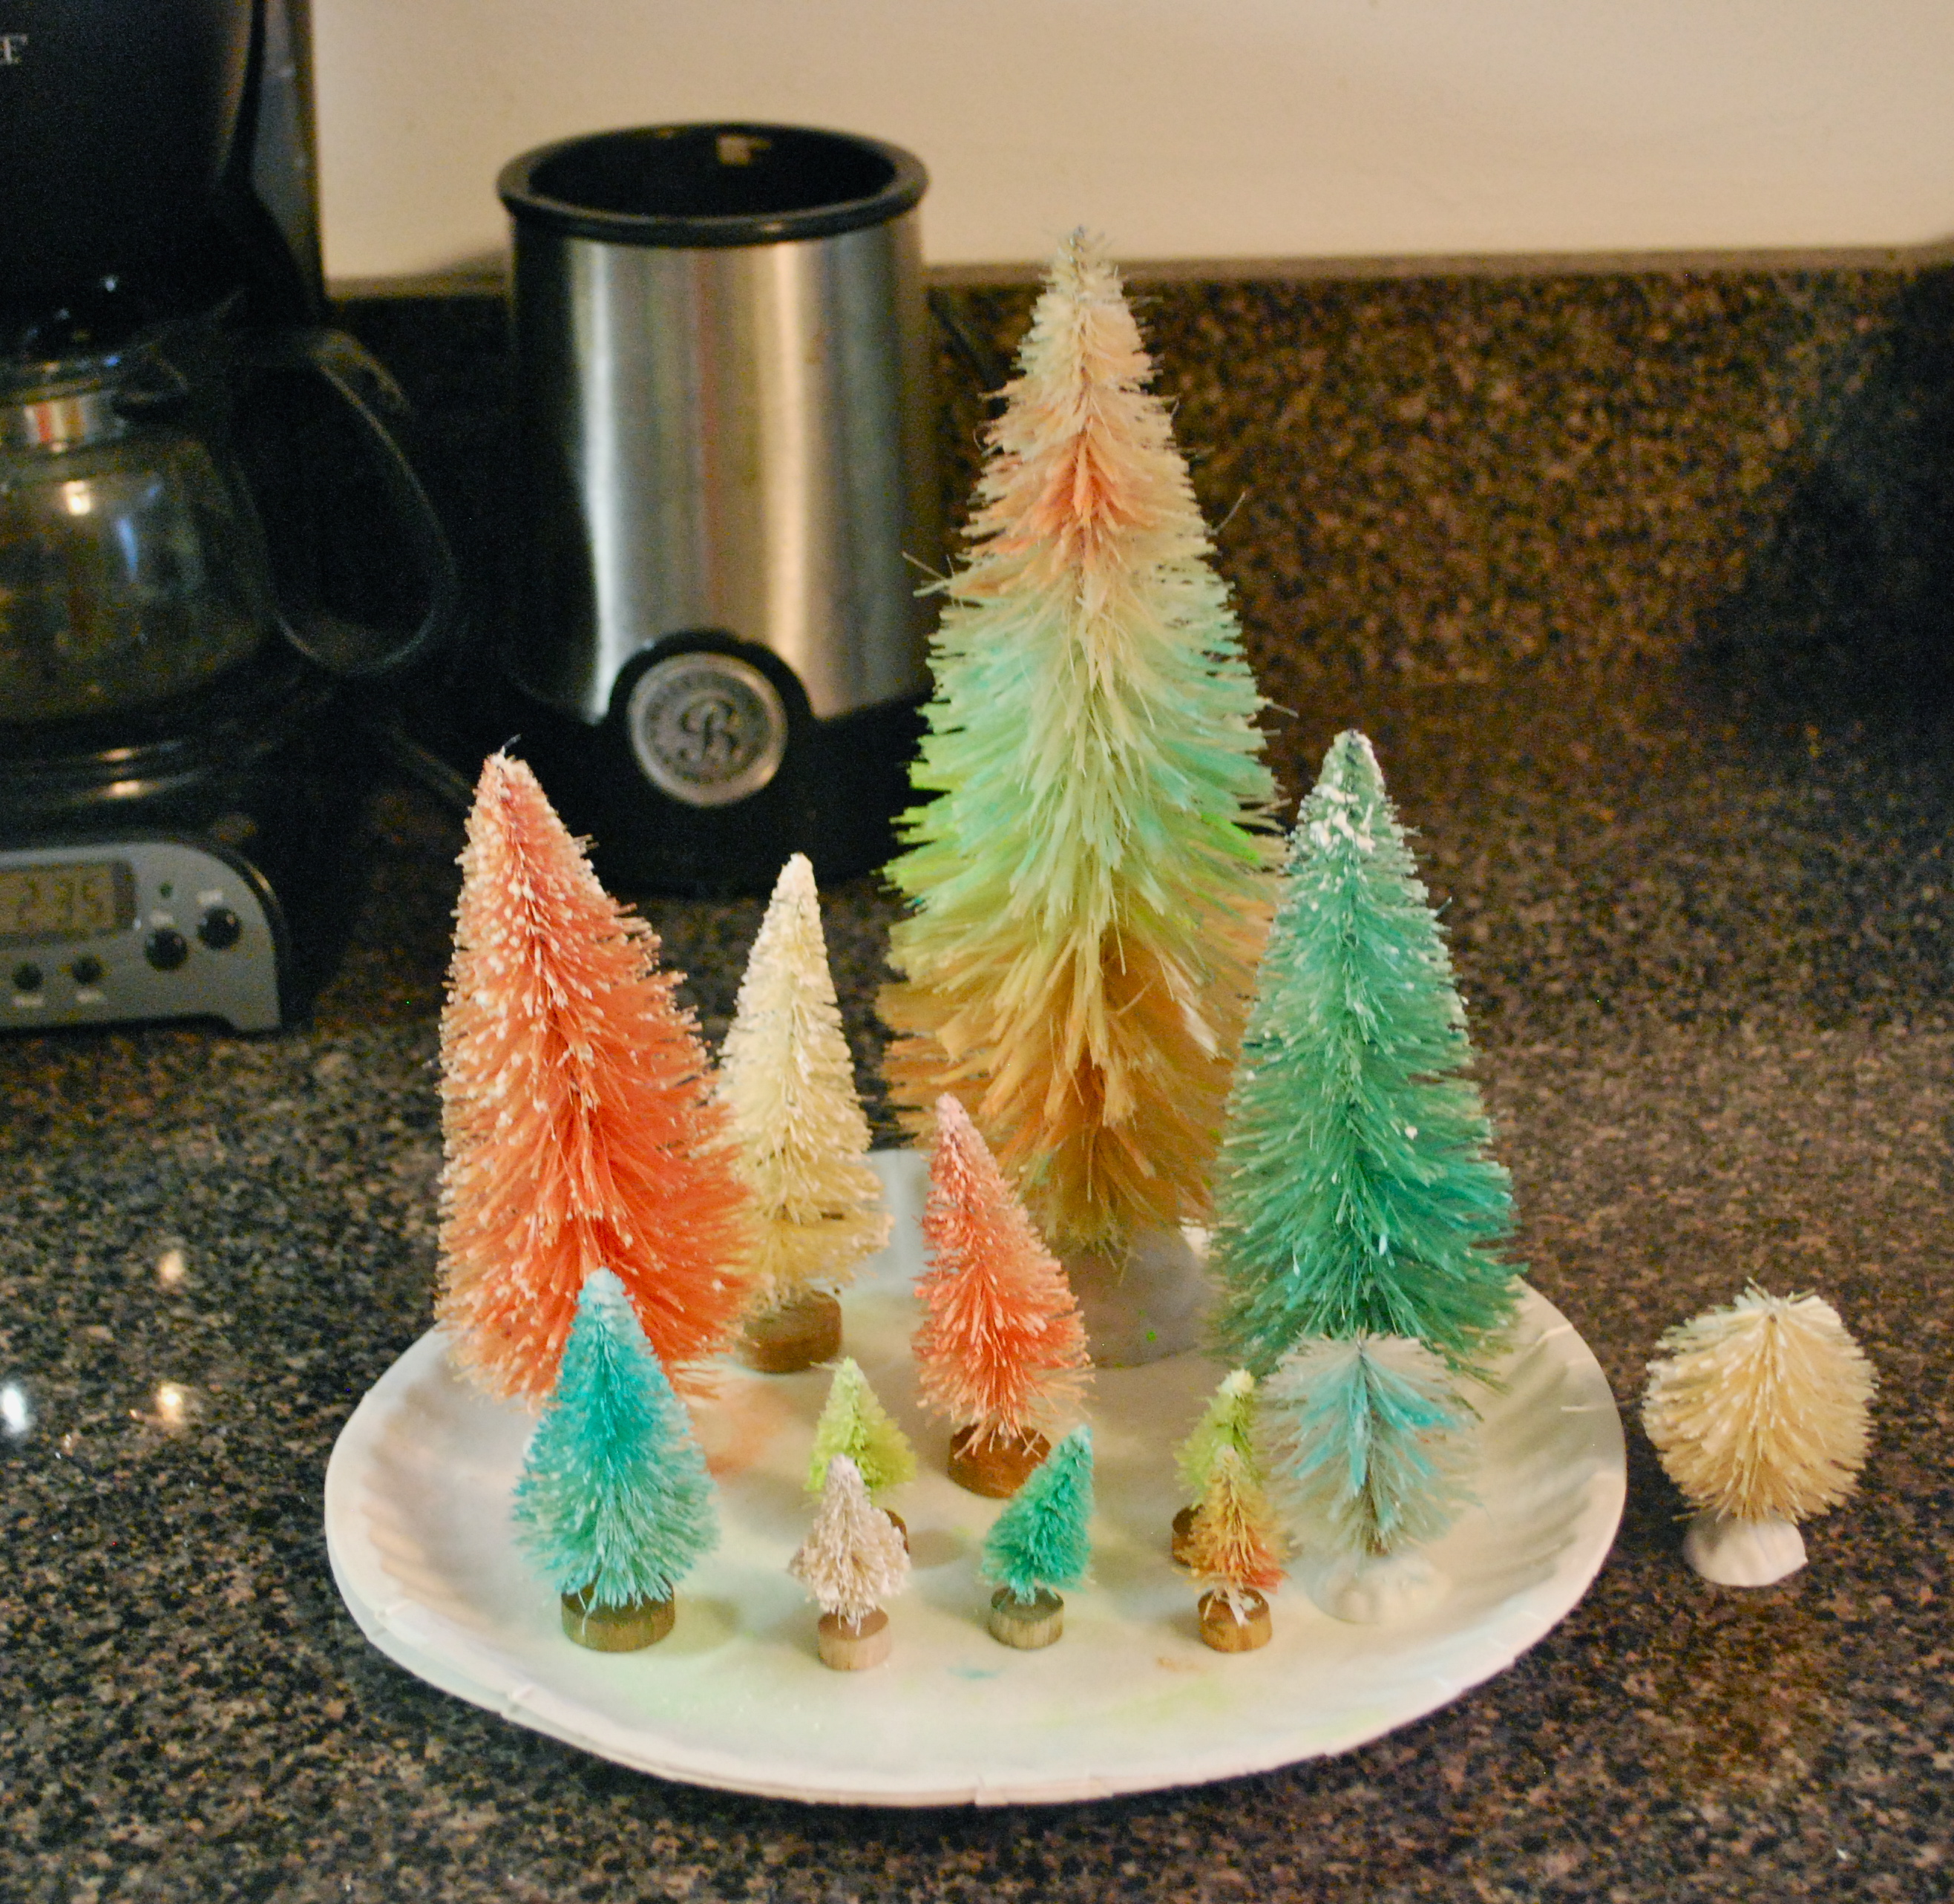
Bleaching and Dyeing Bottle Brush Trees
 I’ve been seeing lots of bottle brush trees all over Pinterest this Christmas season and love all of the different colors. I love the vintage-looking scenes that can be set up with bottle brush trees and I’ve always preferred to decorate with pastels and bright colors instead of the usual red and green themes. I had some bottle brush trees left over from the snow globes I made last year and also bough a bag of small bleached trees from Michaels.
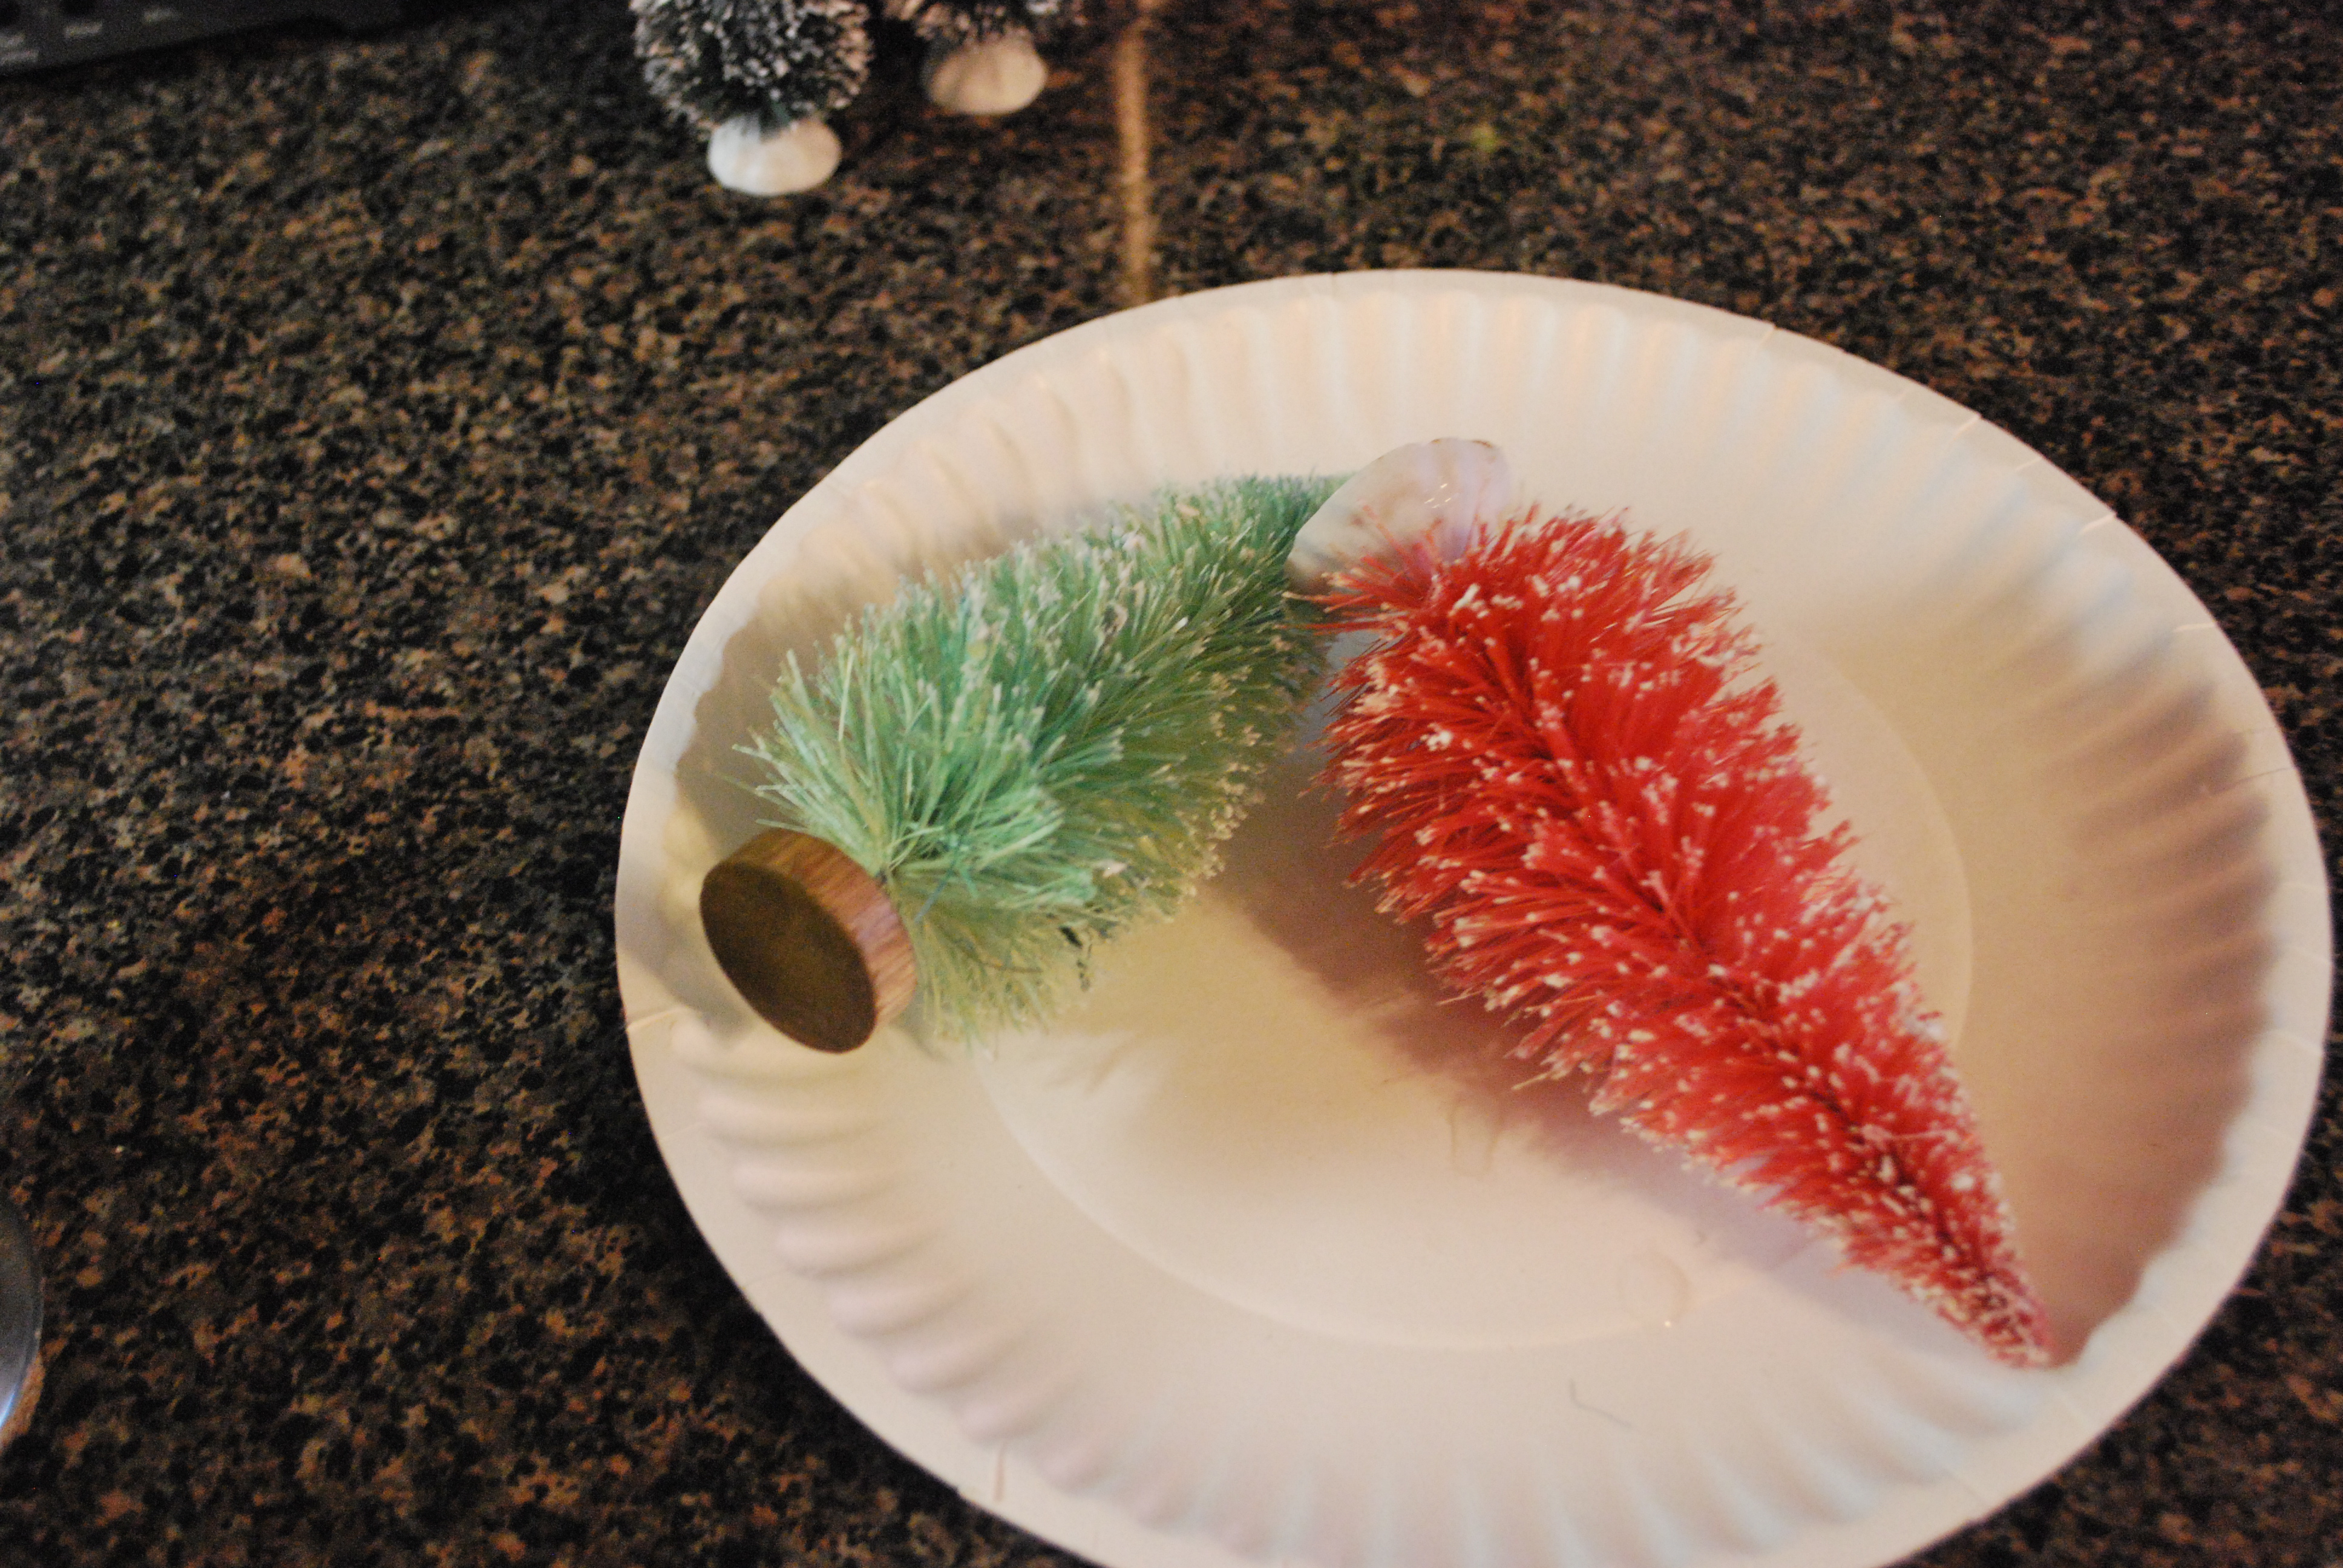
I bleached the trees I had that were green with the intention of dyeing them after I was done but was pleasantly surprised when the trees I had from last year turned light pink before bleaching completely and the one green tree I had bought this year turned a light mint bluish-green. Since this was the colors I wanted to dye them I left them this color and then fully bleached a few.
 I used my hurricane glass vase to bleach because I wanted something that was tall and narrow to stick the trees is, normally I wouldn’t use my good glass but ya know, use what you have! I used 1/3 bleach to 2/3 water in the glass and used tongs to dip them in. It really didn’t take long for them to start bleaching and I swished them around in the bleach water to help with the tongs, just wear rubber gloves and be careful. After I bleached the trees I soaked them in soapy water to get the bleach off.


 Most of the tutorials I read said to use Rit dye to dye, or food coloring or cool-aid would also probably work, but I used this spray on dye by SEI Tumble Dye that I already had. I love this because it is already made and you can just spray it on, it’s perfect for small dye jobs and comes it tons of colors. You can find it at craft stores or online at www.shopsei.com.
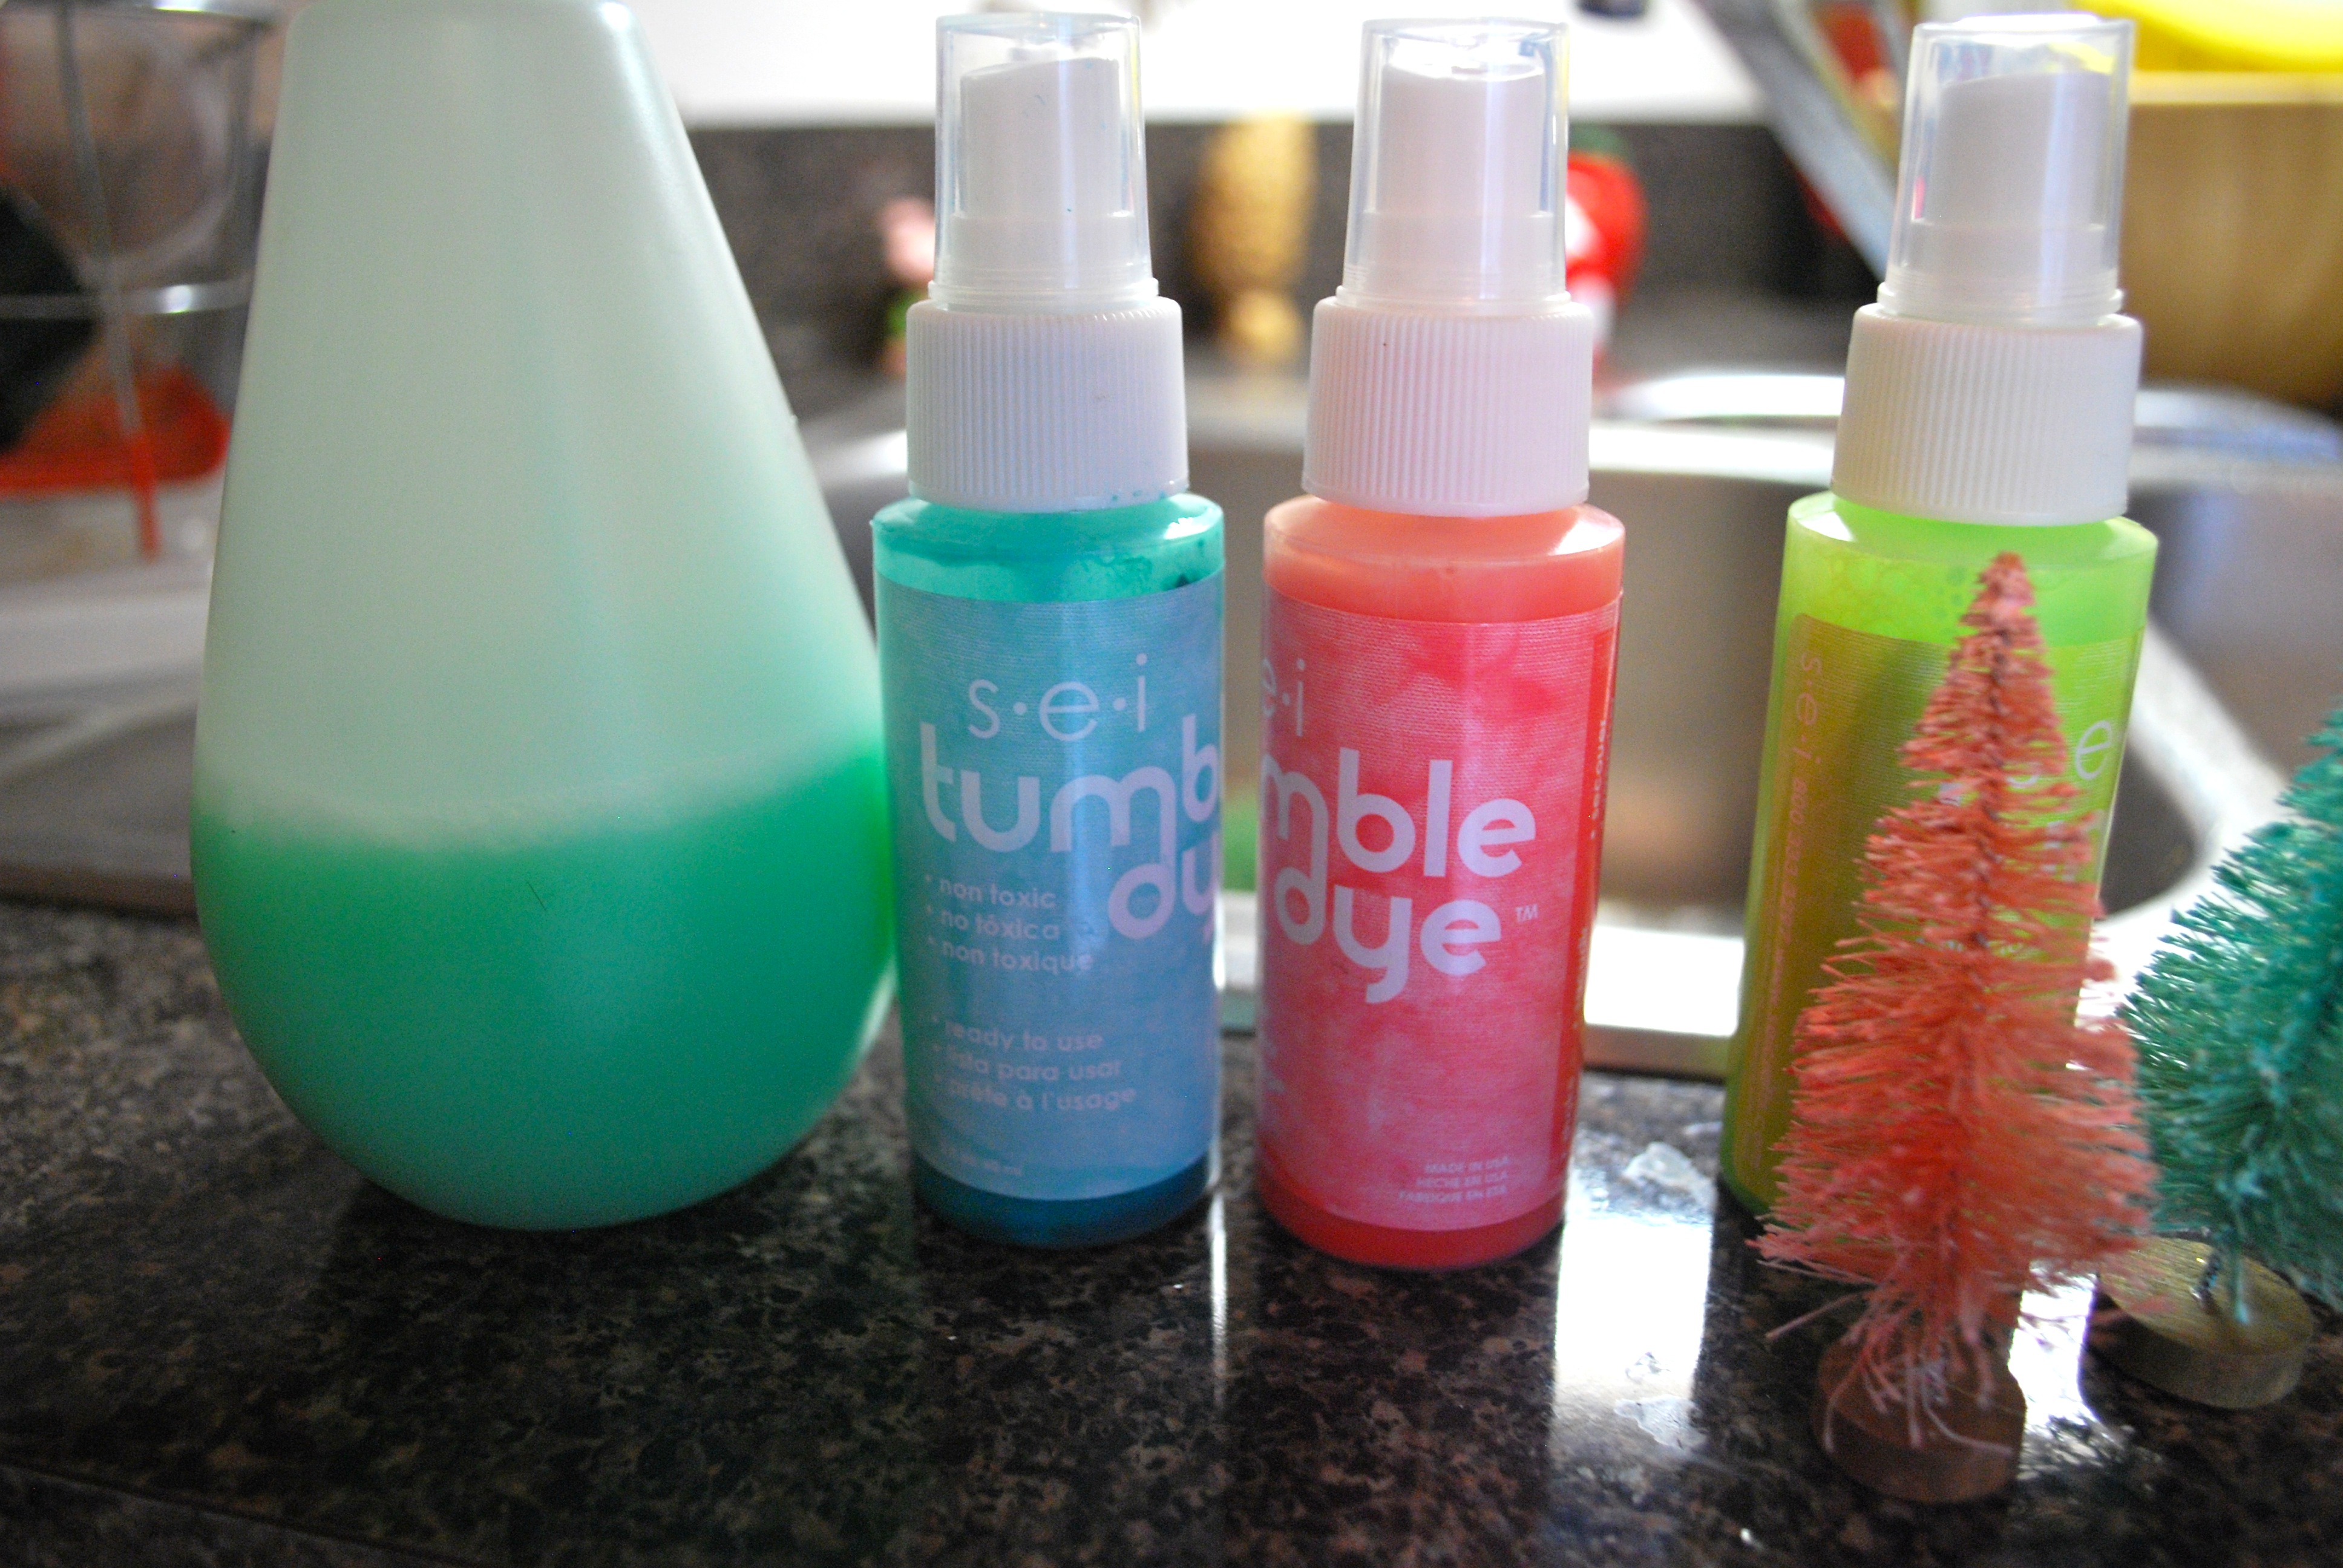
 I also touched up the happy accident trees a bit with the spray dye and mixed a bit with water in a spray bottle to get different shades. On the biggest tree I sprayed a couple different colors for an airbrushed ombre effect. That was another reason I used the spray, for the ombre effect, but if you’re going for one solid color, I’d recommend the dip dye method.
I love how they turned out, and I also sprayed a bottle brush wreath I found at Joanne Fabric! Show me yours on Instagram with the hashtag #peppermintsandhoneybees.

Happy Holidays!
DIY Snow Globes

Hello, I’ve been busy trying to get all of my Christmas shopping done and make the presents that I am hand-making. This was actually something I made last Christmas as presents for everyone and silly me I didn’t take any pictures of all of them before I gifted them, probably because I didn’t have a blog yet, but I do have one left. I kept this little guy for myself to put out.
I had looked at quite a few different blogs to see how they made theirs and after reading about how the ones containing water and glycerin had made the green of the bottle brush trees bleed after a year, I decided to go without liquid. I was worried it wouldn’t look as cool but I was pretty happy with how they turned out, as I was going for more of a terrarium scene than actual snow globe I guess. Plus I didn’t have to buy glycerine!
I used:
- Old glass jars with lids
- Bottle brush trees
- Tiny winter animals, cars, people, houses, ect.
- fake snow (mine is from Michaels where the miniature Christmas village houses and stuff is)
- glass beads to glue on tree for ornaments (optional)
- I used bakers string for the jar, you could also use ribbon or nothing at all
- Spray-paint (again optional) I spray-painted all of my jar lids silver because they were from food jars
- Glue, I used my trusty E-6000 but hot glue would also work
I glued the tree and animal to the inside of the lid and put the desired amount of snow in the jar. I then screwed the lid on after everything was dry and voila, It’s that easy! I’d love to see what yours look like so put them on Instagram and hashtag them #peppermintsandhoneybees.


Homeade Leave In Conditioner
If you have curly fine hair like I do or if you just want a little shine and added protection to your hair you probably use some spray in conditioner after you wash your hair. I used to buy it until I figured out an easy homemade recipe that is super cheap to make!
All you need is:
- An empty spray bottle
- any kind of conditioner (I like to use the hotel samples I pick up)
- Aloe Vera juice
- Water

I don’t really measure it out since it depends on the size of the bottle but I fill the bottle up about an inch with conditioner and then fill the bottle half way up with the aloe vera juice. I fill the rest up with water and then shake it up. It’s that easy! Use after you get out of the bath or shower and before you style your hair. I like to use a generous amount on my hair, and I can with this cheap easy recipe!

Halloween part 2
Here is a little bit of my Halloween decorations for this year. This month has been crazy busy and I didn’t get to make all of the things that I had planned to decorate for the holiday but here’s what I did put up.


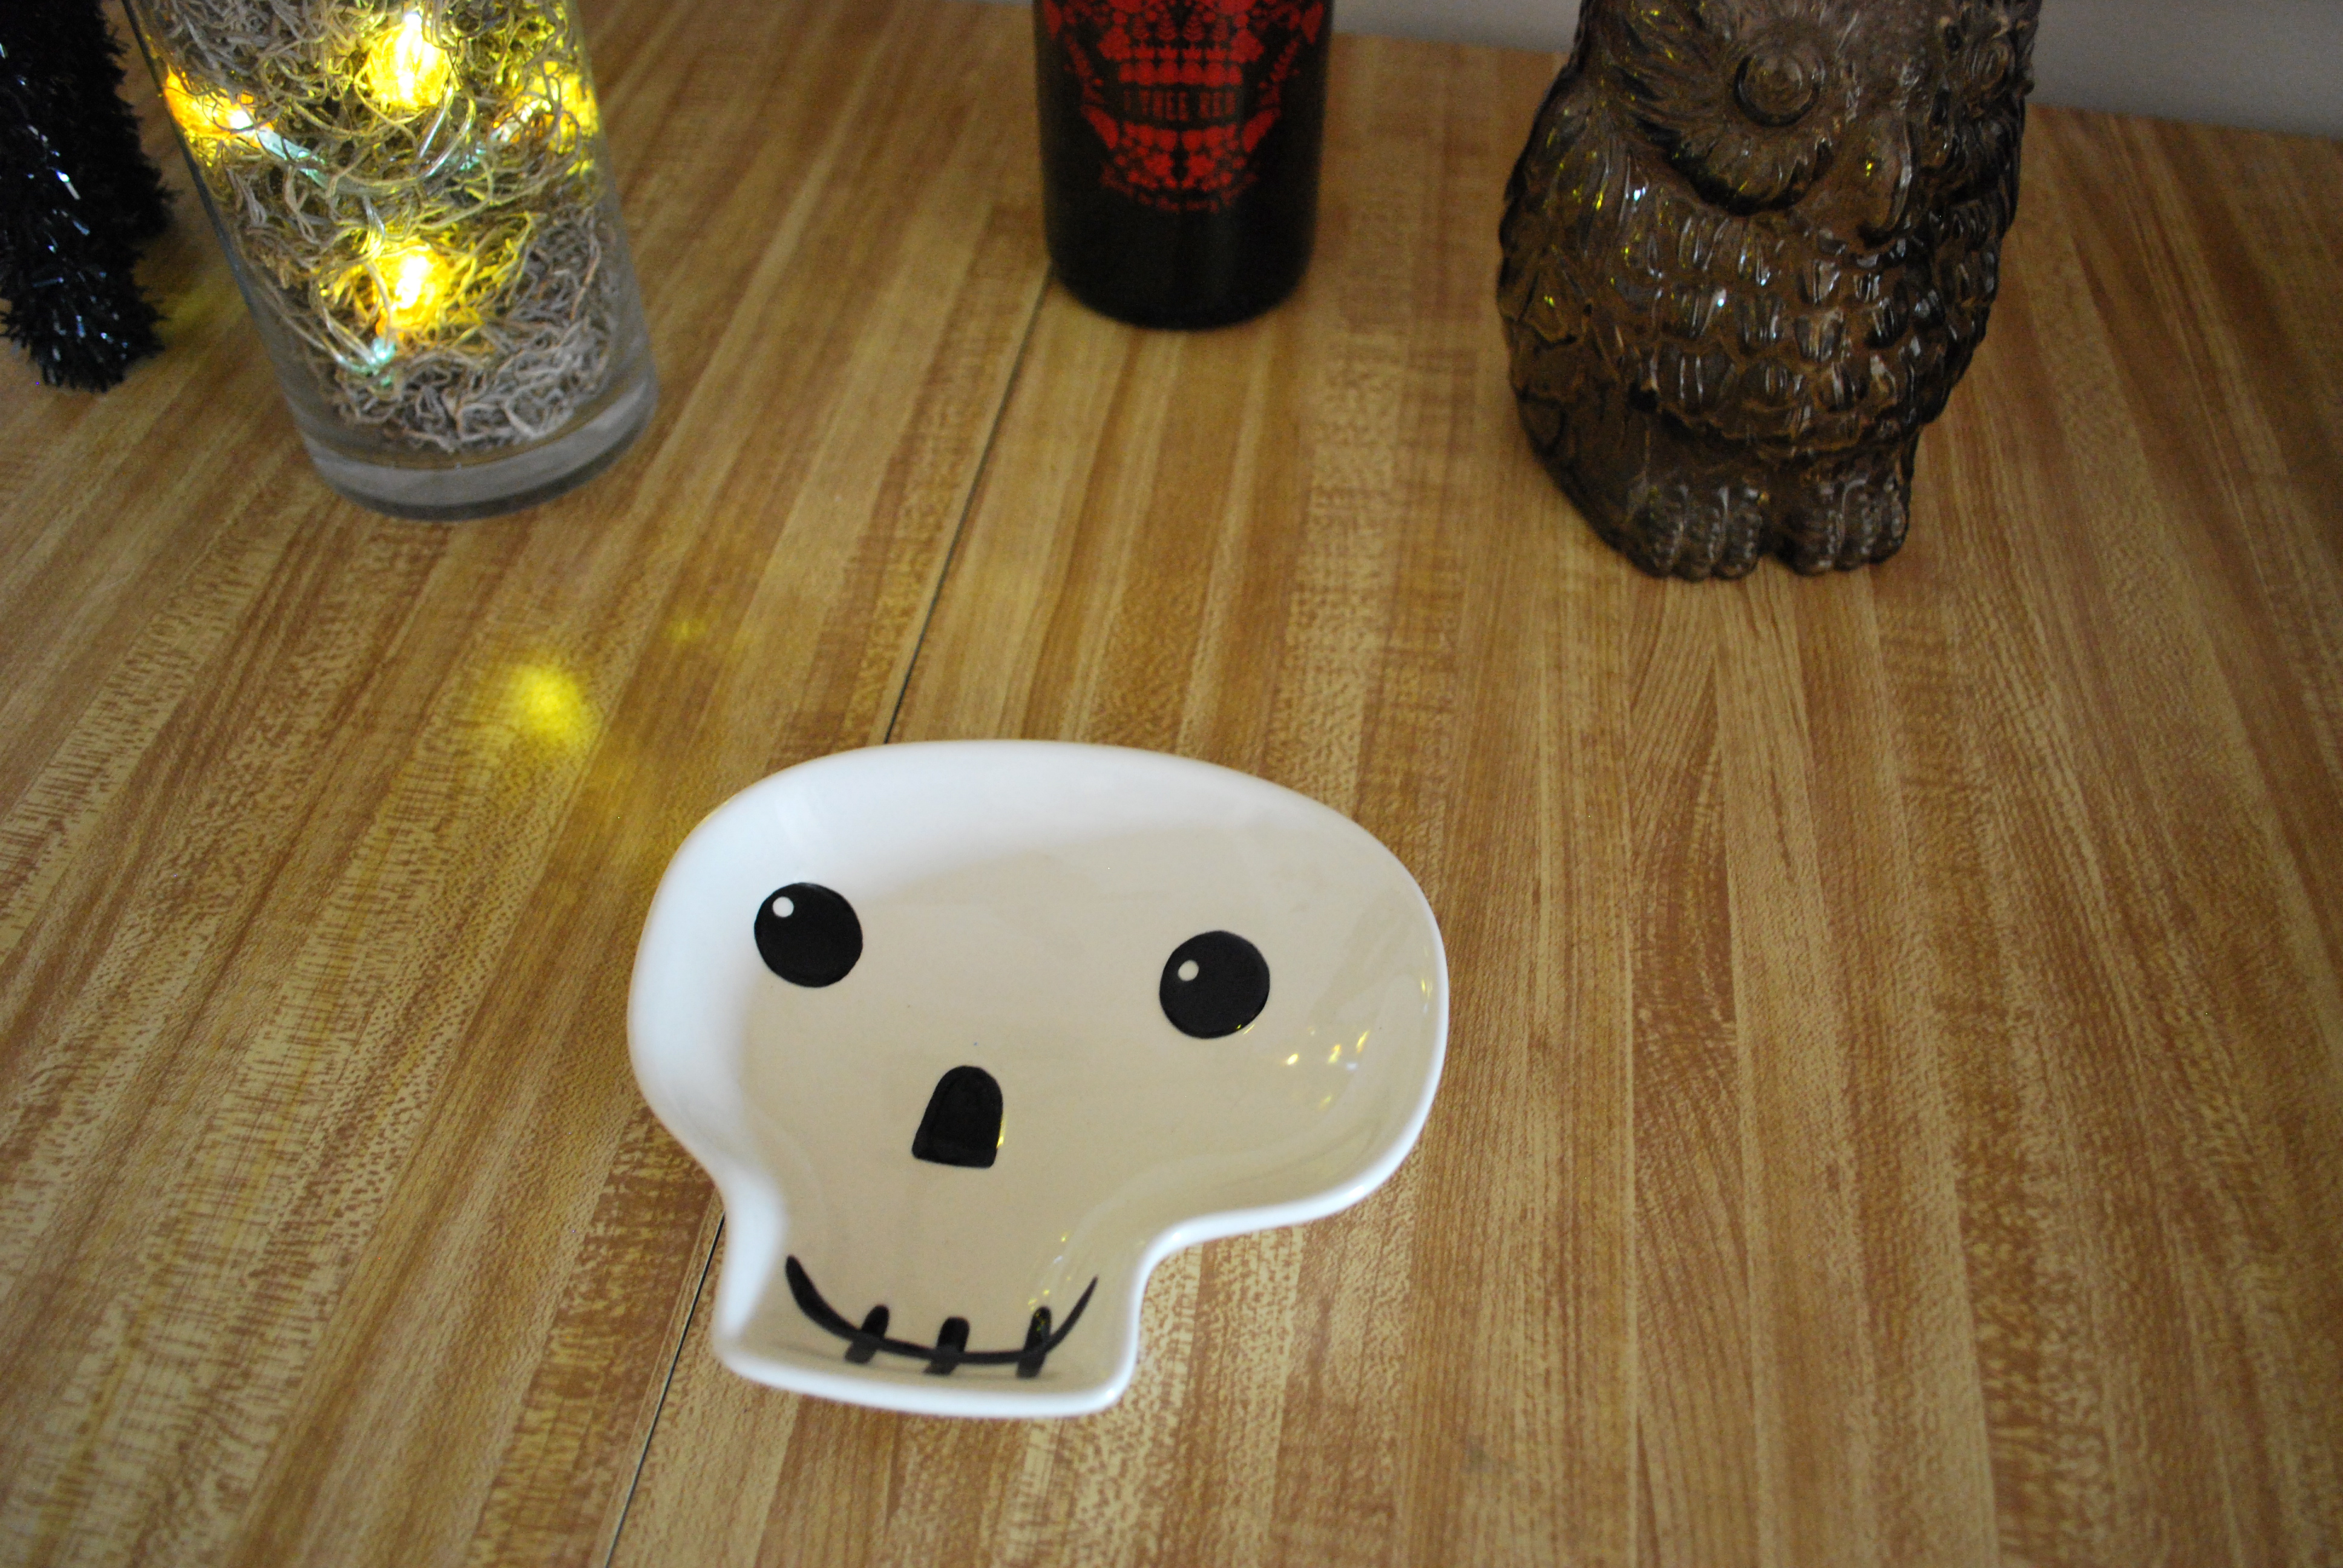 The Bats are just made from cardstock. I traced a plastic bat and taped them to the wall. The cat is a few years old from Michaels, and the crows and pumpkin LED lights are from Dollar Tree. The glass owl is an antique bank that was given to me as a gift and the skull candy dish was given to me by my mom last year from Hallmark. Happy October!
Painted Wooden Bangles


Wow, has it really been a month since I posted anything? Bad Jenna, bad! I have been working on things but not to completion I guess. I’ve been busy working and doing other fun things such as the Renegade Craft fair in Chicago, here’s their link. They do shows around the county and in London. It’s like etsy only not online! I had said that this was the year I’d finally have a booth but once again I chickened out. Boo me! But I did go to shop and like always it was amazing with amazing people making amazing art, jewelry, pottery, clothing and other goods. I also went to the Chicago riotfest this past weekend and rocked out! This was the third year in a row that Ben and I went and like always it was packed with awesome bands! Here’s the lineup if you were curious. Riotfest is in Denver this weekend.


I got a pretty good spot for Metric, one of my favorite bands and here’s one of Ben and I waiting for Social Distortion to start.

Any who like I mentioned one of the things I’ve actually finished recently was these two wooden bracelets I painted and then sprayed with a clear coat for protection. I’ve been really into all the constellation accessories I’ve been seeing lately and wanted to make my own take on the trend. And the triangles are just one of my favorite color pallets. It’s very summery because I guess I’m sad I see summer leave so soon. I love fall, don’t get me wrong but summer and I have a special relationship and goodbyes are always hard!
Well forgive me for the time gap and I’ll try to post more. Let me know what projects if any I should try out!

DIY Running Belt
 Happy Saturday! I finally got my sewing machine working so I’ve been trying to finish a bunch of projects I attempted to start and haven’t been able to do. The first one I finished was this running belt to hold phone, keys, music, etc.
They sell these handy little accessories at stores but they’re pretty pricy and for what it is, I figured I could make one for quite a bit less. They just have an opening or two where you stick your stuff and them flip them over to hold everything in place. Now I originally wanted to add a zipper and fold over elastic to the edges but after the issues with my sewing machine I decided to keep it simple and it still works great. Feel free to make yours more jazzy though!


First I bought 1/4 a yard of a nylon spandex mixed fabric from Joanne Fabric. I folded it over and sewed it together leaving an opening for the pocket. I then cut slits were the opening for the pocket were and folded them down and sewed. I them flipped the belt right side out and with the pocket facing out I sewed the ends together. When doing this step be sure to get it nice and tight. The fabric stretches so I had to make mine quite a bit smaller than I thought I would need to. Remember it’ll be bouncing around when you run so you don’t want it sliding or falling down. The fabric was a little hard to sew because it is slippery so definitely pin it. Then cut the extra, fill it up and flip it over so the opening is facing in. Then you’re ready to run. 😉 I’ve been trying to get up to 5 miles and I’m half way there so this should help me get there. Let me know how you use yours!

Stapless to Halter Dress DIY

Hello,
I’ve been starting to get a little sad now that summer is heading towards an end but I’m also starting to get into the fall mindset and have started wearing more olive greens and burn oranges now.
I recently found this dress I really really wanted two summers ago from Pacsun. I didn’t buy it at the time because it was a little more than I was wanting to spent so I let it go. On my most recent trip to Plato’s Closet though I found it on the sale rack for 50% off! the only problem was that it was an XL and I am usually a small or medium. it also had a hole by the zipper and a few of the seams were starting to come apart.
I figured since it was so cheap I could try to fix it, so I made it into a small by sewing the side seams smaller and hand stitched the holes back. I sewed out the zipper which really wasn’t a problem on this dress because the back was stretchy so I’m still able to get it on without a zipper. After I was done I decided that I kinda wanted it to have straps so I wasn’t pulling it up all day. (I’m sure you small chested girls know what I’m talking about!) I also didn’t want to have to wear a strapless bra with it, again the whole pulling it up thing!

Since it’s the end of summer I was able to find this black bikini top at Old Navy on sale for $4.95 and I hand sewed it into the front of the dress for a built in bra plus halter straps, pretty clever I think. 😉 I machine sewed the straps to the top so they would be secure and hand stitched the cups in so that the stitching wouldn’t show through the front. Also I’ve been having sewing machine issues, which are very frustrating and angering sooo yeah….I’ve been hand-stitching what I can. But I’m pretty happy with the result. 🙂


I also got this green shirt at Plato’s Closet for $2.50! I thought they looked nice together

Table and Chairs Refresh
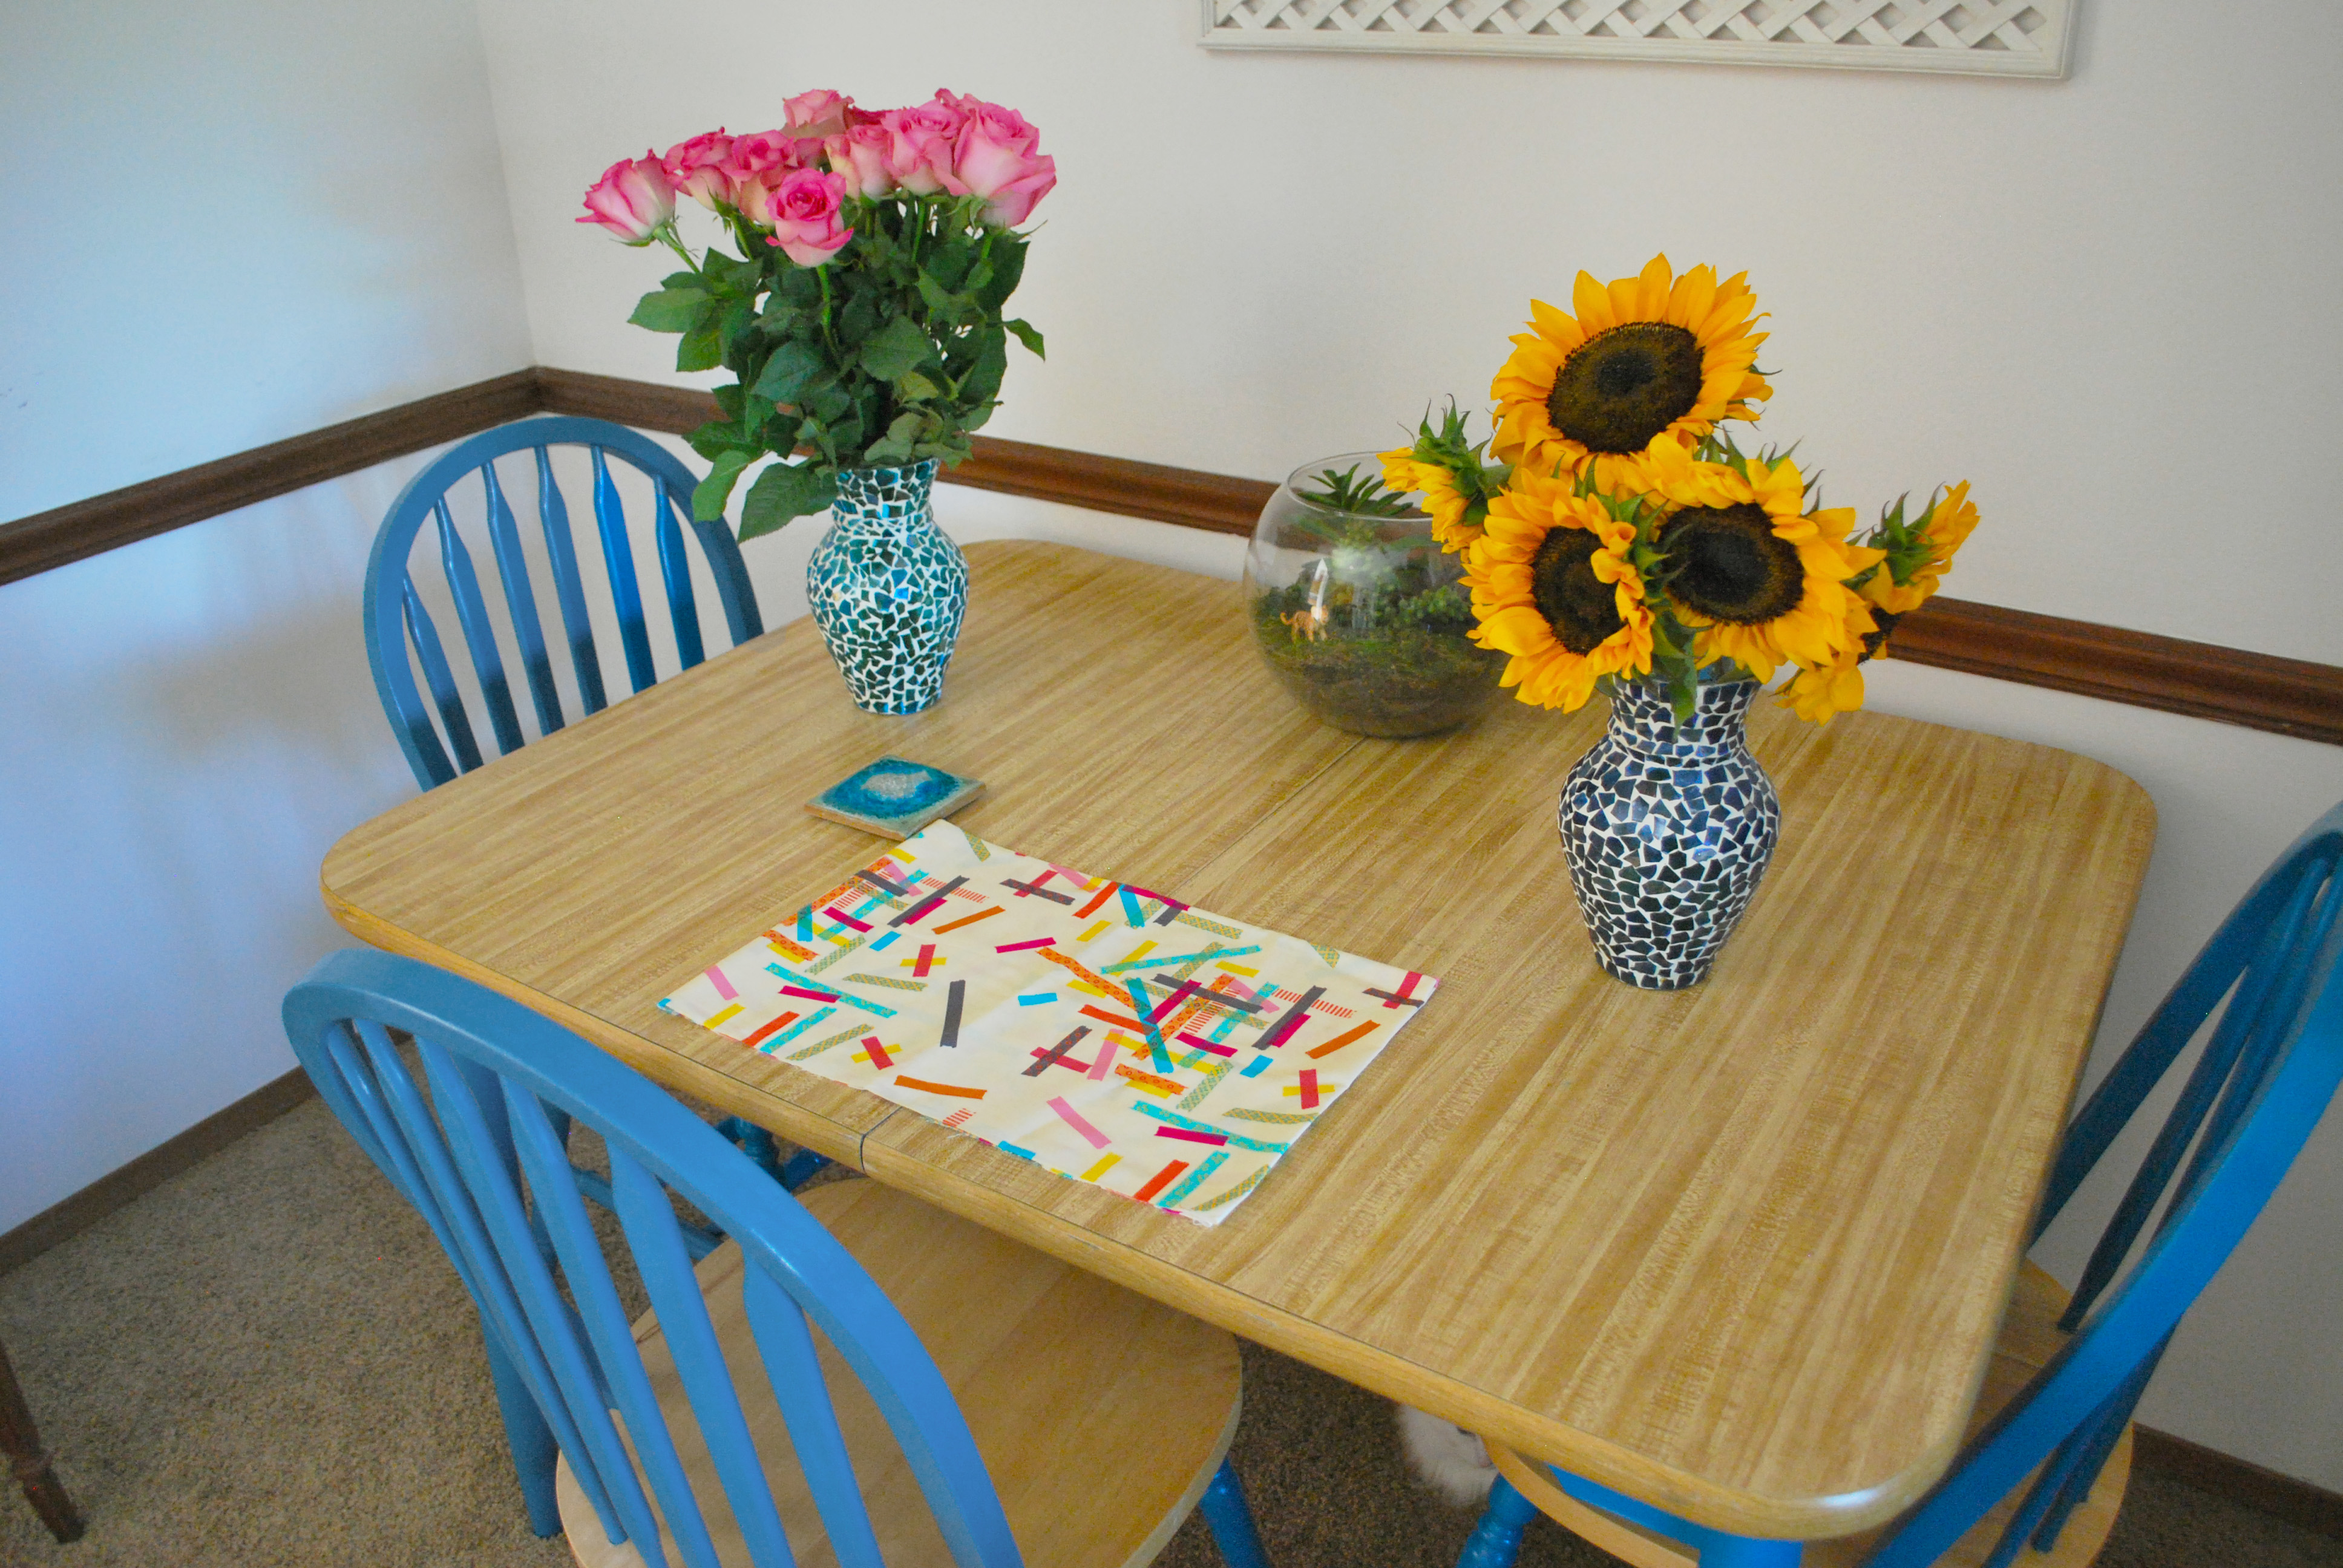
I’ve never really liked this table and chairs since they look like and probably are from the 90’s. Ben had gotten them used before we lived together and were definitely outdated and showing their age. We were going to buy a new dining room set but couldn’t find one (or a price) that we like. I decided that since they are still in pretty good shape we could keep them a little longer and I’d be happier with them if they looked a little more modern and a little pop of color can go a long way! I painted everything that was painted white and left the wood showing. I used satin latex paint with a semi-gloss polycyclic over it to seal it. It did take about four coats of the blue though since I was painting such a dark color over the white. It was a nice summer project and I’m pretty pleased with the way it turned out!
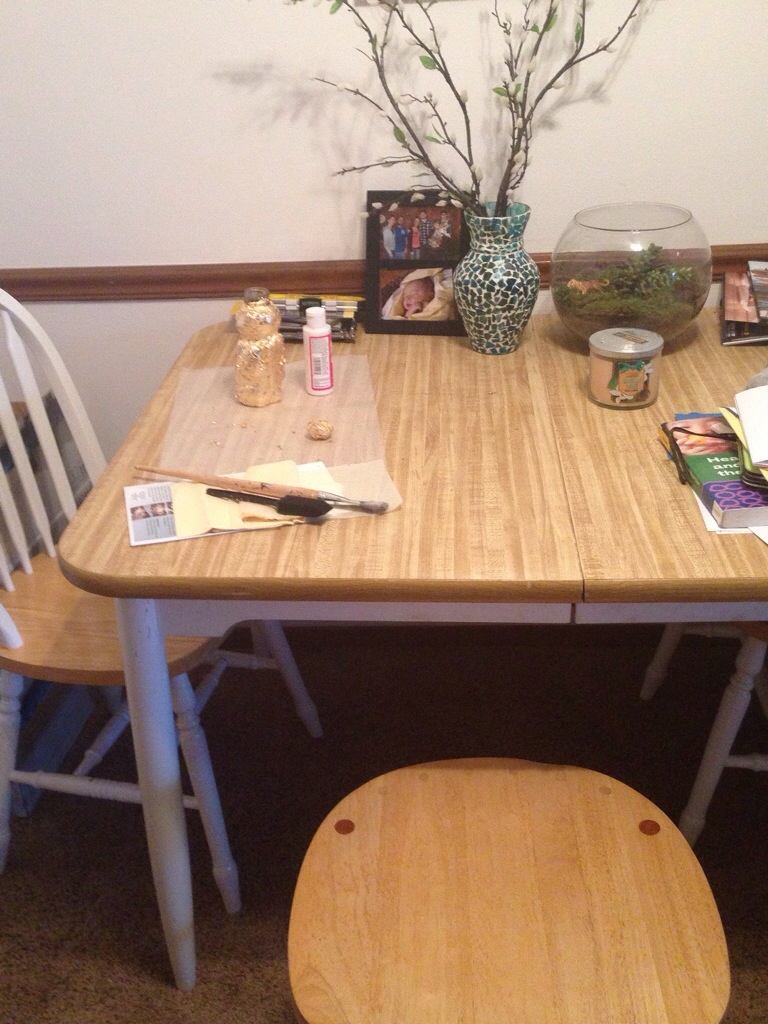
Before

After, plus my Birthday Flowers! 🙂 Plus find the cat for bonus points…


My trash finds of the summer
 So this weekend my neighborhood held a trash day for bigger items and furniture. I of course went around to see what was out and found a wicker chair and ottoman and a coffee table just on my street! I could see why they were out for the trash. The chair and ottoman needed cleaned and repainted and was missing a couple pieces. They aren’t perfect but the price was right so I took them and made them new-ish. Now I just need to find a cushion! The table I took because we’ve been wanting to get a coffee table, but in closer inspection I discovered that two of the rungs on the bottom layer are split and it’s a bit wobbly. Not really great for the living room but not as noticeable for an outdoor table. I love saving things and making them new!

Before

After!
