Vegan Coconut Cupcakes with Peach Frosting

DSC_0397I’ve been searching for the perfect basic cupcake recipe for a while.  I wanted a basic go-to recipe that I could use to base other concoctions I try out.  I found one at handletheheat.com that had a good, easy, basic recipe and it showed what happened if you subbed different ingredients out for others.  I love trying to make dessert recipes  healthier, and I’m not vegan, just vegetarian, but I try to limit my dairy so I wanted to try and make a go-to vegan cupcake recipe.  I like to see if I can make desserts still as tasty while switching the ingredients. 

I listed the original recipe along with the things I switched out such as almond milk, flax seed for eggs, and coconut oil for butter.  The next batch I make, I’ll probably use coconut or rice flour to see if I can make it gluten free too.  I have a niece who has Celiac disease and can’t have gluten, so I like to make sure she can still enjoy as many of the same treats as everyone else. 

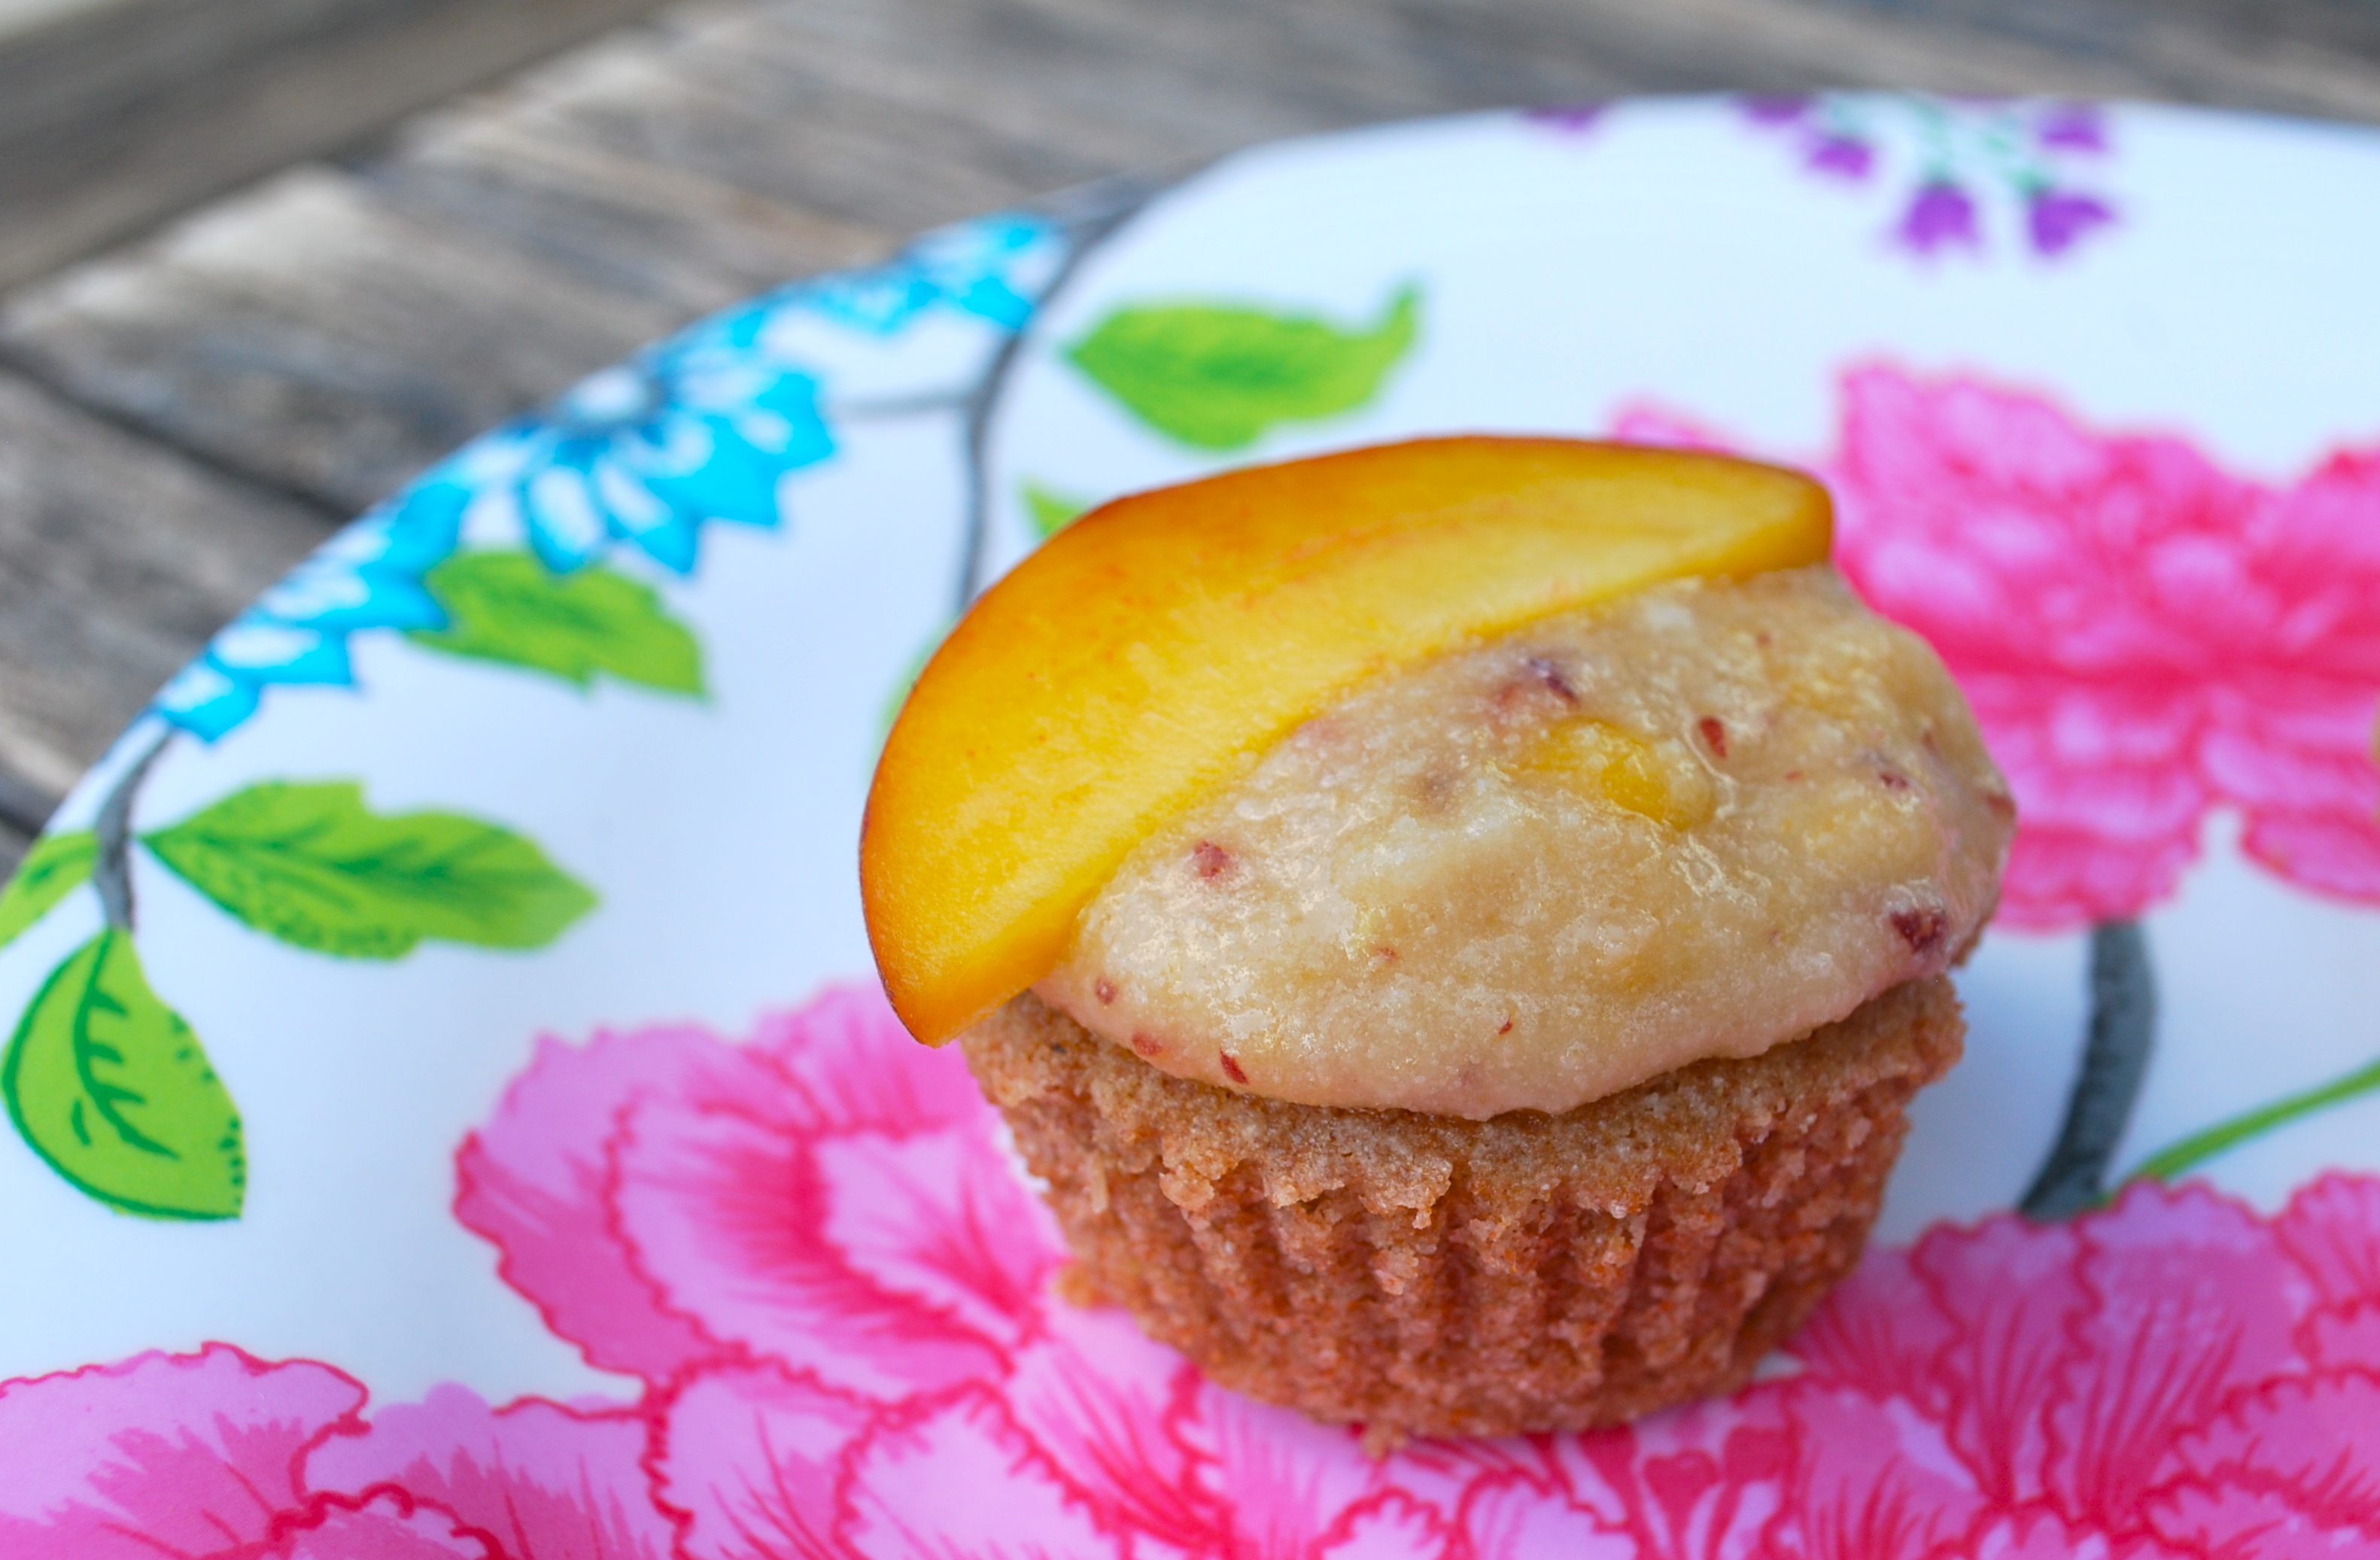
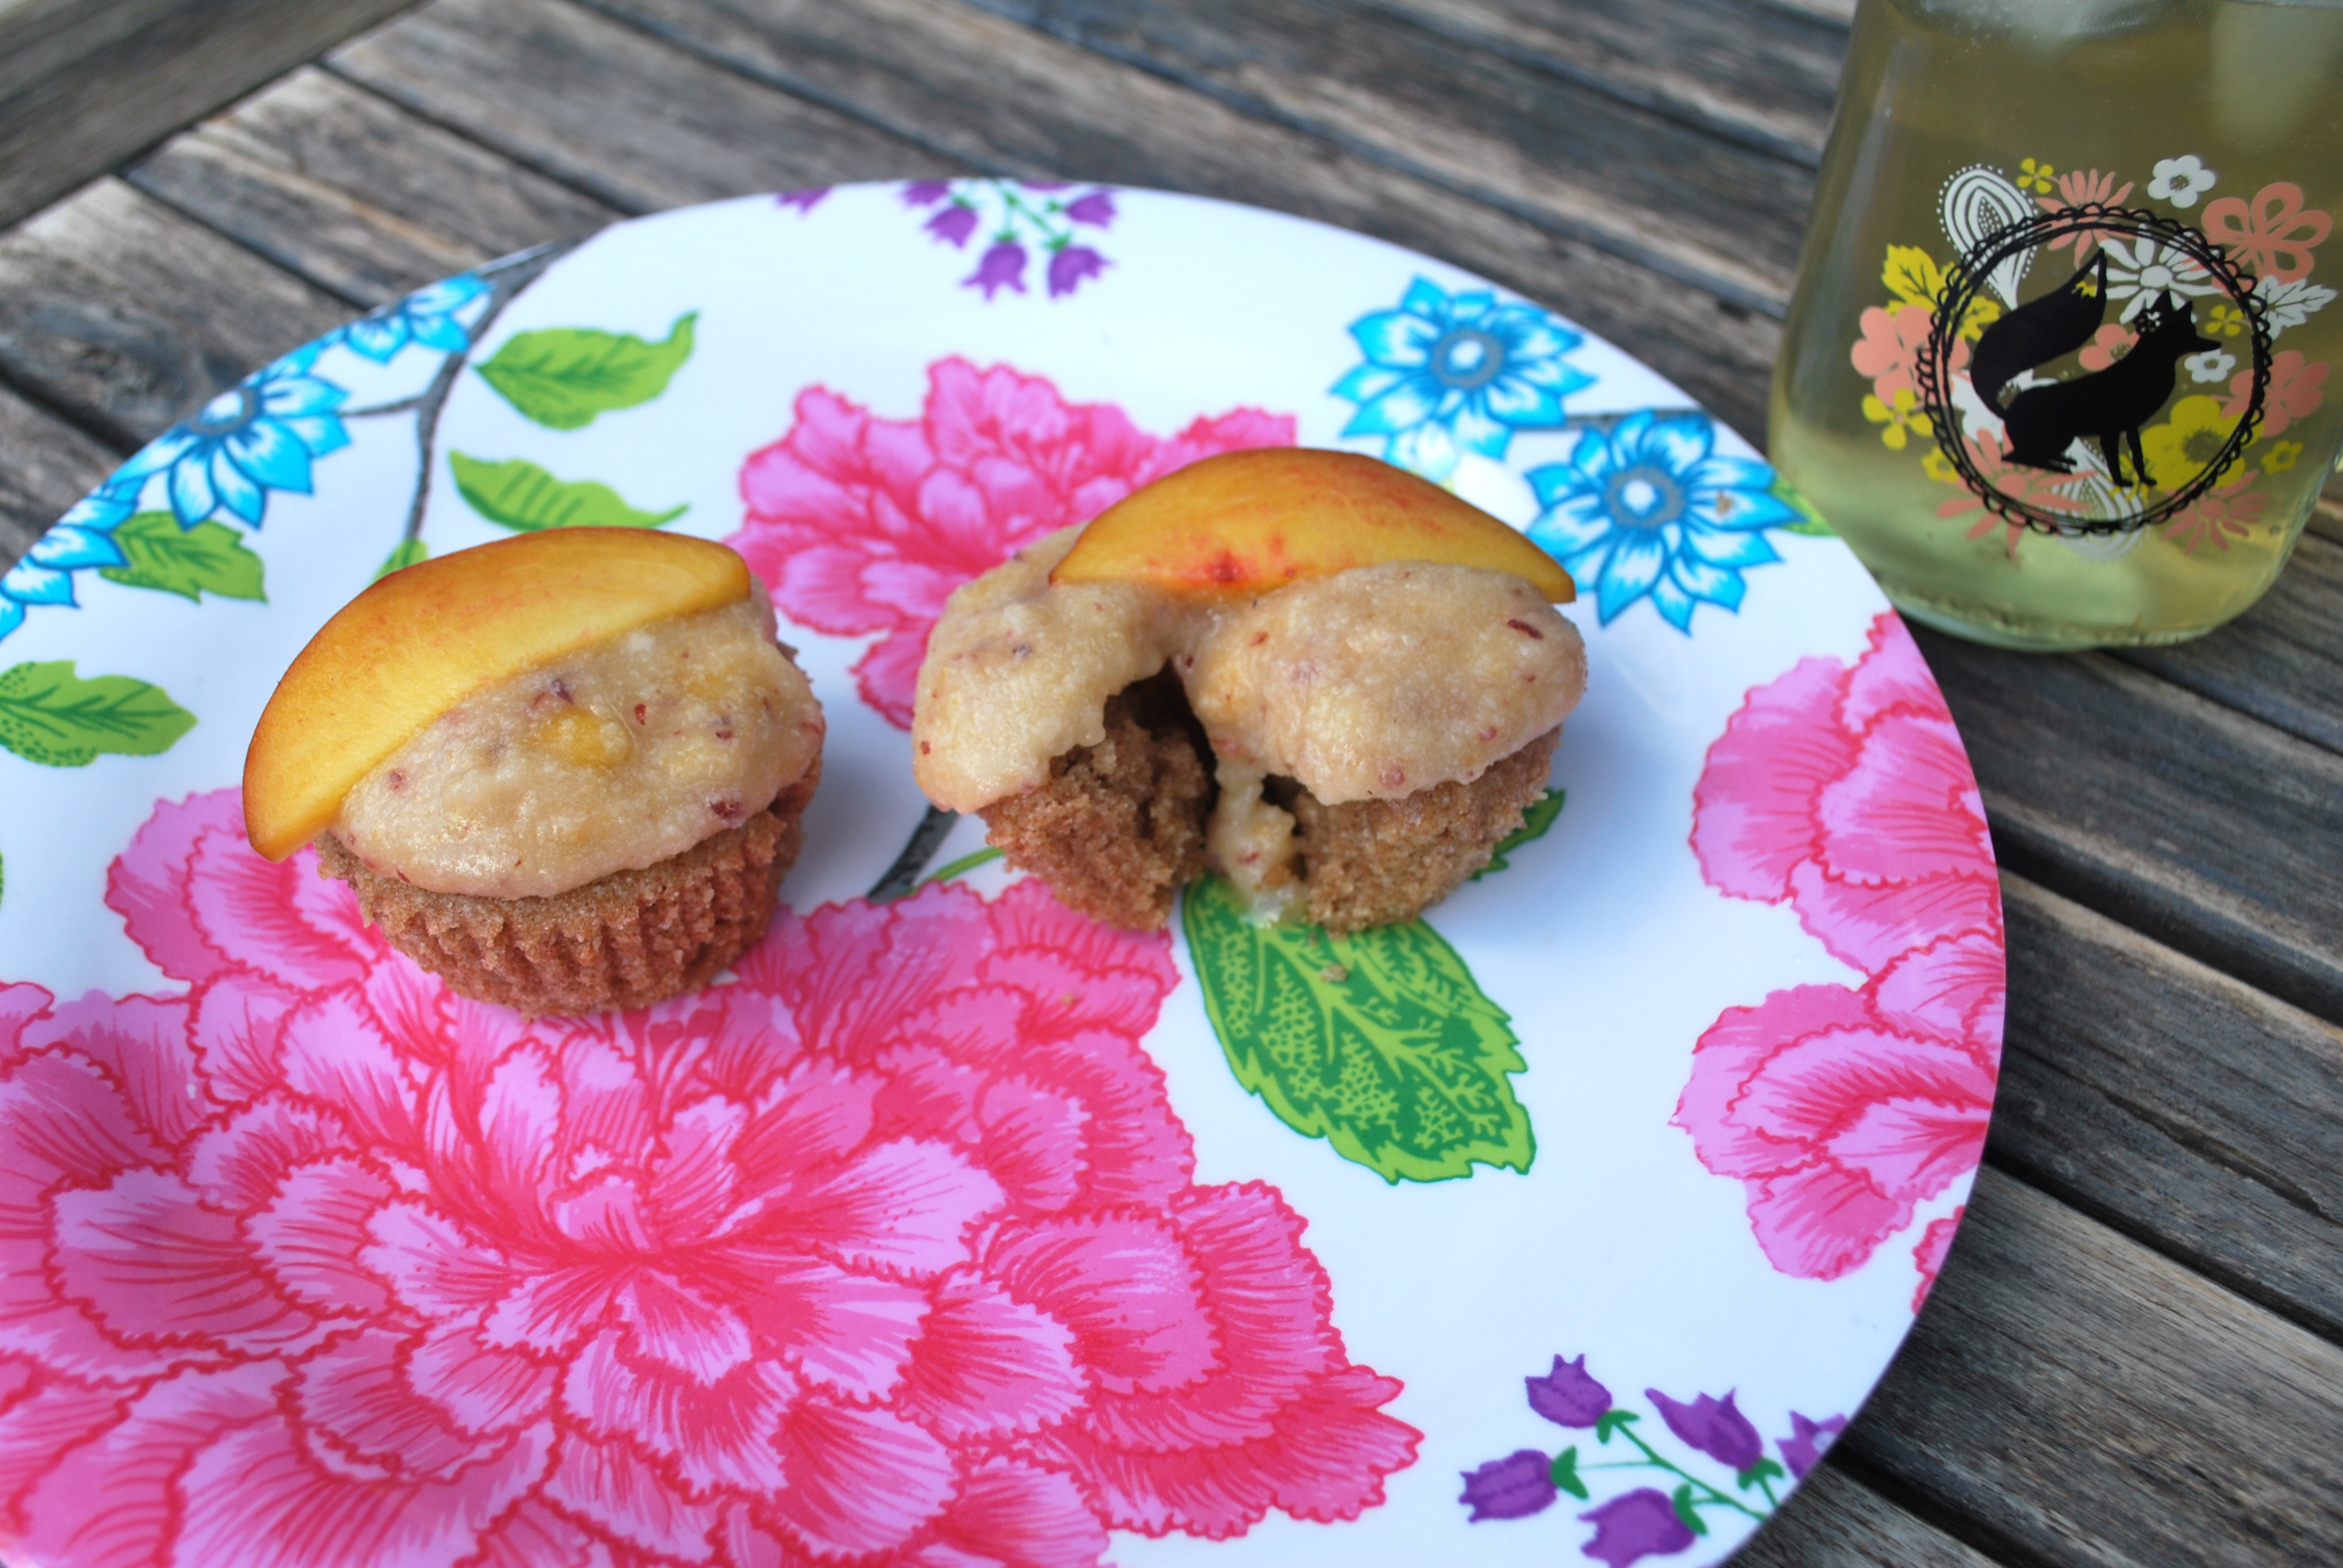
For the icing I wanted to use something I had already and had bought peaches the day before so I decided to try and make some vegan icing with coconut oil and powdered sugar.  This one I made up as I go, but the measurements should be pretty close.  Just eyeball it!  Also make sure to keep these refrigerated so the icing doesn’t melt. 😉

DSC_0404DSC_0394

Cupcakes:

  • 1 1/2 cups flour
  • 1 1/4 teaspoons baking powder
  • 1/4 teaspoon salt
  • 1 cup sugar
  • 1/2 cup unrefined virgin coconut oil
  • 1 egg or 1 teaspoon flax seed + 2-3 teaspoons water (enough to make the consistency of an egg)
  • 3/4 teaspoon vanilla
  • 1/2 cup of milk (I used almond milk and it turned out fine)

Combine all dry ingredients and then add wet.  Mix with a hand mixer and then scoop into lined muffin tin.  The batter will be a little thicker than regular cake batter so don’t worry. 

Bake at 350 degrees F for 30 minutes.  Makes 12

Icing:

  • 1/4 cup unrefined virgin coconut oil melted
  • 1 peach blended in a blender, bullet, or food processor 
  • 3/4 teaspoon vanilla
  • 1 tablespoon milk (again I used almond milk)
  • 1 cup powdered sugar (you may have to add more if it’s too watery)

I also added a little flour to mine to thicken it up.  Add all ingredients and blend with a hand mixer. Next let it set in the fridge for about an hour or about 20 minutes in the freezer to thicken up the icing.  And again since it’s made with coconut oil you’ll need to keep these refrigerated so the frosting doesn’t melt.

Also I used whole wheat flour in my cupcakes because that’s what I had but for the next time I think I would use either regular flour or coconut flour.  The wheat flour gave the cupcakes a kind of muffin taste, which wasn’t bad but if you’re going for a more traditional cupcake taste I’d use something else.  Enjoy!

20140803-193534-70534607.jpg

DSC_0401

Advertisement

DIY Running Belt


DSC_0385Happy Saturday!  I finally got my sewing machine working so I’ve been trying to finish a bunch of projects I attempted to start and haven’t been able to do.  The first one I finished was this running belt to hold phone, keys, music, etc.

They sell these handy little accessories at stores but they’re pretty pricy and for what it is, I figured I could make one for quite a bit less.  They just have an opening or two where you stick your stuff and them flip them over to hold everything in place.  Now I originally wanted to add a zipper and fold over elastic to the edges but after the issues with my sewing machine I decided to keep it simple and it still works great.  Feel free to make yours more jazzy though!

DSC_0381DSC_0382

First I bought 1/4 a yard of a nylon spandex mixed fabric from Joanne Fabric.  I folded it over and sewed it together leaving an opening for the pocket.  I then cut slits were the opening for the pocket were and folded them down and sewed.  I them flipped the belt right side out and with the pocket facing out I sewed the ends together.  When doing this step be sure to get it nice and tight.  The fabric stretches so I had to make mine quite a bit smaller than I thought I would need to.  Remember it’ll be bouncing around when you run so you don’t want it sliding or falling down.  The fabric was a little hard to sew because it is slippery so definitely pin it.  Then cut the extra, fill it up and flip it over so the opening is facing in.  Then you’re ready to run. 😉  I’ve been trying to get up to 5 miles and I’m half way there so this should help me get there.  Let me know how you use yours! 

20140803-193534-70534607.jpg

Stapless to Halter Dress DIY

DSC_0324

Hello,

I’ve been starting to get a little sad now that summer is heading towards an end but I’m also starting to get into the fall mindset and have started wearing more olive greens and burn oranges now. 

I recently found this dress I really really wanted two summers ago from Pacsun.  I didn’t buy it at the time because it was a little more than I was wanting to spent so I let it go.  On my most recent trip to Plato’s Closet though I found it on the sale rack for 50% off!  the only problem was that it was an XL and I am usually a small or medium.  it also had a hole by the zipper and a few of the seams were starting to come apart.

  I figured since it was so cheap I could try to fix it, so I made it into a small by sewing the side seams smaller and hand stitched the holes back.  I sewed out the zipper which really wasn’t a problem on this dress because the back was stretchy so I’m still able to get it on without a zipper.  After I was done I decided that I kinda wanted it to have straps so I wasn’t pulling it up all day. (I’m sure you small chested girls know what I’m talking about!)  I also didn’t want to have to wear a strapless bra with it, again the whole pulling it up thing!

steps

Since it’s the end of summer I was able to find this black bikini top at Old Navy on sale for $4.95 and I hand sewed it into the front of  the dress for a built in bra plus halter straps, pretty clever I think. 😉 I machine sewed the straps to the top so they would be secure and hand stitched the cups in so that the stitching wouldn’t show through the front.  Also I’ve been having sewing machine issues, which are very frustrating and angering sooo yeah….I’ve been hand-stitching what I can.   But I’m pretty happy with the result. 🙂

DSC_0344DSC_0327DSC_0330

I also got this green shirt at Plato's Closet for $2.50! I thought they looked nice together

I also got this green shirt at Plato’s Closet for $2.50! I thought they looked nice together

DSC_0350

20140803-193534-70534607.jpg

Clip-on Earring Refashion

I have a whole box of vintage jewelry that my uncle got me at an auction and some of the prettiest pieces are the clip-on earrings. I like most women these days have pierced ears and am too afraid that clip-I earrings will fall off. 20140803-191622-69382081.jpg

I have one way to wear them though! I use either a hair clip or bobby pin, depending on how heavy they are and wear them in my hair. It’s a pretty way to fancy up an outfit and I get to wear my clip on earrings!
20140803-191935-69575960.jpg

20140803-192819-70099425.jpg

20140803-192816-70096657.jpg

20140803-192818-70098454.jpg

Lots of them on your hair would look cool too!

20140803-193534-70534607.jpg