Lace T-shirt Redo

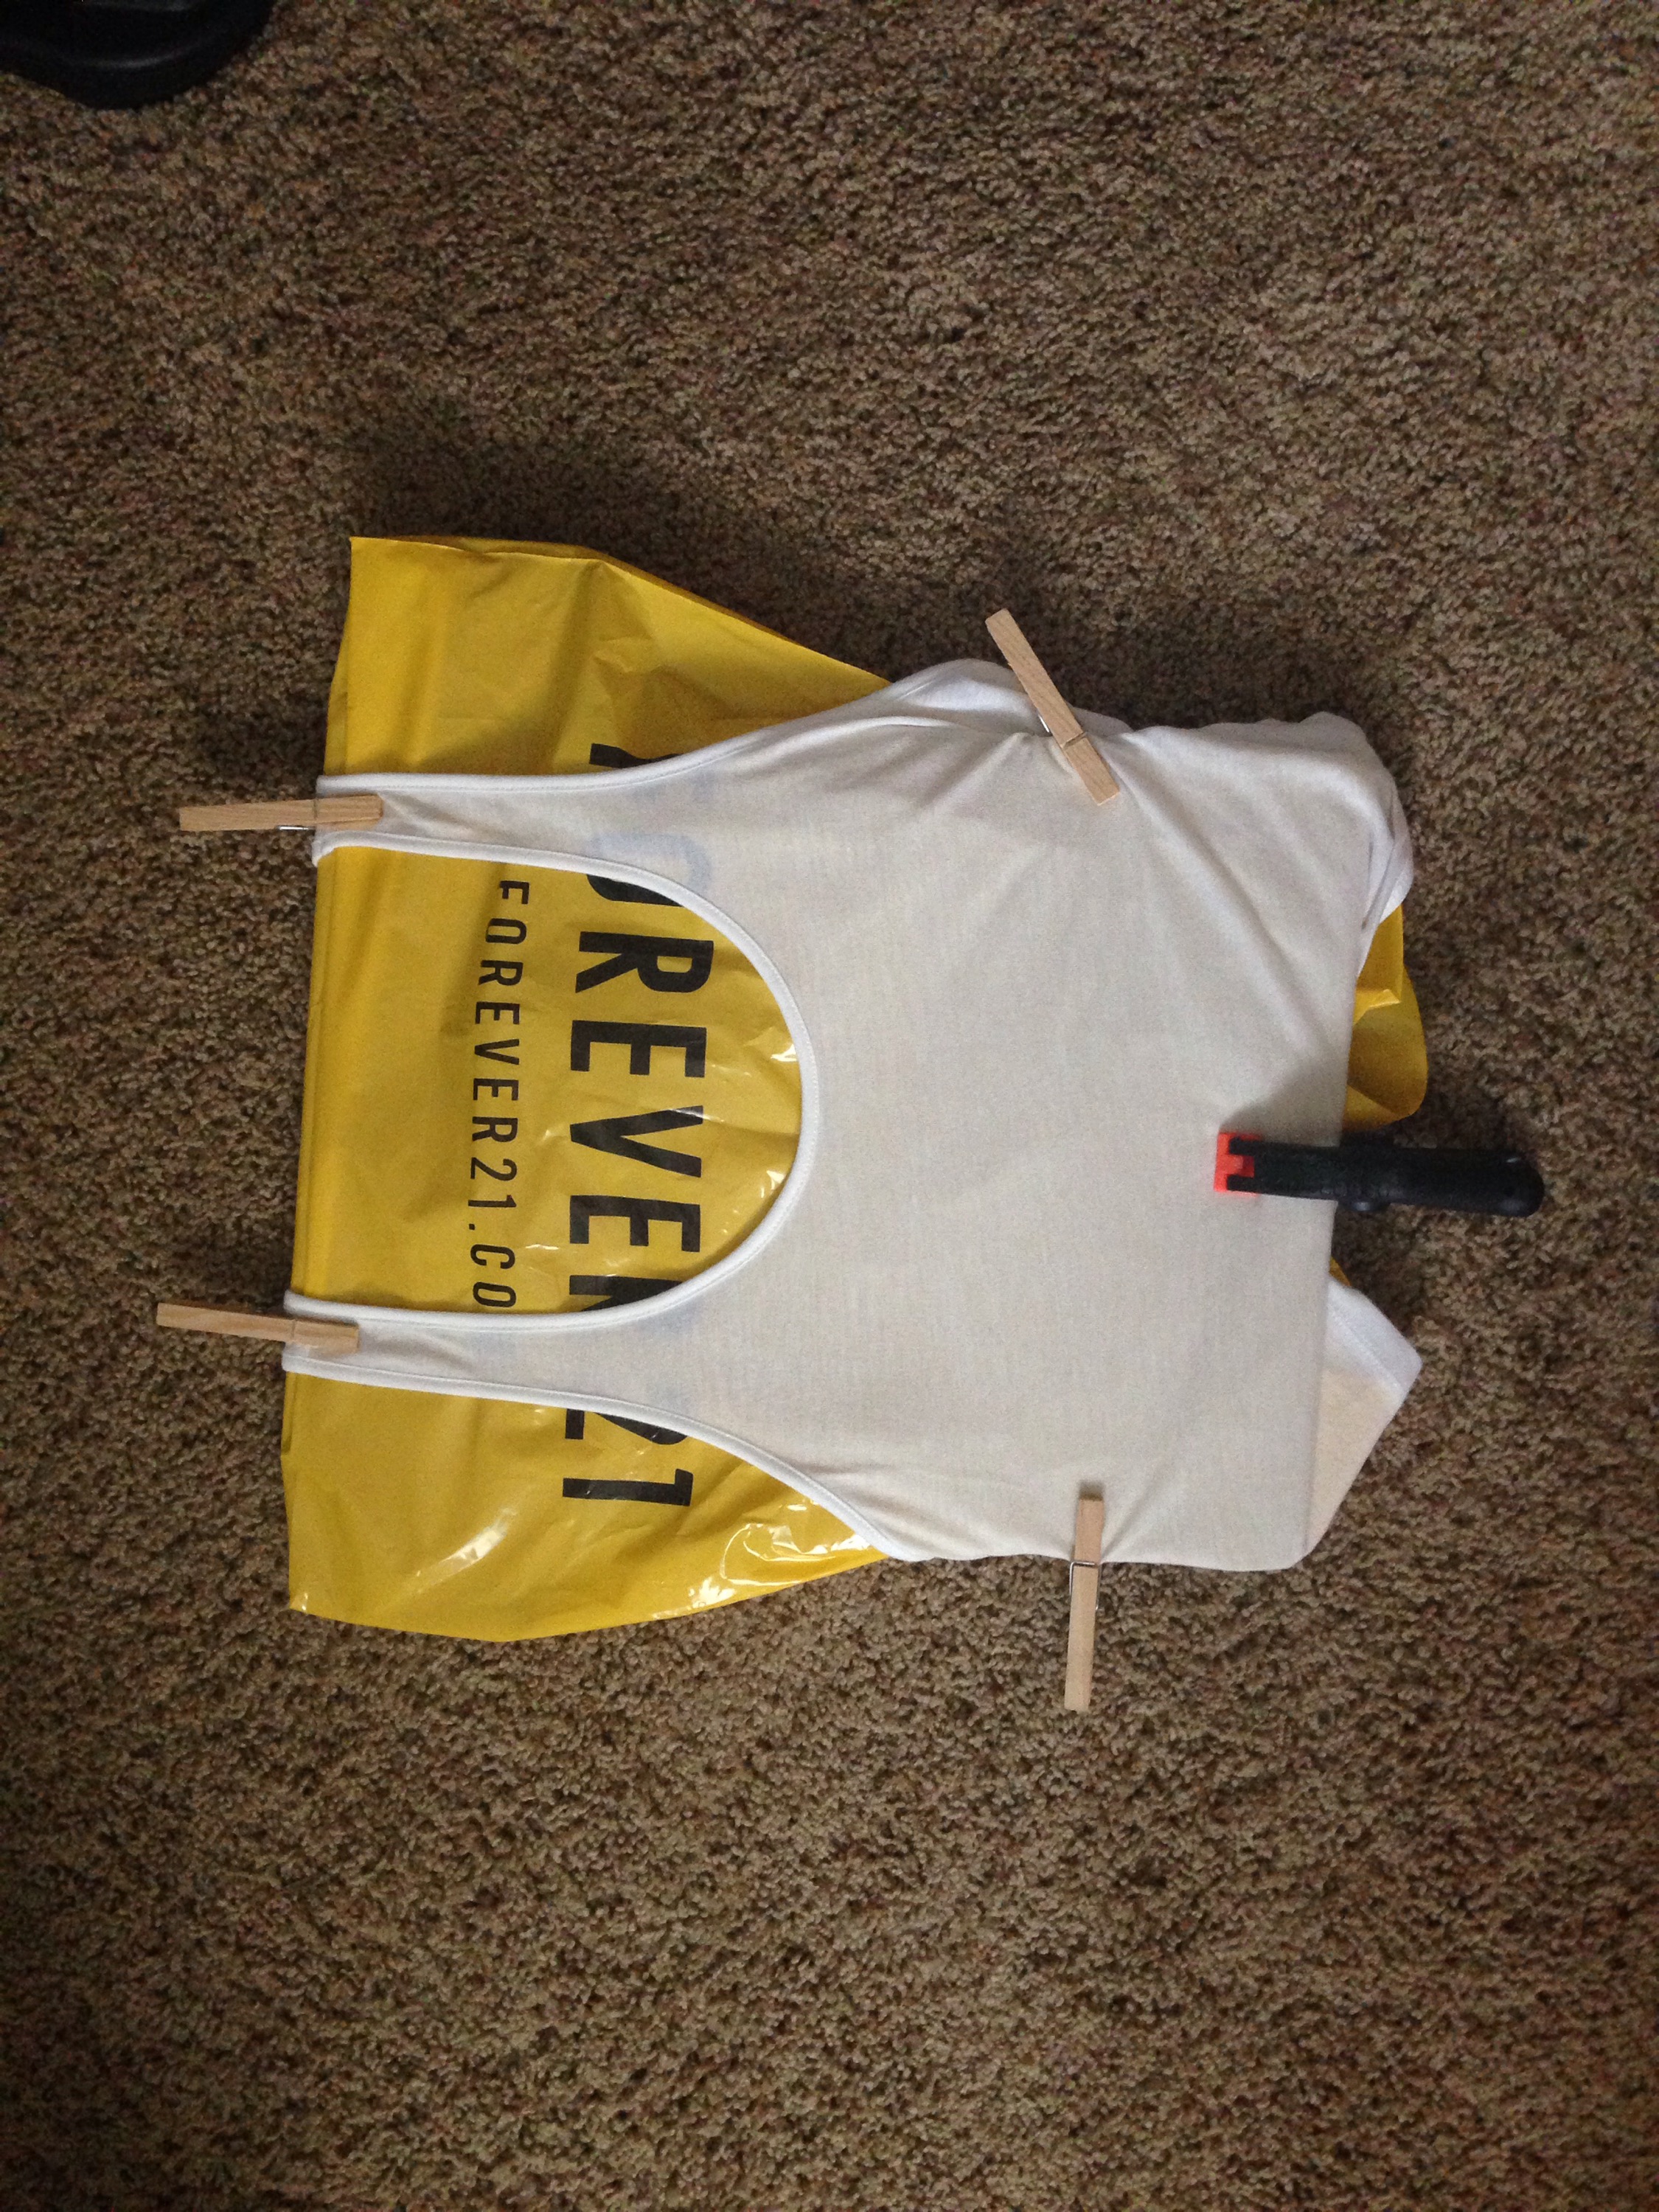
Hello all I hope your are enjoying the beginnings of fall!  Sorry for the long absence.  As you may or may not know, I started grad school At Columbia College in Chicago and to say that it is taking up most of my time would be an understatement!  So…if my posts are far and few between lately you will know why.  No fear though, I’m still here and still blogging, I just don’t have as much free time to diy.  Any ways I have this t-shirt DIY that I actually made quite a while ago and just never got around to posting.  It’s quite simple if you have a sewing machine and a shirt you don’t mind ripping apart.  I got the idea from this awesome diy blog Trash to Couture.

DSC_0014

All you need is:

  • a t-shirt
  • seam ripper
  • sewing machine plus pins, scissors etc.
  • lace or crocheted trim.  (Mine is from Joanne’s Fabric)

First cut the very edge off of the sides of the shirt including the sleeves.  Don’t cut too deep, you want your shirt to still cover you.  measure out how much trim you will need before you but it.  Mine took about 3′ for both sides.  you want to lay the open shirt out and measure from the bottom of the front to the bottom of the back.  after you buy your trim pin in onto the shirt edge and sew it in place.

DSC_0021

Next you want to sew the front and back together again but remember to leave a whole for your arm.  I would leave a good sized hole so the shirt flows. And there you go!DSC_0022

IMG_3719

Advertisement

Painted Shirt 

DSC_0275

I used my Portland vacation for my photos. 😉 I’ll post the rest next.

I had an idea for a graphic shirt without screen printing. (although I’ve been wanting to try screen printing)  I used a white tank top and used a plastic bag over cardboard to paint on.  I used watered down craft paint, but only water it down slightly because it will run.  This is also why you should keep your imagery simple.  I love the way it turned out and what says Summer better than watermelon!

IMG_3719

I should mention that I didn’t actually paint on the carpet, and I wouldn’t recommend it!

 DSC_0286

Side Tie Shirt

This is actually a shirt I made long ago in high school but I made it with non stretchy vintage fabric from Goodwill, and I wasn’t (and still aren’t) that great of a sewer.  So anyway it never really fit that great.  I was fine everywhere but the bust.  I kept it all this time because I love the fabric and I recently got an Idea on how to fix it.

IMG_2790

The before

DSC_0209 DSC_0180

I took out the side seams and bought some white stretchy fabric.  I cut the fabric in to strips about 2″ wide and folded and sewed it into a loop. Then I cut the strips about 8″ long.  I made the bows by tying a knot in the strips and pinned them to the sides of the shirt.  After I knew how many I needed and had them spaced evenly I could sew them in.  The shirt is nice and loose now and has some stretch in it!

20140803-193534-70534607.jpg

DSC_0152

DIY Kimono

DSC_0159If you are somewhere where theses lots of snow like Chicago I hope you’re staying warm and safe! As seen in the pictures I made this the day before the snow hit and it has me dreaming of warmer weather to wear it out in.

I don’t know about you, but I’ve had my eye on the kimonos I see in stores, not so much for winter but as the perfect breezy coverup for summer.  I am a lizard woman and even in the Summer I’m always cold, especially in air conditioning!  I love kimonos but am not a fan of the prices I see  So I found this handy tutorial by By Hand London which after searching seemed to be about the easiest to follow , but of course made a few changes to mine.  Everyone’s will be different depending on your size or how big you want it but for mine I bought 5 feet of fabric.  Now I wanted to use something with a little stretch or something light and breezy but I couldn’t find any I liked so for my first kimono I just used regular cotton cloth.

Start by folding your fabric in half with the back showing.  I cut mine down a few inches so the sleeves wouldn’t be quite as long but of course it just depends on what you want.  From there I took chalk and marked where to cut the sleeves.  When I was ready I folded the fabric again to cut both sleeves at the same time.

IMG_5157IMG_5162 copySorry about the bad pictures but my craft room is pretty dark and I tend to do most of my stuff at night, which in the Winter starts about noon.  So these are the measurements I used for mine.  After you pin the sides and bottom of sleeves, sew them up and zigzag the ends so they don’t fray.  Roll the ends of the sleeves twice so they are about 1 cm. and sew.

Measure the middle and mark 8 cm on each side for the neck hole.  find the middle at the bottom and mark up to the neck marks at the top.  remember to only cut the top layer for this cut.  Sew just like the sleeves and there ya go!  I added pom pom ribbon to the bottom of mine but this is optional.  Fringe would also look awesome!  FullSizeRenderDSC_0161DSC_0160It’s a little too cold for it now but I have a feeling I’ll be wearing it a lot this Spring and Summer!  I’ll probably be making more. 😉

IMG_3719

DIY Running Belt


DSC_0385Happy Saturday!  I finally got my sewing machine working so I’ve been trying to finish a bunch of projects I attempted to start and haven’t been able to do.  The first one I finished was this running belt to hold phone, keys, music, etc.

They sell these handy little accessories at stores but they’re pretty pricy and for what it is, I figured I could make one for quite a bit less.  They just have an opening or two where you stick your stuff and them flip them over to hold everything in place.  Now I originally wanted to add a zipper and fold over elastic to the edges but after the issues with my sewing machine I decided to keep it simple and it still works great.  Feel free to make yours more jazzy though!

DSC_0381DSC_0382

First I bought 1/4 a yard of a nylon spandex mixed fabric from Joanne Fabric.  I folded it over and sewed it together leaving an opening for the pocket.  I then cut slits were the opening for the pocket were and folded them down and sewed.  I them flipped the belt right side out and with the pocket facing out I sewed the ends together.  When doing this step be sure to get it nice and tight.  The fabric stretches so I had to make mine quite a bit smaller than I thought I would need to.  Remember it’ll be bouncing around when you run so you don’t want it sliding or falling down.  The fabric was a little hard to sew because it is slippery so definitely pin it.  Then cut the extra, fill it up and flip it over so the opening is facing in.  Then you’re ready to run. 😉  I’ve been trying to get up to 5 miles and I’m half way there so this should help me get there.  Let me know how you use yours! 

20140803-193534-70534607.jpg

Stapless to Halter Dress DIY

DSC_0324

Hello,

I’ve been starting to get a little sad now that summer is heading towards an end but I’m also starting to get into the fall mindset and have started wearing more olive greens and burn oranges now. 

I recently found this dress I really really wanted two summers ago from Pacsun.  I didn’t buy it at the time because it was a little more than I was wanting to spent so I let it go.  On my most recent trip to Plato’s Closet though I found it on the sale rack for 50% off!  the only problem was that it was an XL and I am usually a small or medium.  it also had a hole by the zipper and a few of the seams were starting to come apart.

  I figured since it was so cheap I could try to fix it, so I made it into a small by sewing the side seams smaller and hand stitched the holes back.  I sewed out the zipper which really wasn’t a problem on this dress because the back was stretchy so I’m still able to get it on without a zipper.  After I was done I decided that I kinda wanted it to have straps so I wasn’t pulling it up all day. (I’m sure you small chested girls know what I’m talking about!)  I also didn’t want to have to wear a strapless bra with it, again the whole pulling it up thing!

steps

Since it’s the end of summer I was able to find this black bikini top at Old Navy on sale for $4.95 and I hand sewed it into the front of  the dress for a built in bra plus halter straps, pretty clever I think. 😉 I machine sewed the straps to the top so they would be secure and hand stitched the cups in so that the stitching wouldn’t show through the front.  Also I’ve been having sewing machine issues, which are very frustrating and angering sooo yeah….I’ve been hand-stitching what I can.   But I’m pretty happy with the result. 🙂

DSC_0344DSC_0327DSC_0330

I also got this green shirt at Plato's Closet for $2.50! I thought they looked nice together

I also got this green shirt at Plato’s Closet for $2.50! I thought they looked nice together

DSC_0350

20140803-193534-70534607.jpg

Stuff I Made: A Skirt

Image

I haven’t really had much time to work on anything new lately and was sick all of last weekend, (boo!) but I’m feeling much better now have lots of new projects planned!  I thought I’d show off this skirt I made a few years ago from old kitchen curtains.  I found the curtains at an antique store I used to frequent when I lived in Fort Wayne.  I loved how kitschy they were but didn’t have any windows they would fit on and they didn’t really match my decor so I made them into a skirt.   Let me know if you’ve ever made anything found into something wearable, I’d love to see your projects.  Have a great rest of the weekend and hopefully the weather stays nice for everyone!

-Jenna

Image

Image

Image

Ben thought he was being funny in this one!