Sesame Soy Kale Chips

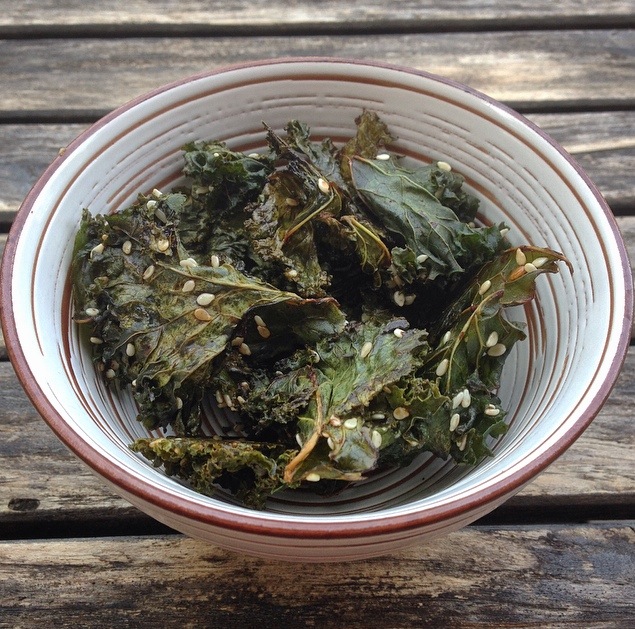
If you’re like me you love anything sweet to snack on but sometimes something salty and crunchy is in order. I made these kale chips yesterday and they are almost already gone! They’re super easy to make and healthier than most salty snacks!
20140730-121100-43860698.jpg

You will need:
•a gallon sized ziplock bag
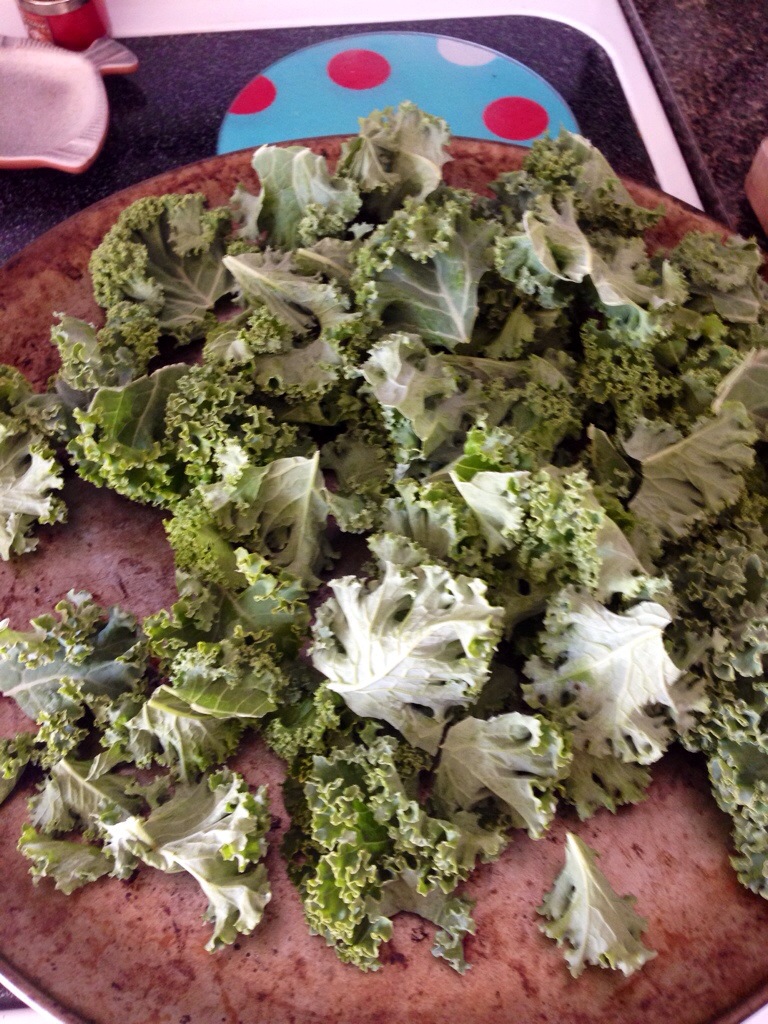
•one bunch of kale. Must be cleaned dried and removed from the stems
•soy sauce
•sesame seeds
•garlic (optional)

Begin by cleaning kale and ripping it up in sections about an in ch or two wide. Lay it out to dry as I did here.

20140730-121741-44261952.jpg

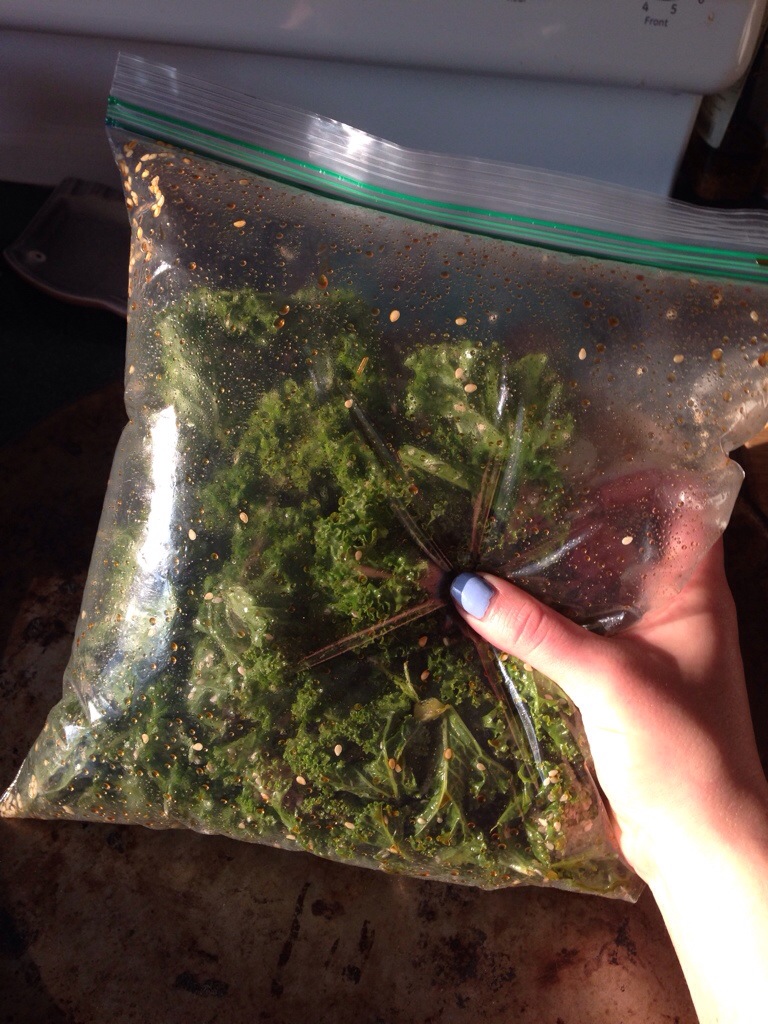
Next add 1 tablespoon olive oil to the bag with 1 1/2 tablespoons soy sauce and 2 tablespoons sesame seeds. I added about 1/2 tablespoon of minced garlic to mine as well.

Add the kale and seal with air in the bag. Then shake until it is all coated. Next open the bag and let the air out, close it and work the mixture in so it is evenly coated throughout the kale.

20140730-122203-44523391.jpg

Spread the kale out onto a lightly sprayed baking sheet or pan and bake at 300 degrees Fahrenheit for 30 minutes or until it’s crispy.

20140730-122415-44655173.jpg

Then enjoy! I should warn you they are addicting. 😉

For more flavors I found a list at Refinery29

20140730-122728-44848986.jpg


20140730-173135-63095667.jpg

Table and Chairs Refresh

DSC_0260

I’ve never really liked this table and chairs since they look like and probably are from the 90’s.  Ben had gotten them used before we lived together and were definitely outdated and showing their age.  We were going to buy a new dining room set but couldn’t find one (or a price) that we like. I decided that since they are still in pretty good shape we could keep them a little longer and I’d be happier with them if they looked a little more modern and a little pop of color can go a long way!  I painted everything that was painted white and left the wood showing.  I used satin latex paint with a semi-gloss polycyclic over it to seal it.  It did take about four coats of the blue though since I was painting  such a dark color over the white.  It was a nice summer project and I’m pretty pleased with the way it turned out!

20140720-181325-65605918.jpg

Before

After, plus my Birthday Flowers! :)

After, plus my Birthday Flowers! 🙂  Plus find the cat for bonus points…

DSC_0267

name


My trash finds of the summer

DSC_0239 So this weekend my neighborhood held a trash day for bigger items and furniture. I of course went around to see what was out and found a wicker chair and ottoman and a coffee table just on my street! I could see why they were out for the trash. The chair and ottoman needed cleaned and repainted and was missing a couple pieces. They aren’t perfect but the price was right so I took them and made them new-ish. Now I just need to find a cushion! The table I took because we’ve been wanting to get a coffee table, but in closer inspection I discovered that two of the rungs on the bottom layer are split and it’s a bit wobbly. Not really great for the living room but not as noticeable for an outdoor table. I love saving things and making them new!    

20140722-144135-52895749.jpg

Before

After!

After!

  name

Dip Dye Dress

DSC_0215
DSC_0213  DSC_0227 DSC_0224

Hello all! I have been wanting to be able to post this all summer, but haven’t been able to because it’s taken me all summer to get it right.  Arg! I think I finally got it to how I like it.  It’s not quite as I had pictured in my head but oh well, that just goes with the territory of making things sometimes.  I bought this awesome gray dress at Plato’s Closet, one of my favorite used clothing stores and wanted to spice it up a little bit.

I had originally planned on bleaching the bottom 1/3 and then dip dye the very bottom either purple or blue, so that it would go gray, a bleached cream color, and the purple on the bottom, but after bleaching didn’t get it completely bleached (and I tried a couple times) I tried dying with Rit.  Well the color didn’t take so yeah…  I’m pretty sure all of my problems were due to the material of the dress, it’s mostly polyester and rayon. So moral of the story is check the fabric before dying, lesson learned!

I did how ever get it to a color I like by dying the bleached part with a mix of beet juice and mulberry juice.  I love when the natural way is the best way!  So here is my final result.  Not what I had first pictured, but I still love this dress.  Plus it has the built in bra pads so woohoo!

name

Homemade Cards

20140712-120925-43765709.jpg

20140712-120928-43768819.jpg
Hey all!  I have a fun diy for anyone who just can’t find cards in the store that they like.  It’s a fun alternative to stamping or just paper cards.  I made this one for my uncle’s birthday.  He loves flamingos and I can never find good uncle cards that suit him.  I used canvas that I washed with paint and then embroidered the flamingo.  You can pretty much do whatever you want.  If you’ve never embroidered before try it out on some scrap fabric before you start and draw out your image with a pencil to help.  I spray mounted the canvas onto a folded piece of cardstock and wrote my own message inside.  He loved it!

Let me know what you can come up with, and have a good rest of your weekend!

name

20140712-120926-43766617.jpg

Mulberry Crumble Pie

DSC_0175

Hi everyone!  I just made my very first ever pie and it turned out pretty amazing so I thought I’d share the recipe here.  I found a couple different recipes for different kinds of pies and combined them while tweaking them a little bit more.  I must confess I used a pre-made pie crust this time since I was a little scared of my first pie. 

I have been wanting to make a mulberry tree for two summers now, and since we have mulberry trees in our yard now I took it as a sign. 

Here’s what you will need for the filling:

  • 4 cups of mulberries (blackberries would also be amazing!)
  • 3/4 cups sugar
  • 1/4 cup flour
  • 3 tablespoons of Lemon juice
  • 2 1/2 tablespoons of butter (I used vegan butter which also works.)

Just combine all ingredients and mix.  place into uncooked pie crust. 

image-2

Now for the crumble:

  • 3/4 cup flour
  • 1/2 teaspoon baking powder
  • 2 teaspoons quick oats
  • 3 Teaspoons cold diced butter
  • 1/3 cup sugar
  1. In a bowl whisk flour and baking powder.
  2. Add diced butter and mix together with your fingers.
  3. Add oats and sugar. Whisk.
  4. Pour topping on top of pie.
  5. Pat down with your fingers.

image-3

Bake for 15 minutes at 400 degrees F.  After 15 minutes turn the oven down to 350 degrees F, and bake for about 15 more minutes.  The top should be golden and sides bubbling.

Let it cool and enjoy with ice cream or even just by itself.  I’ve never really been big on ice cream on pie.  Weird I know!

DSC_0209

The pie filling I got from a blog called Elizabeth Minchilli in Rome, and the crumble was from a strawberry pie I found at On Sutton Place. 


 Have fun baking and eating! 

name


Record Table

20140705-113540-41740789.jpg

20140705-113541-41741721.jpg

Happy Fourth of July everyone! I hope you all are having a great weekend and got to see some fireworks and some friends and family.

So I’ve seen these easy side tables made with a plant stand and old records and thought I’d make one for a birthday present for a birthday coming up. I bought the plant stand at Menards and I think I got my records from good will. I’ve had them a while waiting to make things with them.

When I got home the opening to the
Plant stand was a little wider than I had planned on it being but I made it work by just gluing the three prongs that stick up. I used e6000 glue and so far it is holding. The records were a little flimsy so I used two glued together do that it could hold more. So far so good!

Also we went into Chicago yesterday to see some friends and watch fireworks at Navy Pier so here are a couple pictures from our fourth!

20140705-114507-42307663.jpg

20140705-114509-42309377.jpg

20140705-114508-42308312.jpg

20140705-114510-42310490.jpg

20140705-114552-42352188.jpg

Jenna ♥️