Concrete Pumpkin

DSC_0054

Happy Halloween!  Halloween is my favorite holiday and I have one more pumpkin diy to share. I wanted to make this last Halloween but just ran out of time so it was definitely on my list this year.  The Concrete Easter Eggs were my first experience with concrete and it was pretty easy so I was pretty excited.  Also I did some research and I guess cement and concrete are not the same.  Cement is  an ingredient of concrete. Concrete is a mixture of aggregates and paste. So Concrete is stronger and will last much longer.  The original idea is on the blog Fox Hollow Cottage.

DSC_0013

First cut a hole and and design you want on the pumpkin with a knife. This one was a light I got at Goodwill so it already had a face and a hole in the bottom.

Next put plastic wrap tightly around the face so the concrete won’t leak out. Turn in upside down and spray the inside with cooking spray. I forgot this stepsons mines isn’t stick too bad but I would recommend using spray. I put my pumpkin I. A bucket to get it to stay upside down while I poured the concrete in. The concrete I used was Quikrete from Home Depot.  

  If you’ve never mixed concrete it’s pretty easy. Some people add the powder to the water, I like to add water gradually to the powder while I stir. Only add a little water at a time until you get an even and thick but pourable consistency.

Let the pumpkin sit for at least 24 hours after you pour the concrete.

When you cut the foam pumpkin off use a knife, scissors, and a screw driver came in handy for prying pieces off.

When I took my pumpkin off the eyes and eyes didn’t fill in all the way so I mixed some more concrete up in a cup and speckle some on to make them bigger and more triangular. It doesn’t have to be perfect though. The cracks and rough spots are what makes the concrete pumpkin interesting!

DSC_0056

Show me your costumes in Instagram by using #peppermintsandhoneybees. Now go get your spook on!
Bird Feeder Save 

Last Fall I may have gotten into a minor turf war with one of the squirrels that was stealing bird food. They were good all summer and only ate what the birds dropped but then they got greedy ad found out they could crawl up the brick wall to get to the feeder. After I slapped one on the tail when he didn’t leave I came home the next day to this. 

 Yup, that’s all from one day. This was personal! 

Anyway I really didn’t want o have to throw out the feeder and tried to still use it but the bird seed would spill out when the birds sat on it. I got the idea to glue a plate into the bottom to catch what was spilling out and then the birds could also have a place to perch again. 

   
 So far this seems to be working and no squirrels have gotten in yet this year. I’ll probably get a new feeder eventually, I just like to reuse if I can and I was afraid they would just ruin a new feeder too.  Bird feeders aren’t exactly cheap! Hopefully everyone can coexist peacefully this year. 😉 

P.S. We’re in Portland, OR right now on vacation for my birthday today so I’ll probably be posting pictures next time!


Mounted Wall Vase

DSC_0245

I made this wall base for my uncle for Father’s Day and I thought I’d share it. All you need is a slab of a log. They sell them at most craft stores or you can get your own if you’re into that sort of thing! I used and old glass jar and bought a hose clamp from the hardware store for cheap. I nailed the clamp to the wood, but the jar in, tightened it, and added a picture hanger to the back. It was that easy! You could also fill it with dirt and grow plants in it.

IMG_3719

DSC_0242

Also Ben had to hold it for me on the brick. ;)

Also Ben had to hold it for me on the brick. 😉

DSC_0244

My Patio Garden

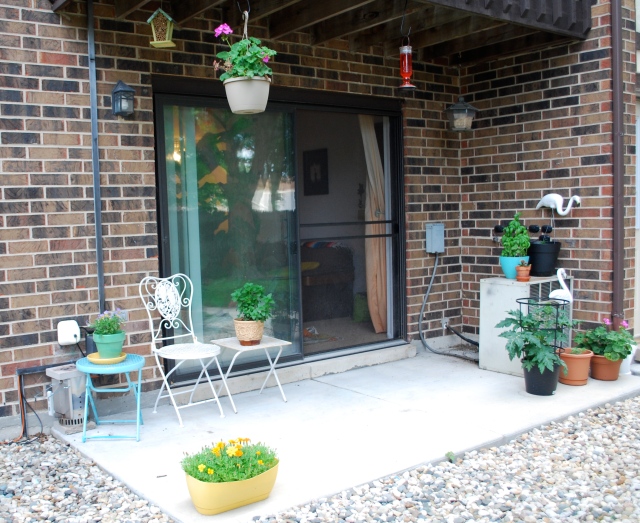
I thought I would share some of my garden pictures so far from my little container garden on my patios.  Some of my plants are just starting to come up this year like my flowers, but I’m proud of my self because my marigolds, lily and pansies are all things I bought last year and were able to bring back from seed. (or bulb in the lily’s case)  I don’t always have a green thumb but in the Summer plants just seem so much happier and I’m getting more confident in my growing abilities.  After last Summer I know how much to water my outdoor plants (a lot!) and even though I can’t have a garden yet it’s exciting to be able to eat something you grew!  I’m trying out some tomatoes from Home Depot this year.  This breed is made to be grown in containers, they are named patio tomatoes so we’ll see!  It already have about 10 green tomatoes on in so I think pretty soon we’ll be trying to eat all the tomatoes before they go bad, which in my opinion is a good problem to have. 😉

I’ll do an update later in the Summer to see how my progress is going!  what are you’re favorite plants in the Summer?

IMG_3719

DSC_0218

Coleus


DSC_0222

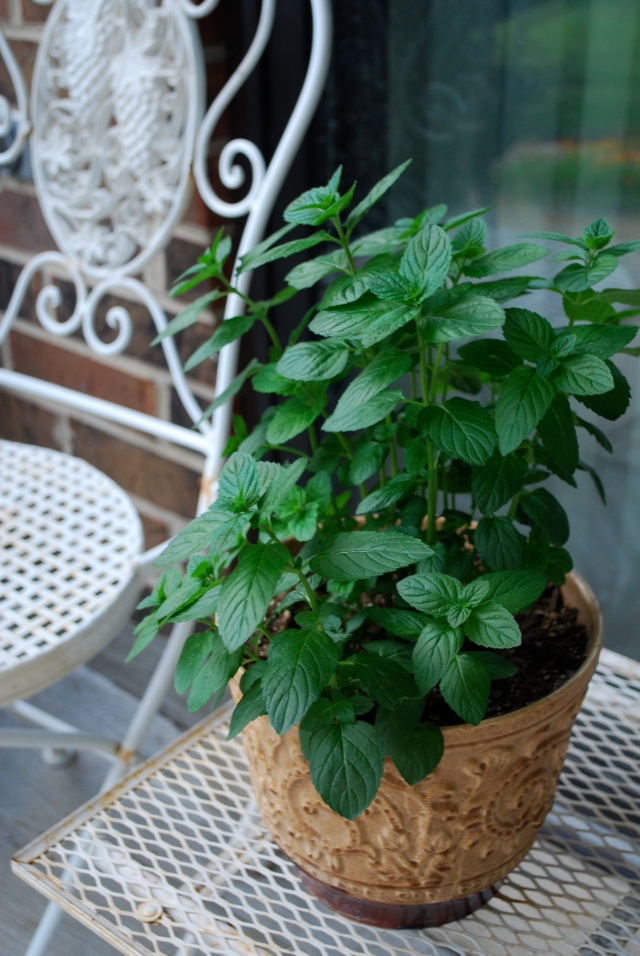
Spearmint


DSC_0220

Basil, the start of a lily, and a little succulent called Kalanchoe that I got from Trader Joe’s. It was starting to die inside but seems to be recovering now that it’s out. Summer really is the best for my plants!


DSC_0226

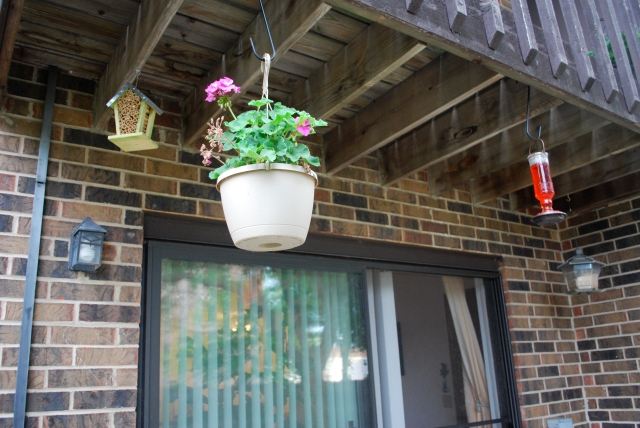
Geraniums plus my new bee house!


DSC_0228

Tomatoes, strawberries, and more geraniums. Of course the Snomingos are out to party as well!

DSC_0230 


Pansies

Flowers You Can See Grow

I’ve seen this idea before on Pinterest so I thought I’d give it a try this Spring.  I used this hurricane vase I already had and bought some clear glass pieces from the dollar store.  I was also able to find a pack of these rain lily bulbs at Dollar Tree also since it’s spring. I put the glass gems in the vase and filled it up to the top of the gems with water.  Next I placed the bulbs in standing up and put it in a sunny spot.  this is the results so far…DSC_0057

After two weeks I got this flower but now the other two are starting to grow.

After two weeks I got this flower but now the other two are starting to grow.

IMG_3719

Solar Jar Lights

DSC_0084Hello all, Sorry I’ve been a bit MIA, I’ve been busy with work and other things but I have a super easy and cool looking diy on the blog today!  I made these Solar Jar lights as presents for Mother’s Day.  I got the idea on Pinterest from a blog named Dreamalittlebigger.com.

DSC_0110

It was a very simple project that was relatively inexpensive and only took bout 30 minutes to make.  I bought the solar lights and glass gems from Dollar Tree and had the green and blue mason jars already.  For my version I used the kind of mason jars with the canning lids that come in two pieces.  The solar lights were easy to remove from the stakes and plastic clear part.  I pushed the round top containing the solar panel and light  up though the rim lid and it fit snugly so I chose to not glue it in. (As pictured below)  If you don’t want to use a solar light you could also use a tea light.

DSC_0058

Next I used a hot glue gun to glue the glass gems onto the jars.  I used one bag per jar in case you are wondering how many to get. This went quick and I was able to do it while watching TV. 😉  The next step is to put them outside or around your house somewhere where they can get sun in the day time and enjoy!

IMG_3719

My trash finds of the summer

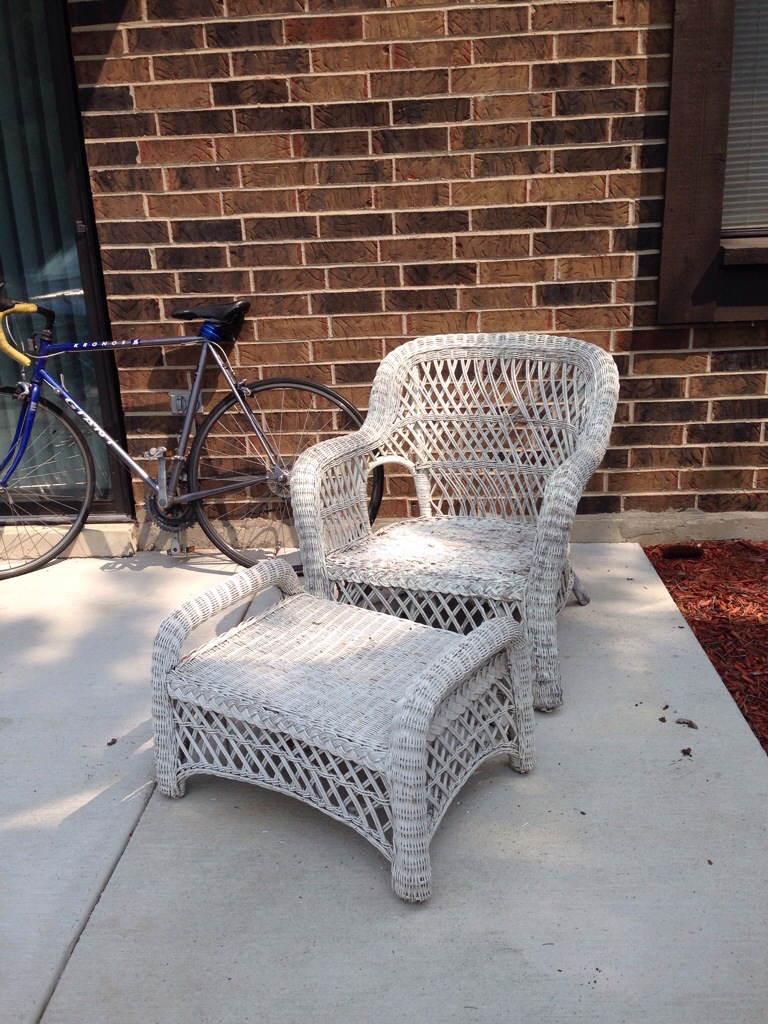
DSC_0239 So this weekend my neighborhood held a trash day for bigger items and furniture. I of course went around to see what was out and found a wicker chair and ottoman and a coffee table just on my street! I could see why they were out for the trash. The chair and ottoman needed cleaned and repainted and was missing a couple pieces. They aren’t perfect but the price was right so I took them and made them new-ish. Now I just need to find a cushion! The table I took because we’ve been wanting to get a coffee table, but in closer inspection I discovered that two of the rungs on the bottom layer are split and it’s a bit wobbly. Not really great for the living room but not as noticeable for an outdoor table. I love saving things and making them new!    

20140722-144135-52895749.jpg

Before

After!

After!

  name

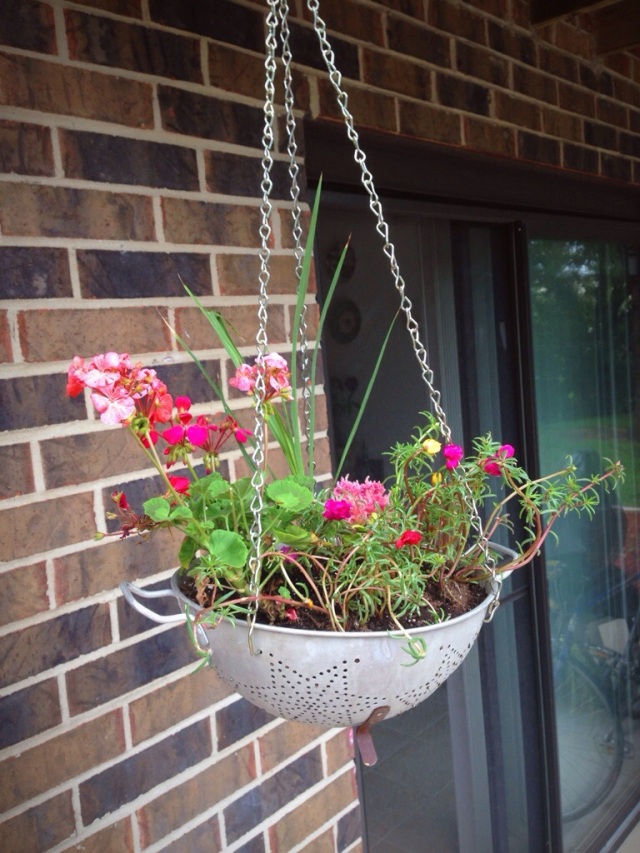
Colander Hanging Basket

20140623-114819-42499690.jpg

Hi everyone, I hope you’re all having great Summers so far!  Sorry it’s been so long since I posted anything, I was in Indiana visiting family and friends and have been busy doing typical Summer things like weddings, garage sales and so on.  I’ve also been trying to beautify my outdoor spaces as well so I thought I’d share this DIY colander hanging basket.  It’s pretty easy and I’ve been meaning to make it for a long time now I just needed to acquire a metal colander.  I was helping a friend have a garage sale this weekend and she had an old colander that she let me have in return so voila!

all you need is:

A colander

Dirt

Plants of your choice

Chain plus S hooks to stick either in the colander holes or around the handles

And another hook for the top

my supplies

my supplies

I actually found a hanging basket chain kit at Walmart, it was in the chain and rope section.  I had to bend the S hooks to get them to fit but all in all it was very easy.

Before the chain

Before the chain, I made a mess!

Plus the colander is perfect since the water drains right though the holes!

Happy making!  Let me know what other found objects you have used to put plants in.

Jenna ♥