Dried Wedding Flower Ornament

Happy Holidays everyone! I have a really easy but special DIY for this Season. And of course they don’t have to be from a wedding bouquet but these are from my wedding which was last June.

I wanted to preserve a bit of my flowers but I don’t want them in a shadow box because I had hydrangeas and things with tiny parts that would just fall apart anyway.

I don’t know how many years they will keep but they should last at least a few years.

All you need is some clear glass ornaments and dried petals and leaves. Be careful when placing everything in the ornaments because they are very thin glass and you don’t want it to break and cut you. It’s that easy! If you don’t celebrate Christmas and/or have a tree they would look great handing from ribbon in a window or from a shelf also.

I added some of my wedding pictures also, since I realized I never shared them on here last summer.

Have an amazing holiday season!

Advertisement

Chocolate Peppermint Marshmallows

  
Happy Holidays everyone! I have two parts to this post. First of all I would like to announce that Ben and I are engaged! So actually we have been since the first of November but I was waiting to make it official until we told all of our family and friends in person. Also I didn’t have my ting yet, but anyway yes, this is my good news!    
Now on to the absolute easiest Christmas treat recipe you’ll ever find. For these easy chocolate peppermint marshmallows you will need:

  • Dark chocolate or semi sweet chips
  • Crushed up peppermints or candy canes
  • Large marshmallows (I used my favorite vegan brand Dandies

Just melt your chocolate chips in a double boiler or the microwave. (30 seconds at a time) Then dip half of each  marshmallow in the melted chocolate. Next press the chocolate top down into a bowl of crushed mints and put on wax paper to dry. It’s that easy! 


Christmas DIY Roundup

Hey all, remember me? Ah I just realized I haven’t posted since October!  The reason being grad school is keeping me super busy.  But even though I have been working on my art more than crafts I still want to spread some holiday cheer so I found a couple of my favorite diy’s I posted last Christmas time for a little refresher.

First there are these super fun and easy to make Snow Globes

DSC_0076


Next the ever amazing Dyed Bottle Brush Trees and Wreath

DSC_0015

And last but not least…Clay Paw Print Ornaments

DSC_0023

I hope these give you some inspiration and fun and I’d love to see what other Christmas diy’s you come up with so show me on Instagram with #peppermintsandhoneybees.  Also I have an exciting announcement to make soon so stay tuned!!!

IMG_3719

Holiday Gifts

Hello, I hope you had a Merry Christmas and are resting up with family and friends! I know Christmas is over, but I couldn’t post any of the stuff I made as gifts until I gave them out, but you could still make them for yourself or birthdays, or just wait till next year.  So here we have wood burned bamboo spoons, hand stamped cork coasters, and yes, those are the marble clay dishes from A Beautiful Mess! DSC_0056IMG_3719

Clay Pet Paw Ornaments

DSC_0023I made these ornaments of my cats’ paw prints for Christmas, and love how they turned out.  I used crayola model magic because I needed something that was light and easy to press into since cat paws are not very big, plus it air drys so there’s no baking!  For dogs you could also use polymer clay, or salt dough as well.  I might experiment with some more clays to see what I can use also.

DSC_0041

notice the claw marks Hehe!

Have an Merry Christmas and Happy Holidays!

IMG_3719

Bleaching and Dyeing Bottle Brush Trees

DSC_0017I’ve been seeing lots of bottle brush trees all over Pinterest this Christmas season and love all of the different colors.  I love the vintage-looking scenes that can be set up with bottle brush trees and I’ve always preferred to decorate with pastels and bright colors instead of the usual red and green themes.  I had some bottle brush trees left over from the snow globes I made last year and also bough a bag of small bleached trees from Michaels.

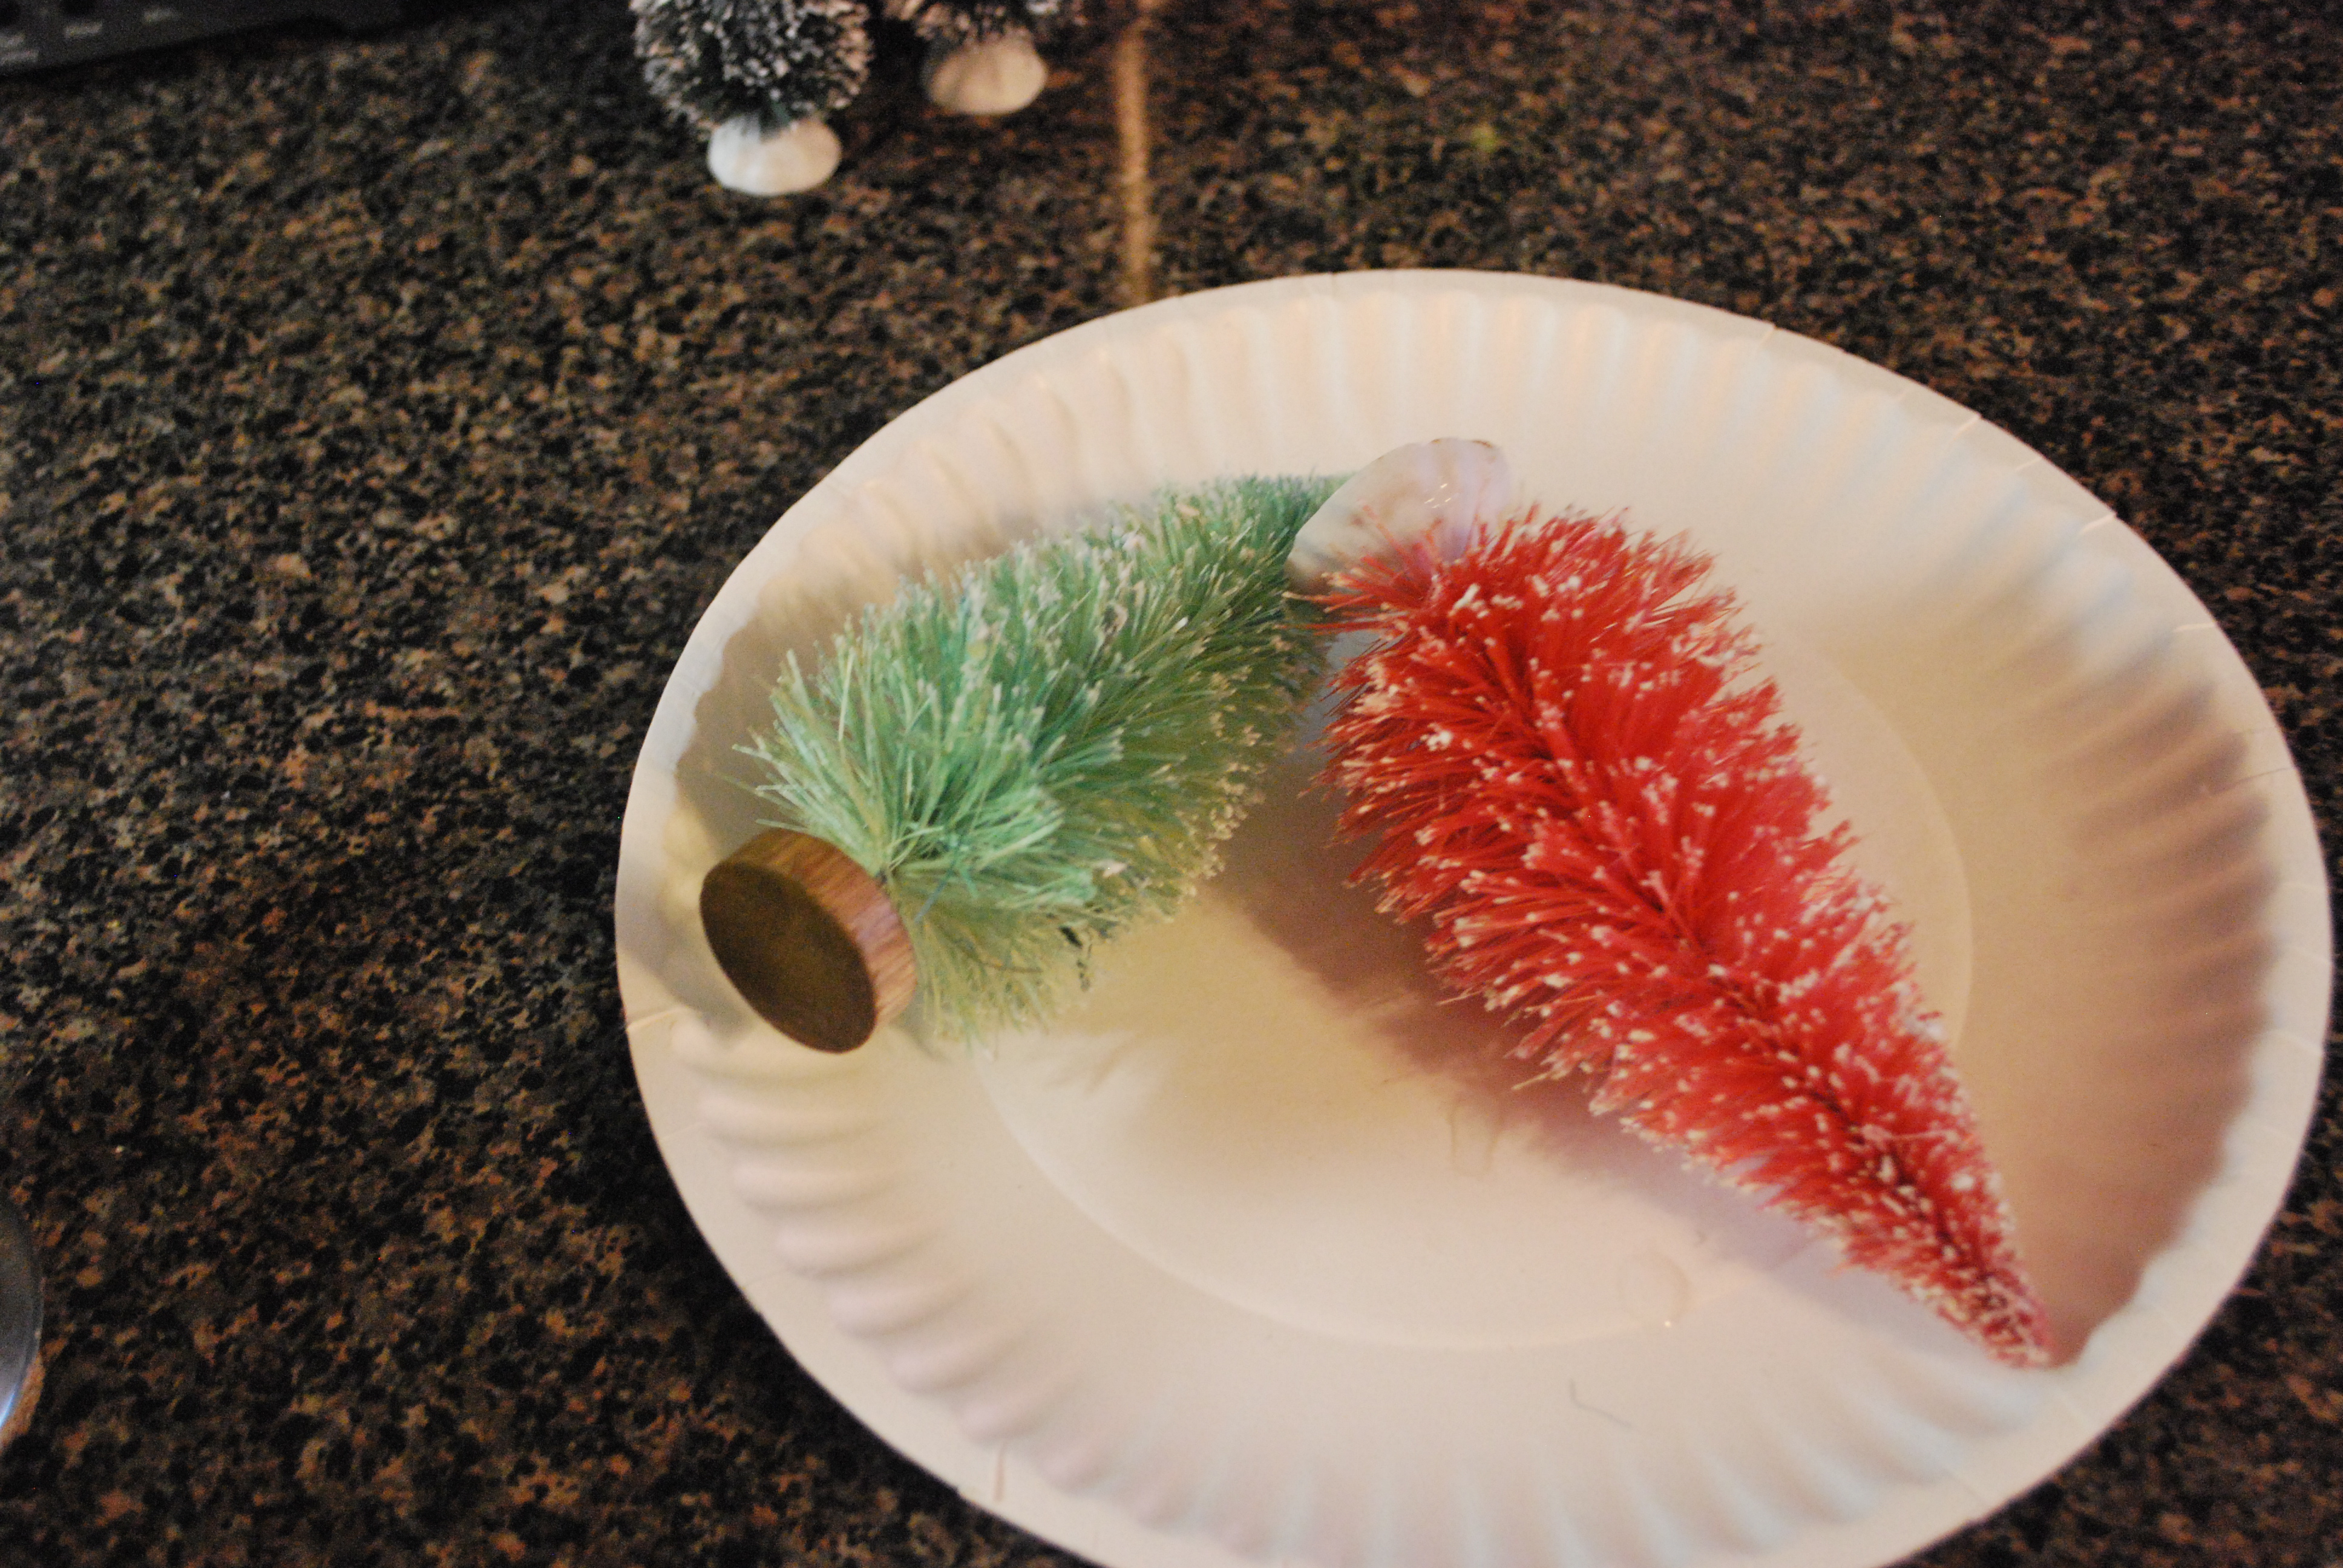
I bleached the trees I had that were green with the intention of dyeing them after I was done but was pleasantly surprised when the trees I had from last year turned light pink before bleaching completely and the one green tree I had bought this year turned a light mint bluish-green.  Since this was the colors I wanted to dye them I left them this color and then fully bleached a few.

DSC_0010I used my hurricane glass vase to bleach because I wanted something that was tall and narrow to stick the trees is, normally I wouldn’t use my good glass but ya know, use what you have!  I used 1/3 bleach to 2/3 water in the glass and used tongs to dip them in.  It really didn’t take long for them to start bleaching and I swished them around in the bleach water to help with the tongs, just wear rubber gloves and be careful.  After I bleached the trees I soaked them in soapy water to get the bleach off.

DSC_0012DSC_0015DSC_0013
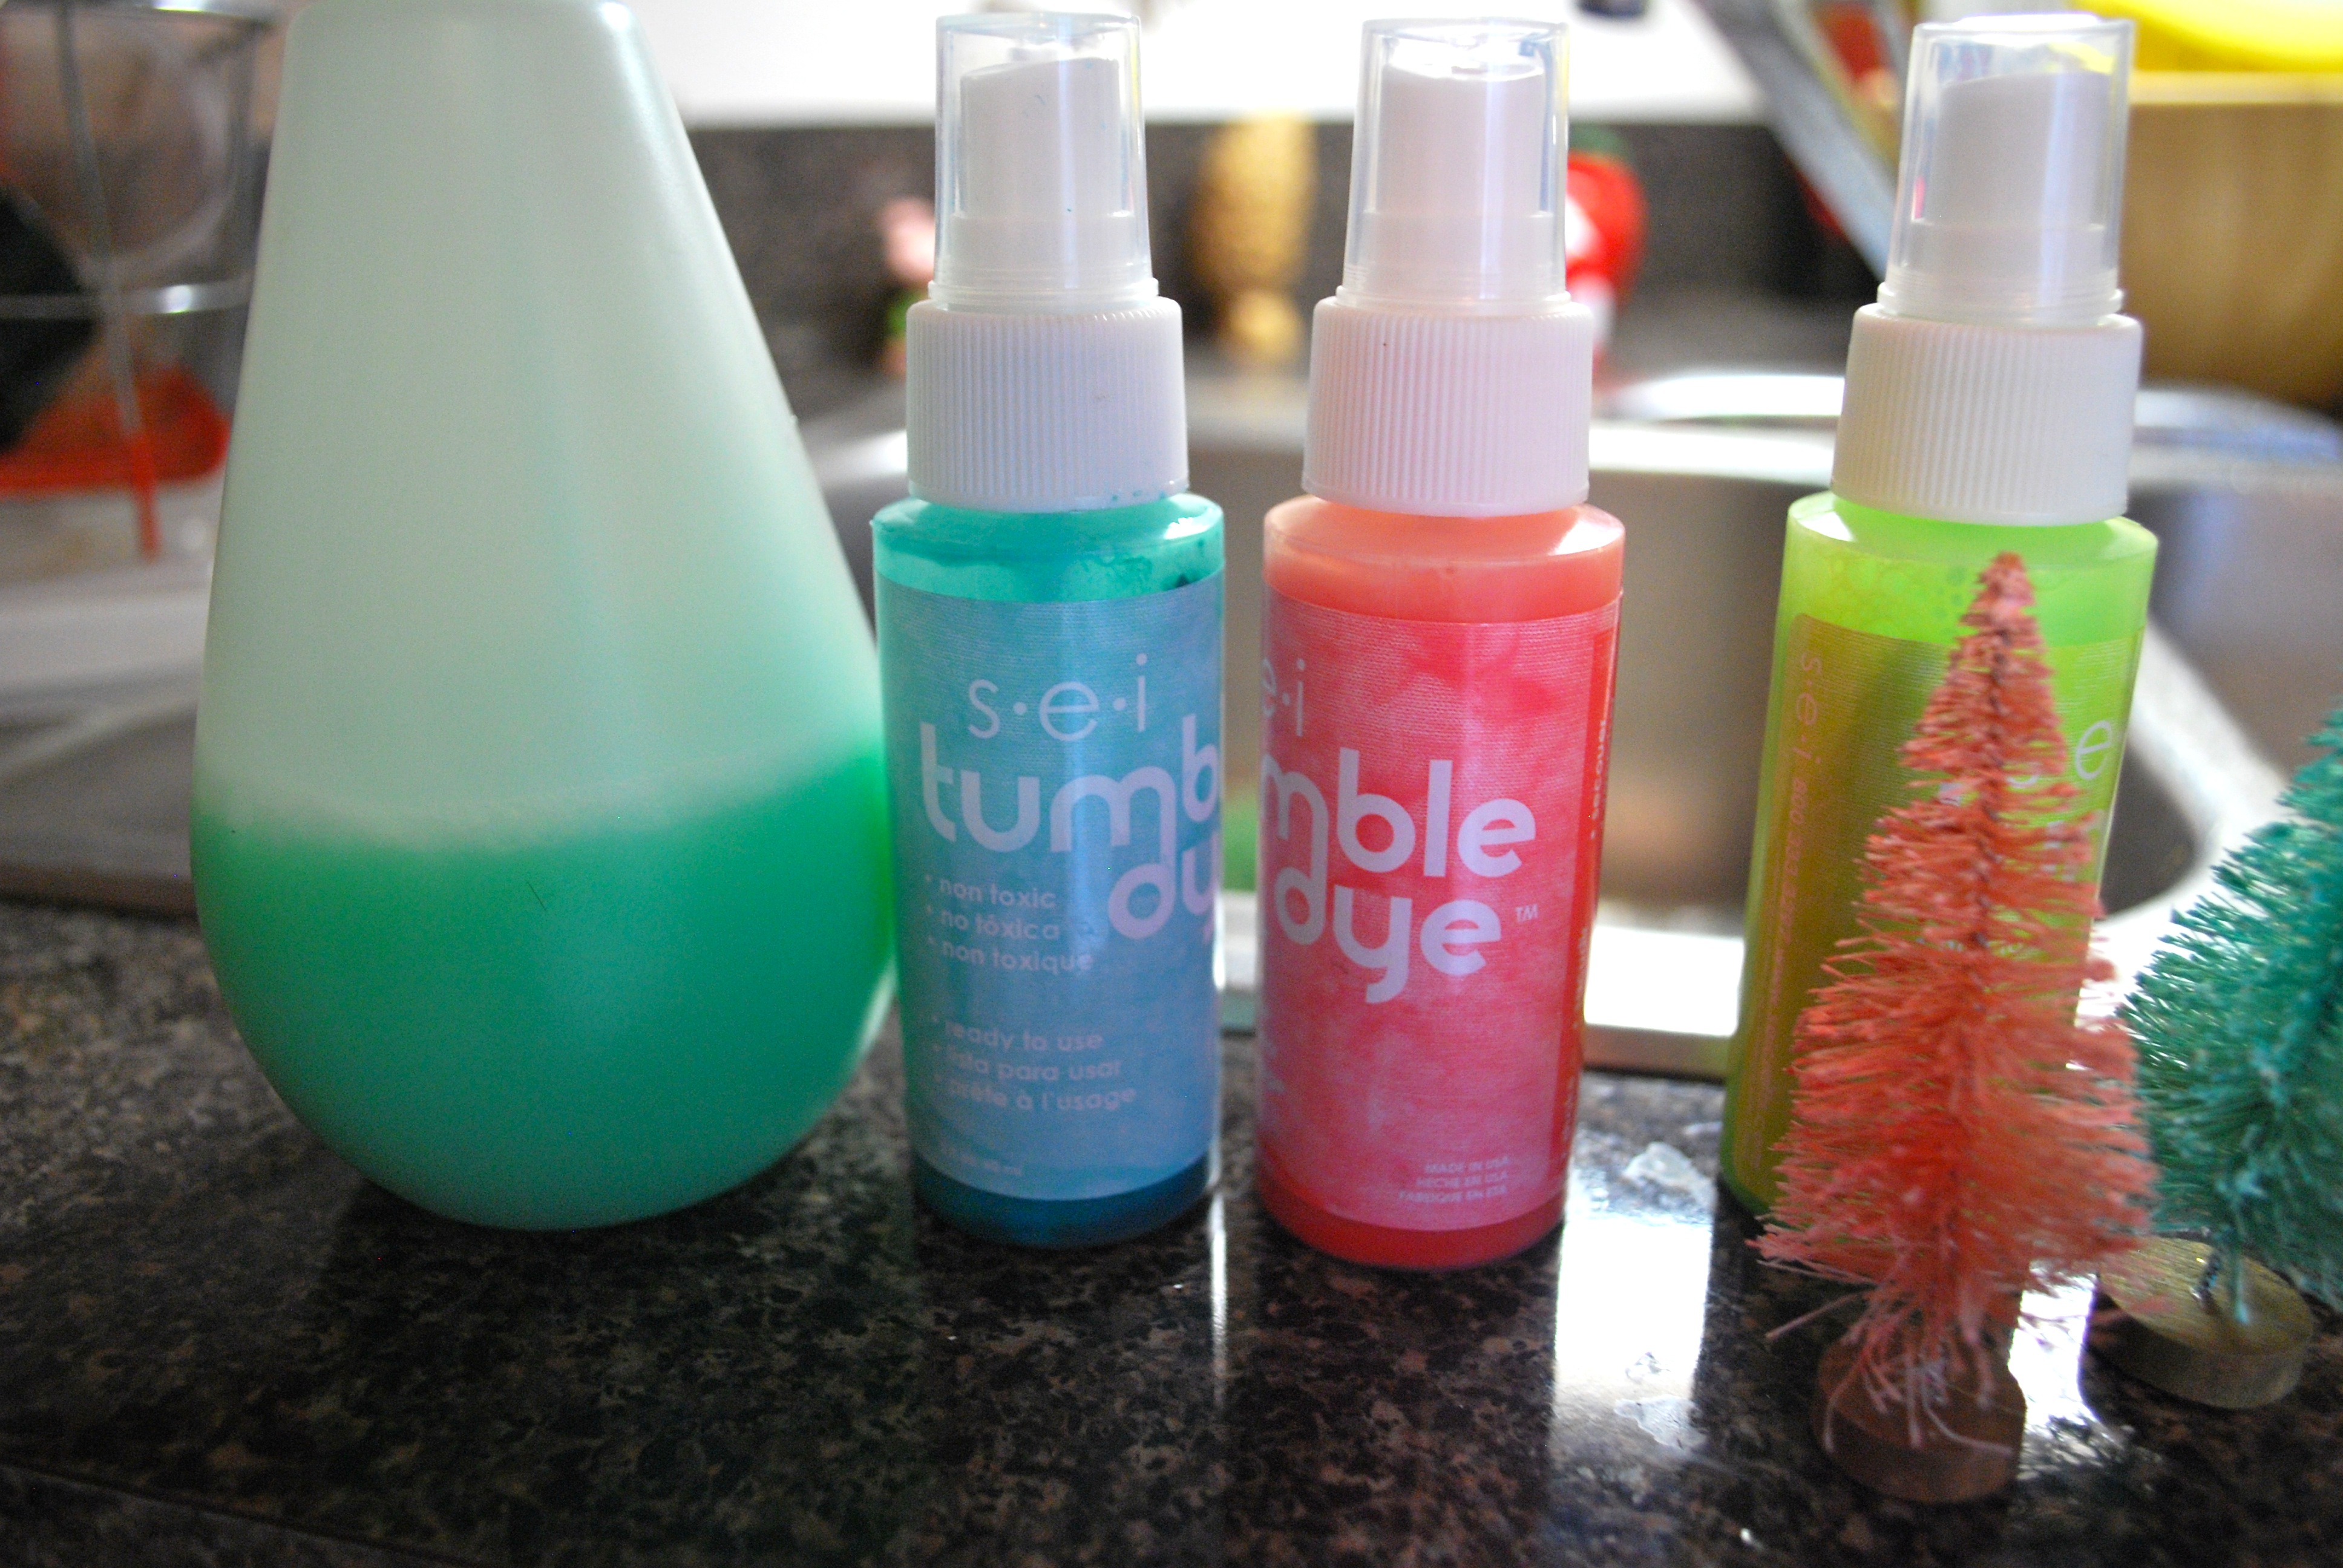
Most of the tutorials I read said to use Rit dye to dye, or food coloring or cool-aid would also probably work, but I used this spray on dye by SEI Tumble Dye that I already had.  I love this because it is already made and you can just spray it on, it’s perfect for small dye jobs and comes it tons of colors.  You can find it at craft stores or online at www.shopsei.com. 

DSC_0021

DSC_0026
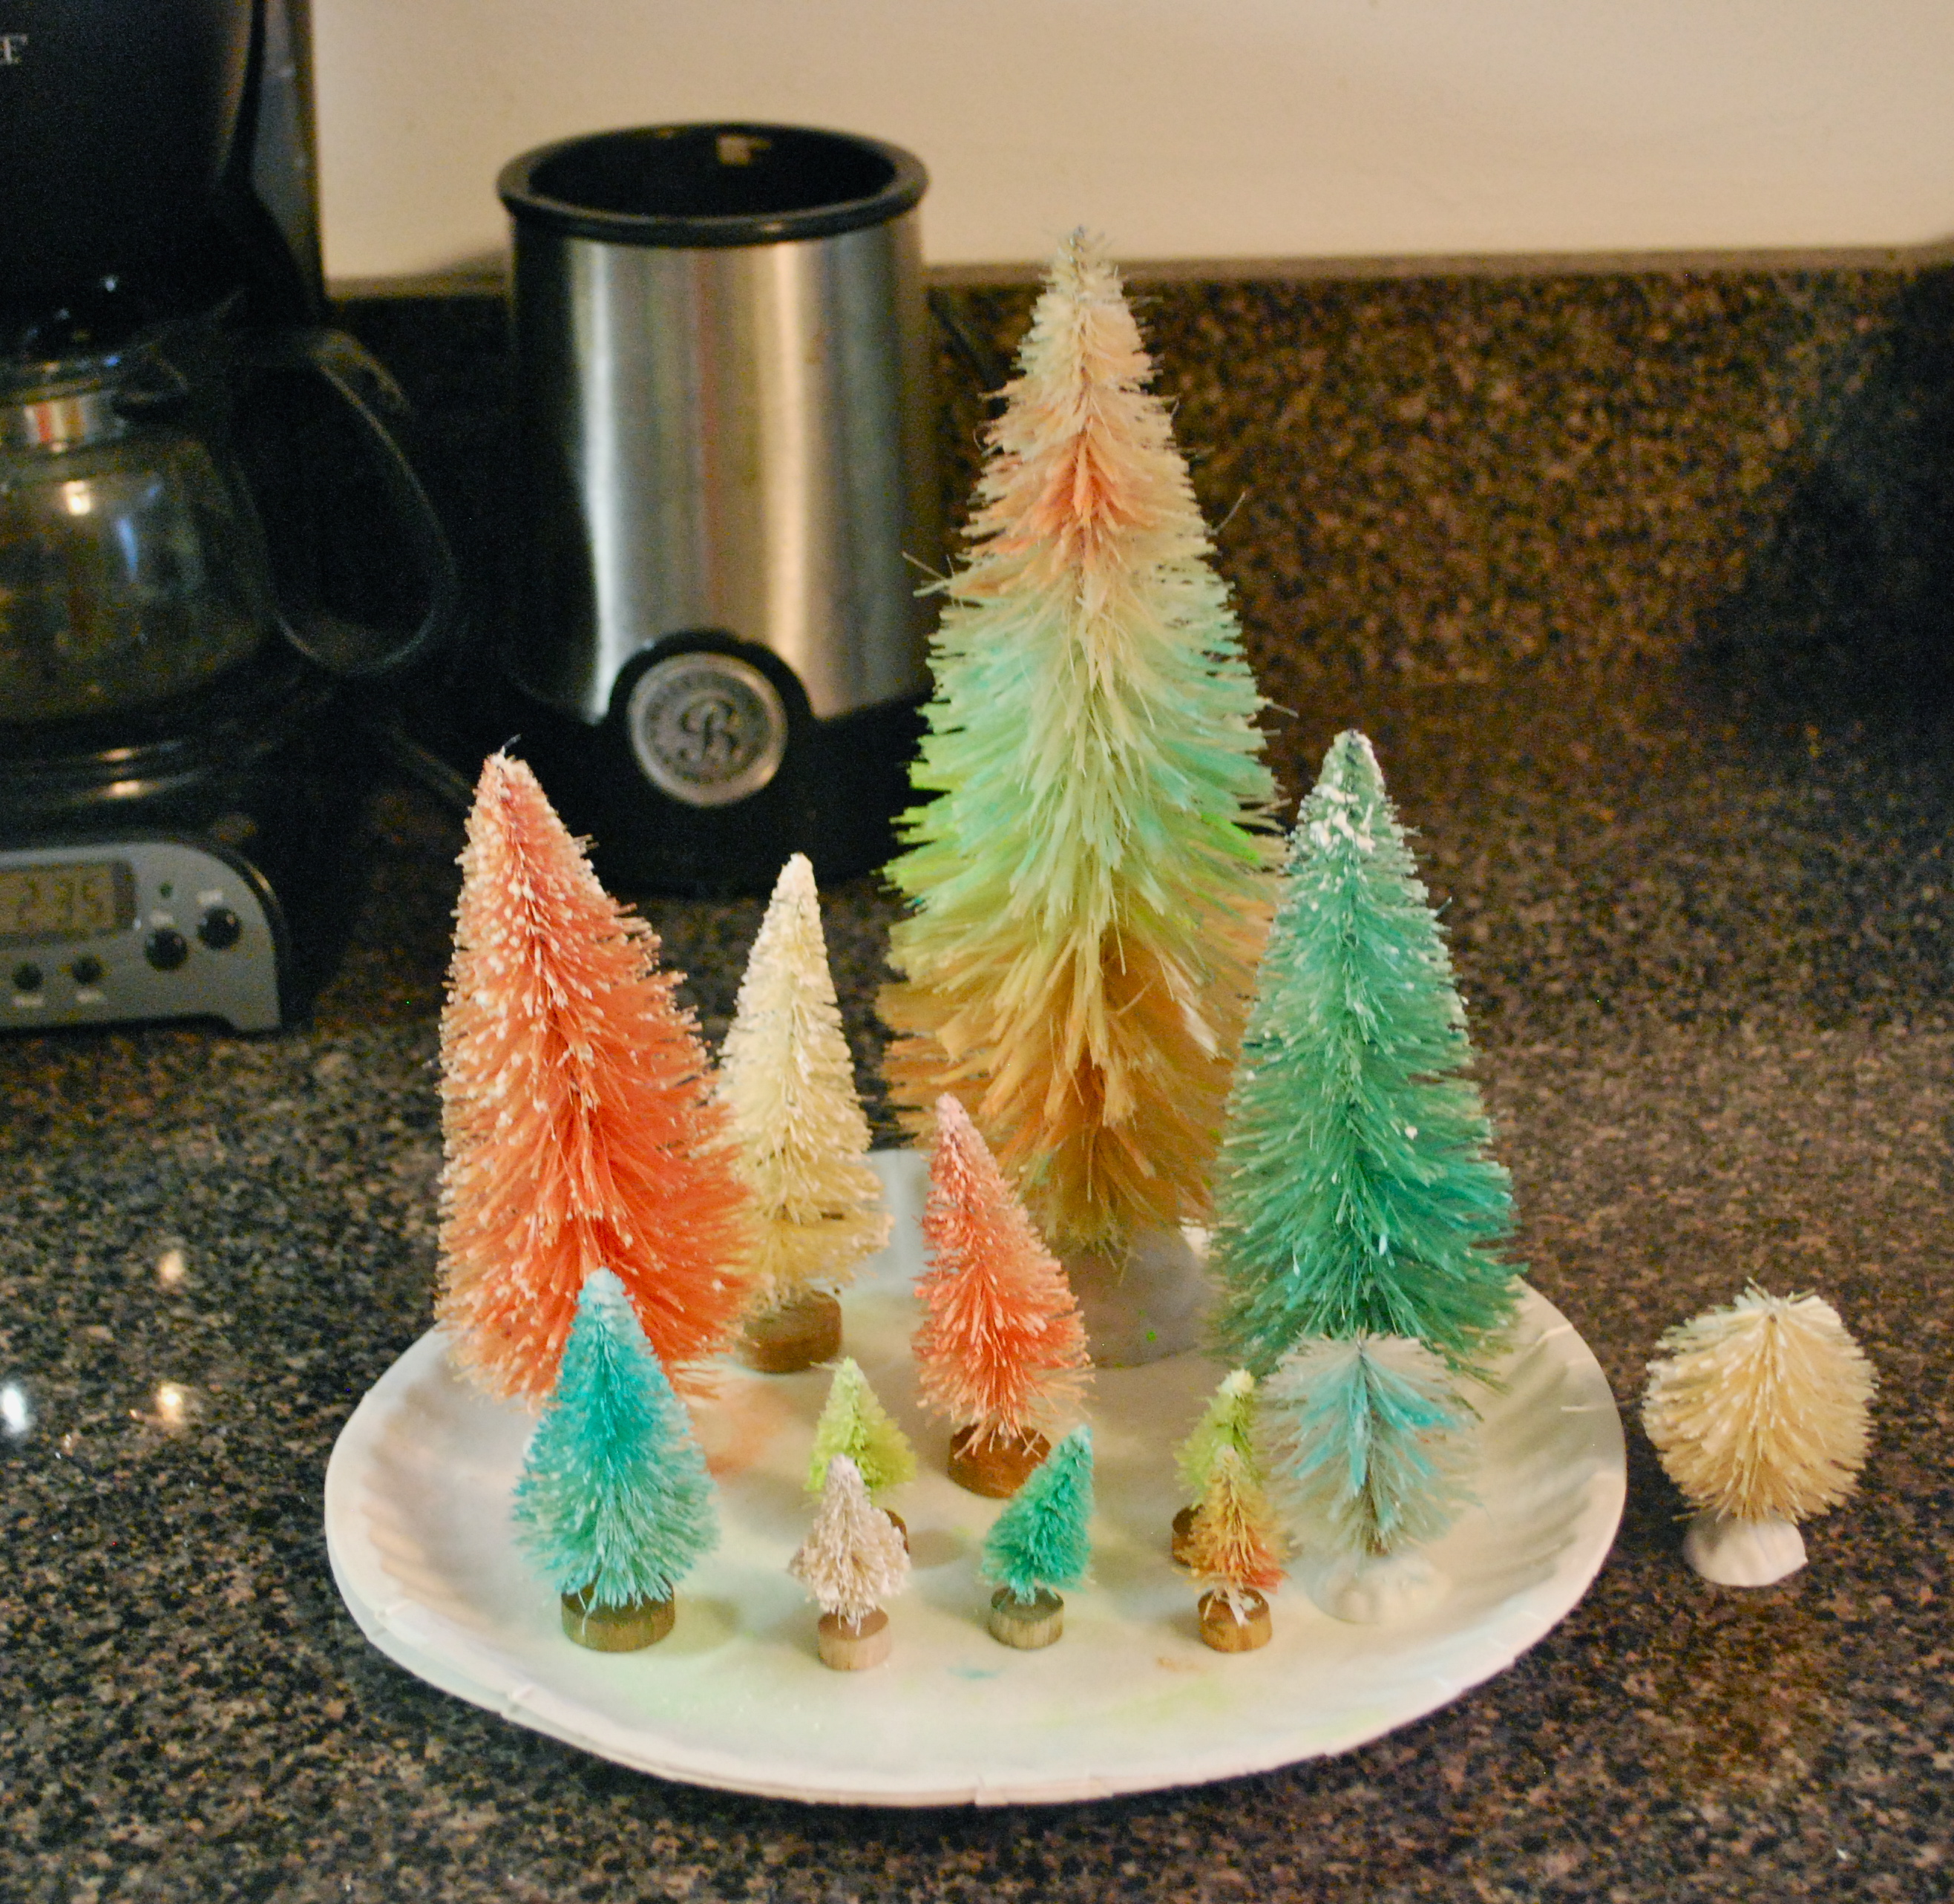
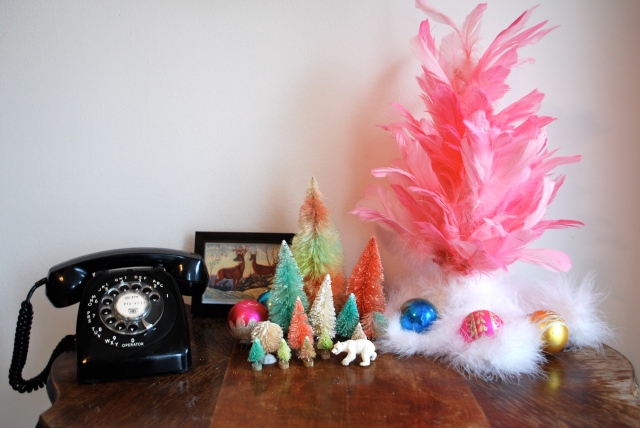
I also touched up the happy accident trees a bit with the spray dye and mixed a bit with water in a spray bottle to get different shades.  On the biggest tree I sprayed a couple different colors for an airbrushed ombre effect.  That was another reason I used the spray, for the ombre effect, but if you’re going for one solid color, I’d recommend the dip dye method.

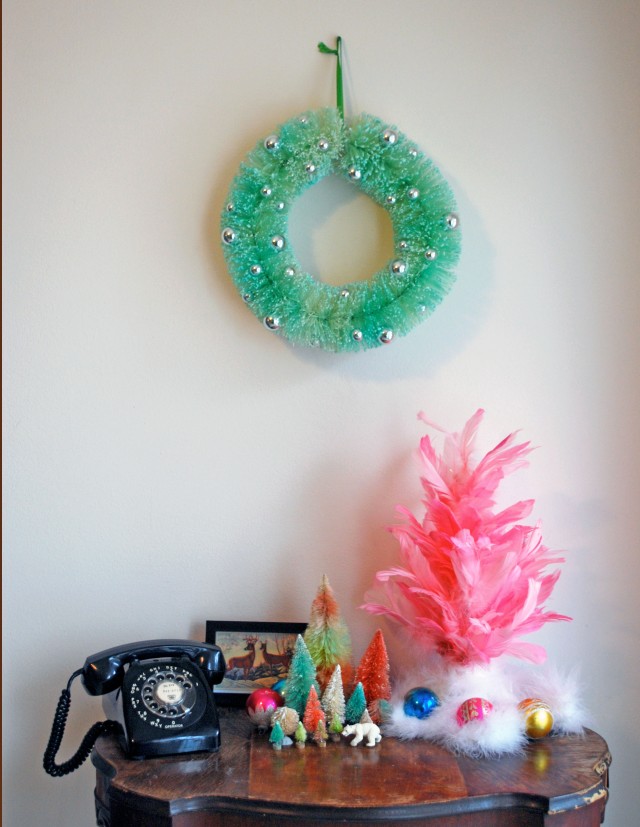
I love how they turned out, and I also sprayed a bottle brush wreath I found at Joanne Fabric! Show me yours on Instagram with the hashtag #peppermintsandhoneybees.

I also dyed this bottle brush wreath I found!

Happy Holidays!

IMG_3719

Decorating My Tiny Apartment for Christmas

Hello, I hope everyone is doing well and getting everything ready for Christmas!  I thought I’d show a couple pictures of some of my Christmas decorating this year.  We wanted to get a tree but I couldn’t find any for a price I wanted so I’ll wait and look after Christmas.  My mom taught me to always shop for holidays after the actual holiday for the next year! SO anyway since we didn’t get a tree I strung all of my ornaments on a garland and I actually really like they way it looks.  I also found these adorable peppermint and red, green and white globe bulbs at Target in the $3 section.

Happy decorating!

IMG_3719

DSC_0048 DSC_0046 DSC_0065

DIY Snow Globes

DSC_0075

Hello, I’ve been busy trying to get all of my Christmas shopping done and make the presents that I am hand-making.  This was actually something I made last Christmas as presents for everyone and silly me I didn’t take any pictures of all of them before I gifted them, probably because I didn’t have a blog yet, but I do have one left.  I kept this little guy for myself to put out.

I had looked at quite a few different blogs to see how they made theirs and after reading about how the ones containing water and glycerin had made the green of the bottle brush trees bleed after a year, I decided to go without liquid.  I was worried it wouldn’t look as cool but I was pretty happy with how they turned out, as I was going for more of a terrarium scene than actual snow globe I guess.  Plus I didn’t have to buy glycerine!

I used:

  • Old glass jars with lids
  • Bottle brush trees
  • Tiny winter animals, cars, people, houses, ect.
  • fake snow (mine is from Michaels where the miniature Christmas village houses and stuff is)
  • glass beads to glue on tree for ornaments (optional)
  • I used bakers string for the jar, you could also use ribbon or nothing at all
  • Spray-paint (again optional)  I spray-painted all of my jar lids silver because they were from food jars
  • Glue, I used my trusty E-6000 but hot glue would also work

I glued the tree and animal to the inside of the lid and put the desired amount of snow in the jar.  I then screwed the lid on after everything was dry and voila,  It’s that easy! I’d love to see what yours look like so put them on Instagram and hashtag them #peppermintsandhoneybees.

IMG_3719

DSC_0076DSC_0078