Pumpkin Terrarium

DSC_0019

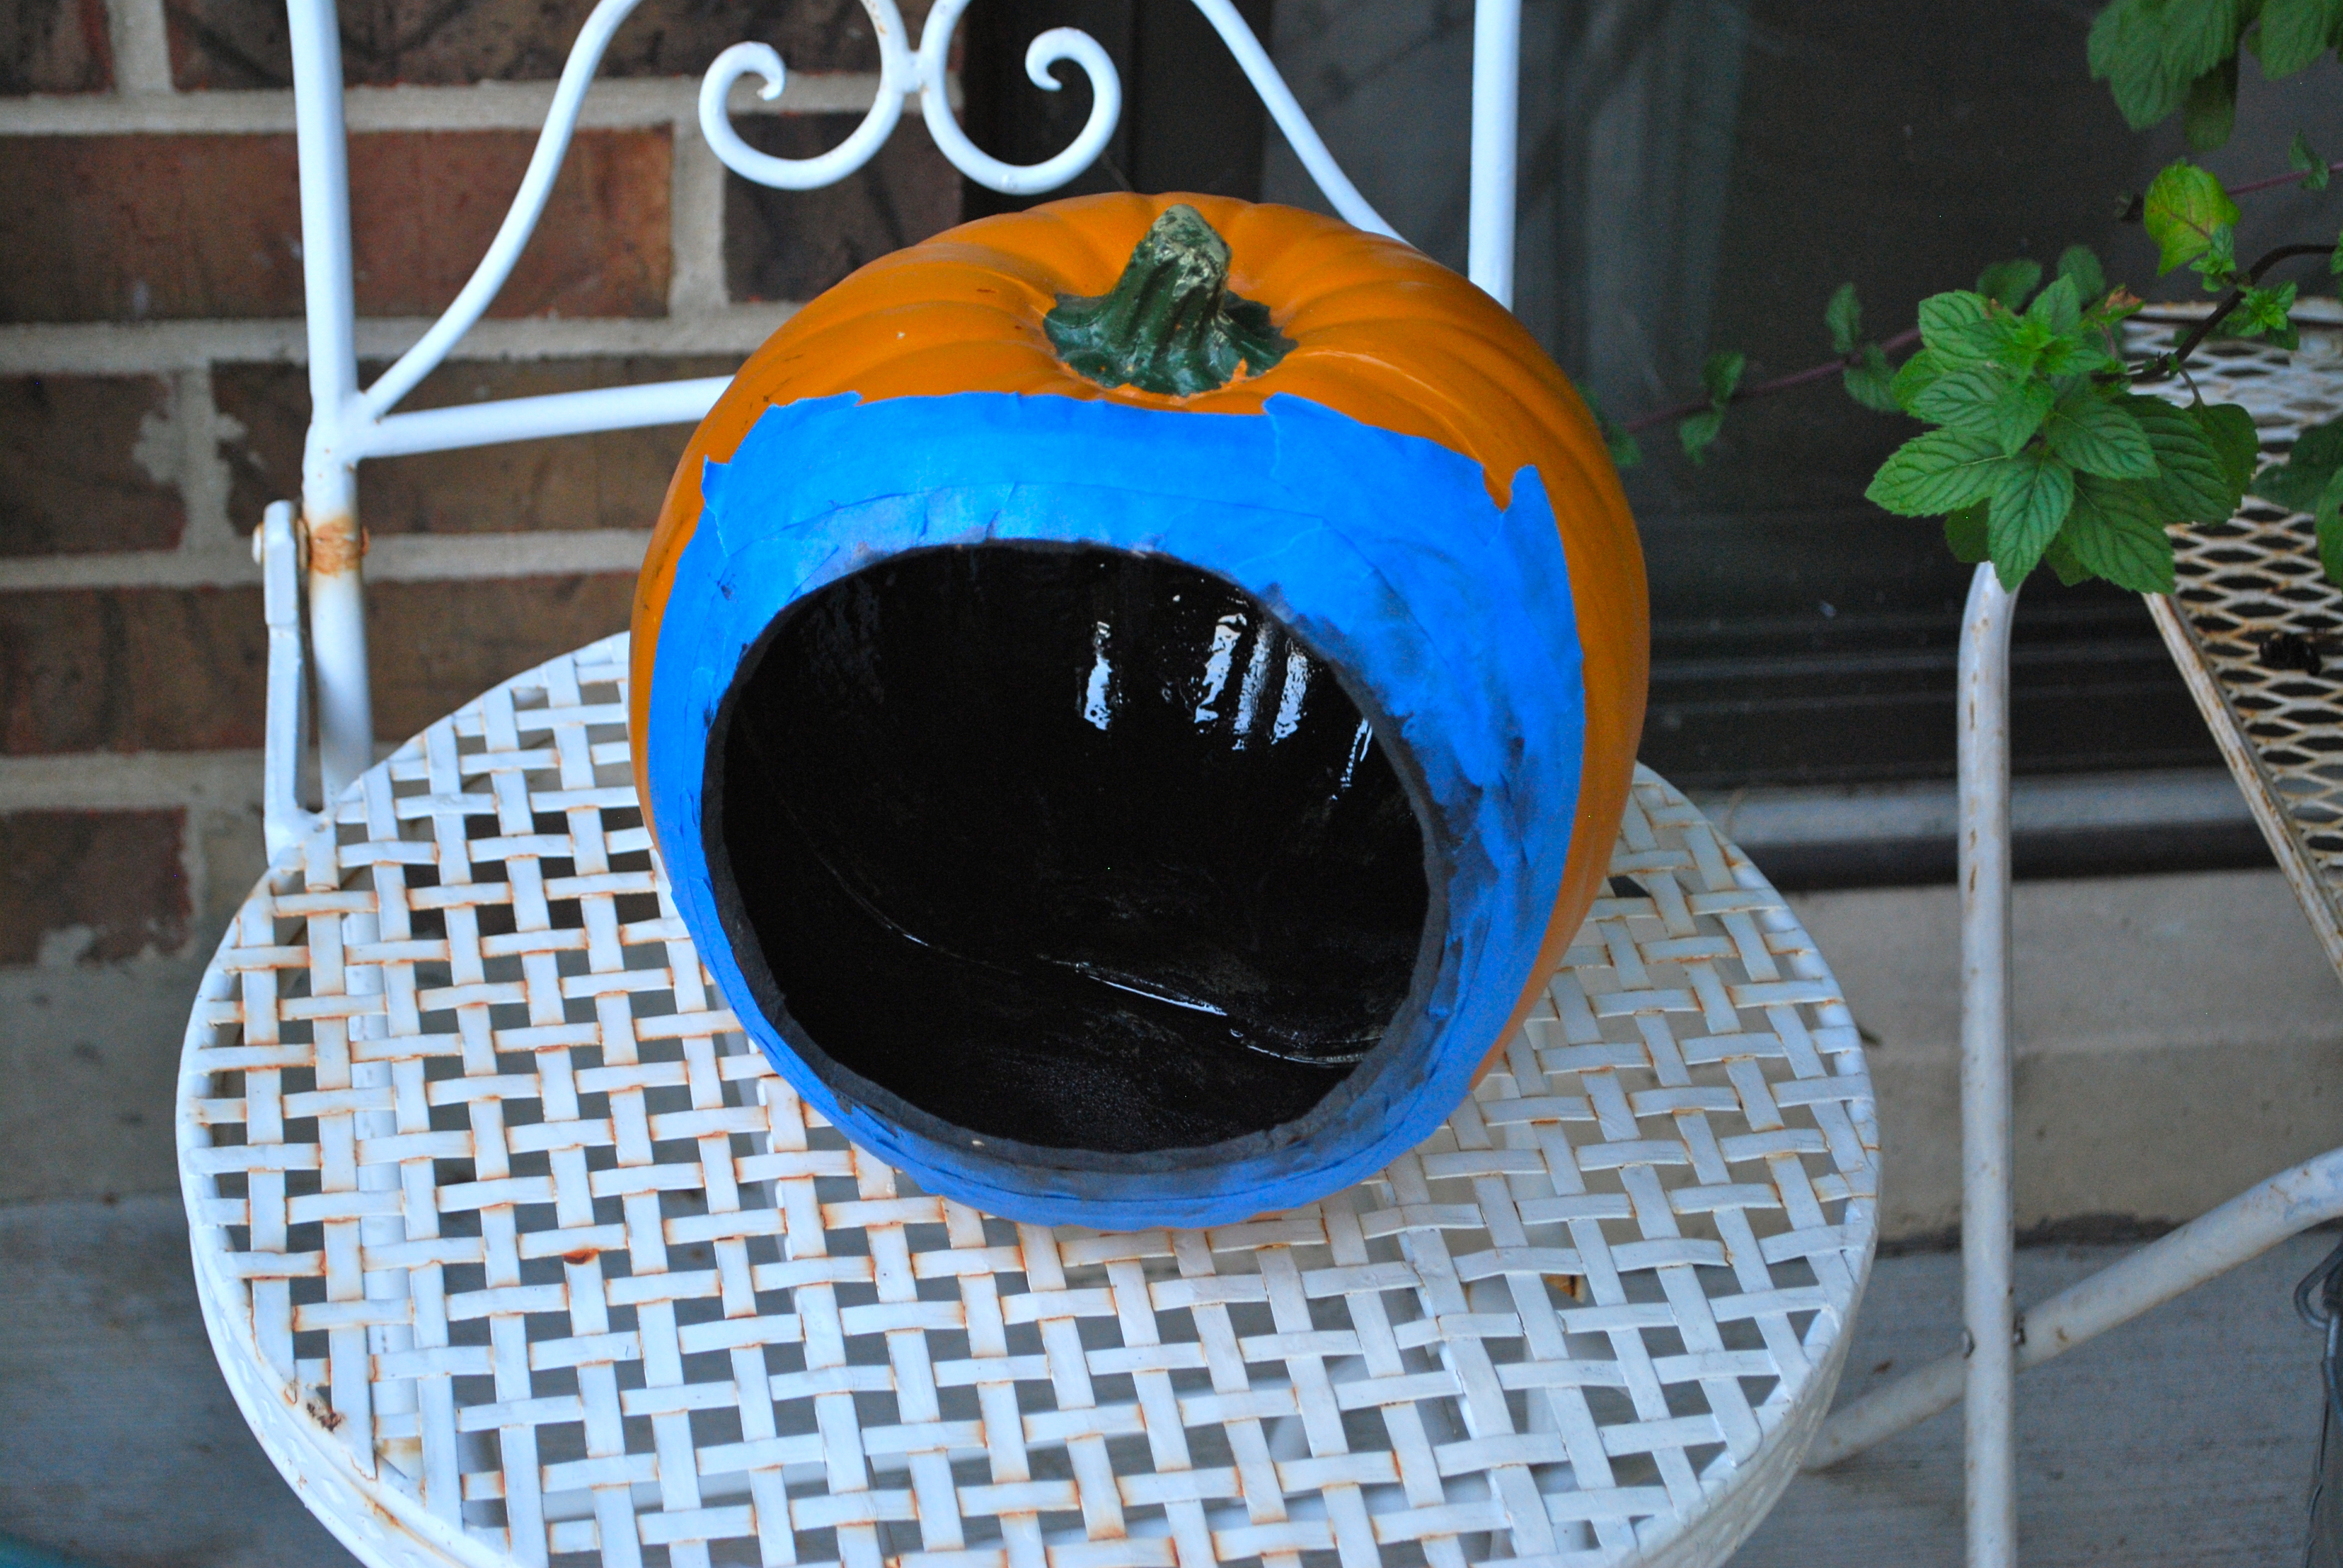
When I was in elementary school I always secretly loved projects where I got to make dioramas. I’ve always loved miniatures and love making little scenes. So when I found some pictures on Pinterest here and here that combined my love of dioramas with my love for Halloween I knew what I had to do!  I found the foam pumpkin at Goodwill. Someone had tried to carve what sort of looked like a castle and gave up so I buggy it and just cut a big hole out where they had started carving. Of course you can just by a new foam pumpkin from any craft store in the fall. Just make sure it’s the hallow carve-able kind!

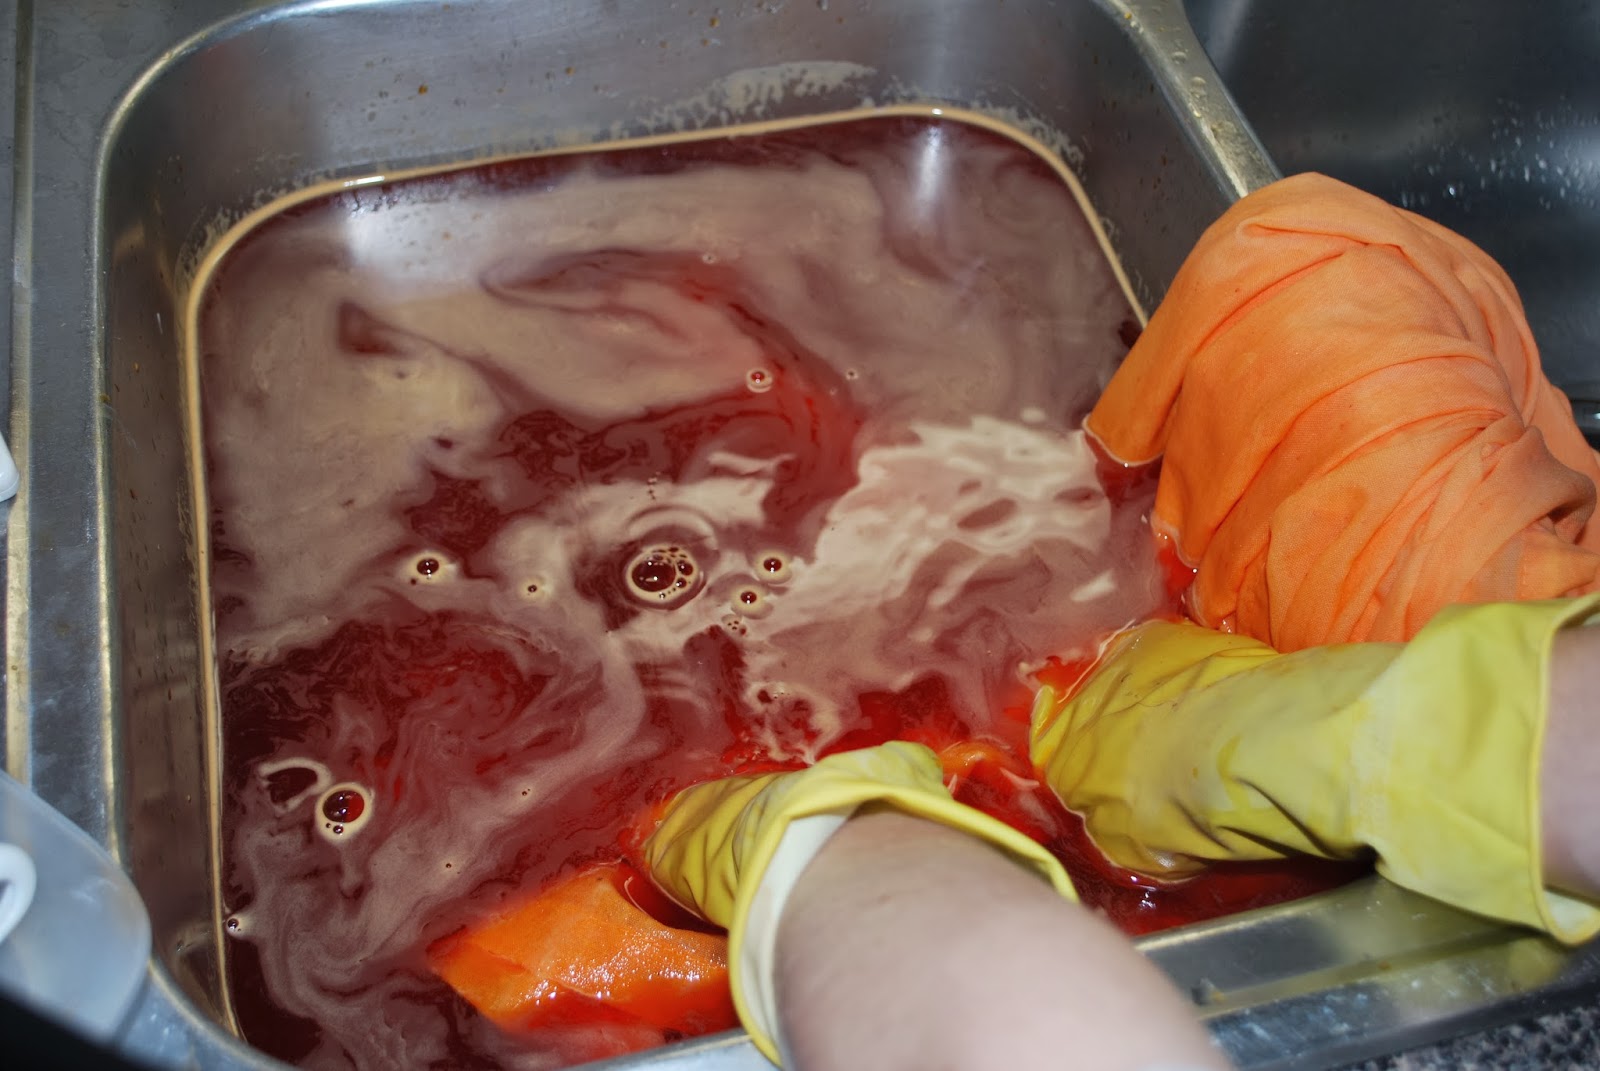
I chose to spray paint the inside black as shown below but it’s totally up to you what you want the inside to look like.

DSC_0389

I used rocks, sticks and different kinds of moss for the terrarium.  The moon and stars are glow-in-the-dark stickers and the fox is a little figurine from Joann’s.  Finding things to put in is half the fun!  I’m still on the hunt for very tiny battery powered led string lights that I can attach the the top inside to shine light down on my scene.  It’ll be fun to switch things around every year.  Now get to crafting!

IMG_3719

DSC_0018

Decorating My Tiny Apartment for Christmas

Hello, I hope everyone is doing well and getting everything ready for Christmas!  I thought I’d show a couple pictures of some of my Christmas decorating this year.  We wanted to get a tree but I couldn’t find any for a price I wanted so I’ll wait and look after Christmas.  My mom taught me to always shop for holidays after the actual holiday for the next year! SO anyway since we didn’t get a tree I strung all of my ornaments on a garland and I actually really like they way it looks.  I also found these adorable peppermint and red, green and white globe bulbs at Target in the $3 section.

Happy decorating!

IMG_3719

DSC_0048 DSC_0046 DSC_0065

How to upgrade a plastic hanging basket

So I’ve had this plant for about four years now which for me is an eternity!  I definitely do not have a green thumb, most of my plants die right away, but this little guy has been able to survive me so far.  I kept it in the plastic basket it came in because I was too scared to re-pot it but hated the way it looked in my house.  I figured a simple fix would be to take the plastic hanger off, drill four holes evenly spaced around the top of the rim and string twine though to hang, and it made such an improvement with very little cost and no replanting, yay!

20140316-194013.jpg

Ombre Dyed Curtains

DSC_0192

As I mentioned earlier I am all about dyeing so when I saw some thing similar to this on pinterest from a blog called http://www.vitaminihandmade.com/.  I thought I would give it a try to add some color to my boring white living room. I went with sunshine orange in the Rit dye and bought some inexpensive white curtains at IKEA. I didn’t want to spend a lot in case it didn’t work out.

I got the curtains wet in my double kitchen sink and filled one side up with hot water and the dye. I kept both curtains together at the top to make sure the dye pattern was the same on both. I wanted the top to have a little color so i dipped the whole curtains in for a few seconds and then removed all but about a foot, leaving the rest in the empty sink. I soaked it for about five minutes and gradually kept putting more and more in for about half way up.


After I had what looked to be good I rinsed the curtains in cold water and washed and dried them in my washer and dryer. They were a little lighter than I had hoped they would turn out so I bought one more box of Rit, just to do the bottoms. After this time I liked the way it looked. I guess it just depends on the look you are going for and the color, so you may or may not need two boxes of dye. I’m pretty happy with the way they turned out!

DSC_0202


DSC_0197


curtains