Painted Wooden Bangles

IMG_4173.JPG

IMG_4166.JPG

Wow, has it really been a month since I posted anything? Bad Jenna, bad! I have been working on things but not to completion I guess. I’ve been busy working and doing other fun things such as the Renegade Craft fair in Chicago, here’s their link. They do shows around the county and in London. It’s like etsy only not online! I had said that this was the year I’d finally have a booth but once again I chickened out. Boo me! But I did go to shop and like always it was amazing with amazing people making amazing art, jewelry, pottery, clothing and other goods. I also went to the Chicago riotfest this past weekend and rocked out! This was the third year in a row that Ben and I went and like always it was packed with awesome bands! Here’s the lineup if you were curious. Riotfest is in Denver this weekend.

IMG_4107.JPG

IMG_4102.JPG
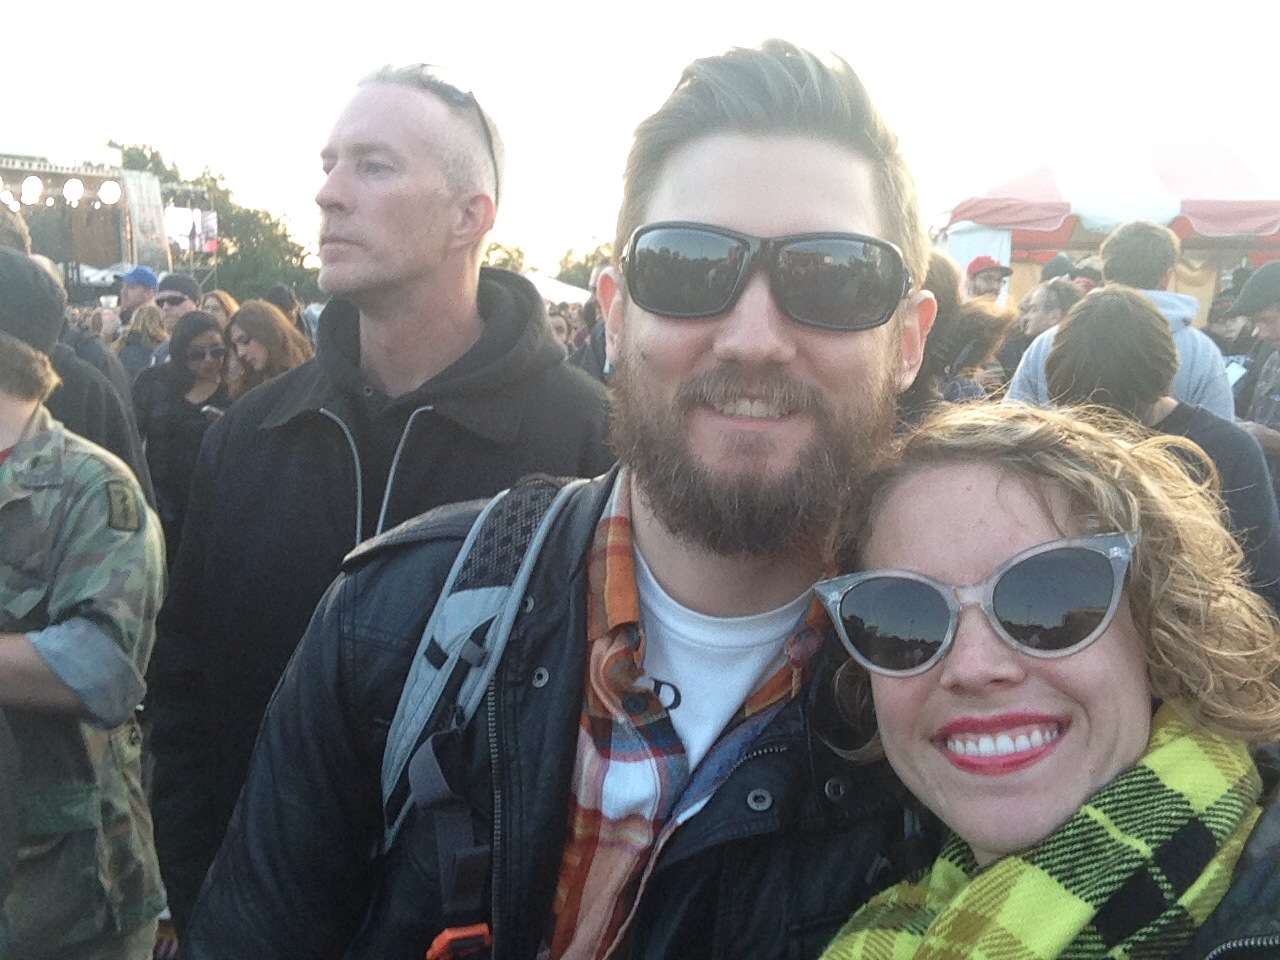
I got a pretty good spot for Metric, one of my favorite bands and here’s one of Ben and I waiting for Social Distortion to start.

IMG_4193

Any who like I mentioned one of the things I’ve actually finished recently was these two wooden bracelets I painted and then sprayed with a clear coat for protection. I’ve been really into all the constellation accessories I’ve been seeing lately and wanted to make my own take on the trend. And the triangles are just one of my favorite color pallets. It’s very summery because I guess I’m sad I see summer leave so soon. I love fall, don’t get me wrong but summer and I have a special relationship and goodbyes are always hard!

Well forgive me for the time gap and I’ll try to post more. Let me know what projects if any I should try out!

IMG_3719.JPG

Vegan Coconut Cupcakes with Peach Frosting

DSC_0397I’ve been searching for the perfect basic cupcake recipe for a while.  I wanted a basic go-to recipe that I could use to base other concoctions I try out.  I found one at handletheheat.com that had a good, easy, basic recipe and it showed what happened if you subbed different ingredients out for others.  I love trying to make dessert recipes  healthier, and I’m not vegan, just vegetarian, but I try to limit my dairy so I wanted to try and make a go-to vegan cupcake recipe.  I like to see if I can make desserts still as tasty while switching the ingredients. 

I listed the original recipe along with the things I switched out such as almond milk, flax seed for eggs, and coconut oil for butter.  The next batch I make, I’ll probably use coconut or rice flour to see if I can make it gluten free too.  I have a niece who has Celiac disease and can’t have gluten, so I like to make sure she can still enjoy as many of the same treats as everyone else. 

For the icing I wanted to use something I had already and had bought peaches the day before so I decided to try and make some vegan icing with coconut oil and powdered sugar.  This one I made up as I go, but the measurements should be pretty close.  Just eyeball it!  Also make sure to keep these refrigerated so the icing doesn’t melt. 😉

DSC_0404DSC_0394

Cupcakes:

  • 1 1/2 cups flour
  • 1 1/4 teaspoons baking powder
  • 1/4 teaspoon salt
  • 1 cup sugar
  • 1/2 cup unrefined virgin coconut oil
  • 1 egg or 1 teaspoon flax seed + 2-3 teaspoons water (enough to make the consistency of an egg)
  • 3/4 teaspoon vanilla
  • 1/2 cup of milk (I used almond milk and it turned out fine)

Combine all dry ingredients and then add wet.  Mix with a hand mixer and then scoop into lined muffin tin.  The batter will be a little thicker than regular cake batter so don’t worry. 

Bake at 350 degrees F for 30 minutes.  Makes 12

Icing:

  • 1/4 cup unrefined virgin coconut oil melted
  • 1 peach blended in a blender, bullet, or food processor 
  • 3/4 teaspoon vanilla
  • 1 tablespoon milk (again I used almond milk)
  • 1 cup powdered sugar (you may have to add more if it’s too watery)

I also added a little flour to mine to thicken it up.  Add all ingredients and blend with a hand mixer. Next let it set in the fridge for about an hour or about 20 minutes in the freezer to thicken up the icing.  And again since it’s made with coconut oil you’ll need to keep these refrigerated so the frosting doesn’t melt.

Also I used whole wheat flour in my cupcakes because that’s what I had but for the next time I think I would use either regular flour or coconut flour.  The wheat flour gave the cupcakes a kind of muffin taste, which wasn’t bad but if you’re going for a more traditional cupcake taste I’d use something else.  Enjoy!

20140803-193534-70534607.jpg

DSC_0401

DIY Running Belt


DSC_0385Happy Saturday!  I finally got my sewing machine working so I’ve been trying to finish a bunch of projects I attempted to start and haven’t been able to do.  The first one I finished was this running belt to hold phone, keys, music, etc.

They sell these handy little accessories at stores but they’re pretty pricy and for what it is, I figured I could make one for quite a bit less.  They just have an opening or two where you stick your stuff and them flip them over to hold everything in place.  Now I originally wanted to add a zipper and fold over elastic to the edges but after the issues with my sewing machine I decided to keep it simple and it still works great.  Feel free to make yours more jazzy though!

DSC_0381DSC_0382

First I bought 1/4 a yard of a nylon spandex mixed fabric from Joanne Fabric.  I folded it over and sewed it together leaving an opening for the pocket.  I then cut slits were the opening for the pocket were and folded them down and sewed.  I them flipped the belt right side out and with the pocket facing out I sewed the ends together.  When doing this step be sure to get it nice and tight.  The fabric stretches so I had to make mine quite a bit smaller than I thought I would need to.  Remember it’ll be bouncing around when you run so you don’t want it sliding or falling down.  The fabric was a little hard to sew because it is slippery so definitely pin it.  Then cut the extra, fill it up and flip it over so the opening is facing in.  Then you’re ready to run. 😉  I’ve been trying to get up to 5 miles and I’m half way there so this should help me get there.  Let me know how you use yours! 

20140803-193534-70534607.jpg

Stapless to Halter Dress DIY

DSC_0324

Hello,

I’ve been starting to get a little sad now that summer is heading towards an end but I’m also starting to get into the fall mindset and have started wearing more olive greens and burn oranges now. 

I recently found this dress I really really wanted two summers ago from Pacsun.  I didn’t buy it at the time because it was a little more than I was wanting to spent so I let it go.  On my most recent trip to Plato’s Closet though I found it on the sale rack for 50% off!  the only problem was that it was an XL and I am usually a small or medium.  it also had a hole by the zipper and a few of the seams were starting to come apart.

  I figured since it was so cheap I could try to fix it, so I made it into a small by sewing the side seams smaller and hand stitched the holes back.  I sewed out the zipper which really wasn’t a problem on this dress because the back was stretchy so I’m still able to get it on without a zipper.  After I was done I decided that I kinda wanted it to have straps so I wasn’t pulling it up all day. (I’m sure you small chested girls know what I’m talking about!)  I also didn’t want to have to wear a strapless bra with it, again the whole pulling it up thing!

steps

Since it’s the end of summer I was able to find this black bikini top at Old Navy on sale for $4.95 and I hand sewed it into the front of  the dress for a built in bra plus halter straps, pretty clever I think. 😉 I machine sewed the straps to the top so they would be secure and hand stitched the cups in so that the stitching wouldn’t show through the front.  Also I’ve been having sewing machine issues, which are very frustrating and angering sooo yeah….I’ve been hand-stitching what I can.   But I’m pretty happy with the result. 🙂

DSC_0344DSC_0327DSC_0330

I also got this green shirt at Plato's Closet for $2.50! I thought they looked nice together

I also got this green shirt at Plato’s Closet for $2.50! I thought they looked nice together

DSC_0350

20140803-193534-70534607.jpg

Clip-on Earring Refashion

I have a whole box of vintage jewelry that my uncle got me at an auction and some of the prettiest pieces are the clip-on earrings. I like most women these days have pierced ears and am too afraid that clip-I earrings will fall off. 20140803-191622-69382081.jpg

I have one way to wear them though! I use either a hair clip or bobby pin, depending on how heavy they are and wear them in my hair. It’s a pretty way to fancy up an outfit and I get to wear my clip on earrings!
20140803-191935-69575960.jpg

20140803-192819-70099425.jpg

20140803-192816-70096657.jpg

20140803-192818-70098454.jpg

Lots of them on your hair would look cool too!

20140803-193534-70534607.jpg

Sesame Soy Kale Chips

If you’re like me you love anything sweet to snack on but sometimes something salty and crunchy is in order. I made these kale chips yesterday and they are almost already gone! They’re super easy to make and healthier than most salty snacks!
20140730-121100-43860698.jpg

You will need:
•a gallon sized ziplock bag
•one bunch of kale. Must be cleaned dried and removed from the stems
•soy sauce
•sesame seeds
•garlic (optional)

Begin by cleaning kale and ripping it up in sections about an in ch or two wide. Lay it out to dry as I did here.

20140730-121741-44261952.jpg

Next add 1 tablespoon olive oil to the bag with 1 1/2 tablespoons soy sauce and 2 tablespoons sesame seeds. I added about 1/2 tablespoon of minced garlic to mine as well.

Add the kale and seal with air in the bag. Then shake until it is all coated. Next open the bag and let the air out, close it and work the mixture in so it is evenly coated throughout the kale.

20140730-122203-44523391.jpg

Spread the kale out onto a lightly sprayed baking sheet or pan and bake at 300 degrees Fahrenheit for 30 minutes or until it’s crispy.

20140730-122415-44655173.jpg

Then enjoy! I should warn you they are addicting. 😉

For more flavors I found a list at Refinery29

20140730-122728-44848986.jpg


20140730-173135-63095667.jpg

Table and Chairs Refresh

DSC_0260

I’ve never really liked this table and chairs since they look like and probably are from the 90’s.  Ben had gotten them used before we lived together and were definitely outdated and showing their age.  We were going to buy a new dining room set but couldn’t find one (or a price) that we like. I decided that since they are still in pretty good shape we could keep them a little longer and I’d be happier with them if they looked a little more modern and a little pop of color can go a long way!  I painted everything that was painted white and left the wood showing.  I used satin latex paint with a semi-gloss polycyclic over it to seal it.  It did take about four coats of the blue though since I was painting  such a dark color over the white.  It was a nice summer project and I’m pretty pleased with the way it turned out!

20140720-181325-65605918.jpg

Before

After, plus my Birthday Flowers! :)

After, plus my Birthday Flowers! 🙂  Plus find the cat for bonus points…

DSC_0267

name


My trash finds of the summer

DSC_0239 So this weekend my neighborhood held a trash day for bigger items and furniture. I of course went around to see what was out and found a wicker chair and ottoman and a coffee table just on my street! I could see why they were out for the trash. The chair and ottoman needed cleaned and repainted and was missing a couple pieces. They aren’t perfect but the price was right so I took them and made them new-ish. Now I just need to find a cushion! The table I took because we’ve been wanting to get a coffee table, but in closer inspection I discovered that two of the rungs on the bottom layer are split and it’s a bit wobbly. Not really great for the living room but not as noticeable for an outdoor table. I love saving things and making them new!    

20140722-144135-52895749.jpg

Before

After!

After!

  name

Dip Dye Dress

DSC_0215
DSC_0213  DSC_0227 DSC_0224

Hello all! I have been wanting to be able to post this all summer, but haven’t been able to because it’s taken me all summer to get it right.  Arg! I think I finally got it to how I like it.  It’s not quite as I had pictured in my head but oh well, that just goes with the territory of making things sometimes.  I bought this awesome gray dress at Plato’s Closet, one of my favorite used clothing stores and wanted to spice it up a little bit.

I had originally planned on bleaching the bottom 1/3 and then dip dye the very bottom either purple or blue, so that it would go gray, a bleached cream color, and the purple on the bottom, but after bleaching didn’t get it completely bleached (and I tried a couple times) I tried dying with Rit.  Well the color didn’t take so yeah…  I’m pretty sure all of my problems were due to the material of the dress, it’s mostly polyester and rayon. So moral of the story is check the fabric before dying, lesson learned!

I did how ever get it to a color I like by dying the bleached part with a mix of beet juice and mulberry juice.  I love when the natural way is the best way!  So here is my final result.  Not what I had first pictured, but I still love this dress.  Plus it has the built in bra pads so woohoo!

name

Homemade Cards

20140712-120925-43765709.jpg

20140712-120928-43768819.jpg
Hey all!  I have a fun diy for anyone who just can’t find cards in the store that they like.  It’s a fun alternative to stamping or just paper cards.  I made this one for my uncle’s birthday.  He loves flamingos and I can never find good uncle cards that suit him.  I used canvas that I washed with paint and then embroidered the flamingo.  You can pretty much do whatever you want.  If you’ve never embroidered before try it out on some scrap fabric before you start and draw out your image with a pencil to help.  I spray mounted the canvas onto a folded piece of cardstock and wrote my own message inside.  He loved it!

Let me know what you can come up with, and have a good rest of your weekend!

name

20140712-120926-43766617.jpg