Hey Peeps! I have a super cool project that I actually made a few years ago, but it’s still a good one so I thought I’d share it. All you need is a yard of fabric for the panels and a 20″x20″ piece for the bottom piece, a sewing machine, and 8 dowel rods that are 1/4″ wide. I got the original idea from a book titled “One-Yard Wonders” by Rebecca Yaker and Patricia Hoskins.
After you cut your panels out you need to sew the sides of each three side panels together, leaving 1″ of space between the seam and the edge of the fabric. Then sew the ends of the insides of the panels leaving a pocket to push 4 of the dowel rods thought. Don’t put the rods in till everything is sewn though. Next sew the seams on the tops and bottoms, leaving the dowel rod openings.
Next for the Base cut a square that is 20×20″ wide and cut a square notch on each corner that is 2″. You will fold the sides in 1″ and sew the seam like in the picture, only I made all sides the same. Don’t forget to leave an opening for your last 4 dowel rods. These will have to be cut smaller to fit. Leave a few inches sticking out on each side.
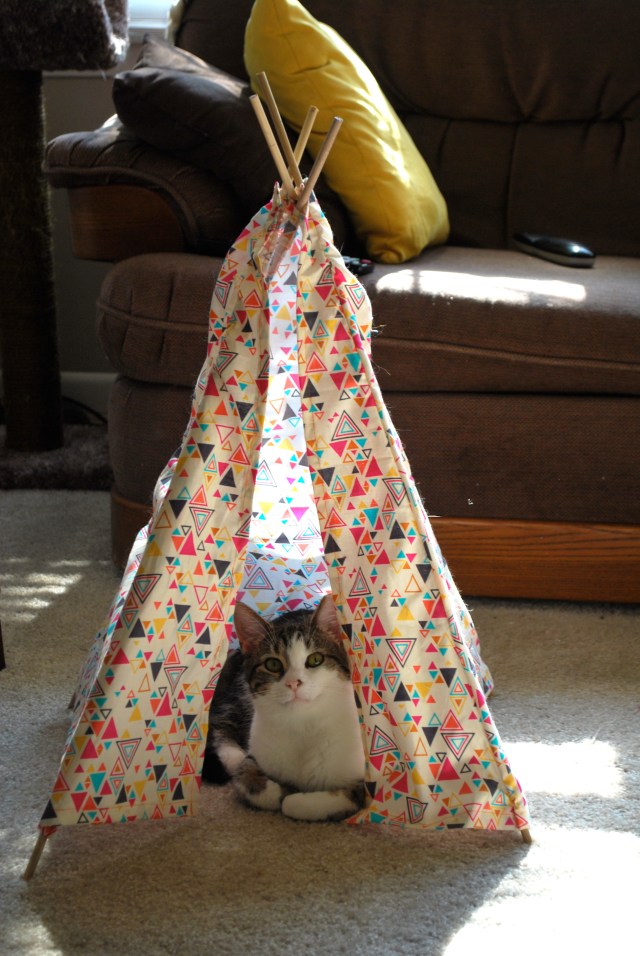
After the bottom is sewn, attach it to the rest of the tepee by sewing the top of the bottom section onto the inside of the tepee. and then insert your dowel rods. I also tied a piece of fabric around the top to secure the dowel rods.
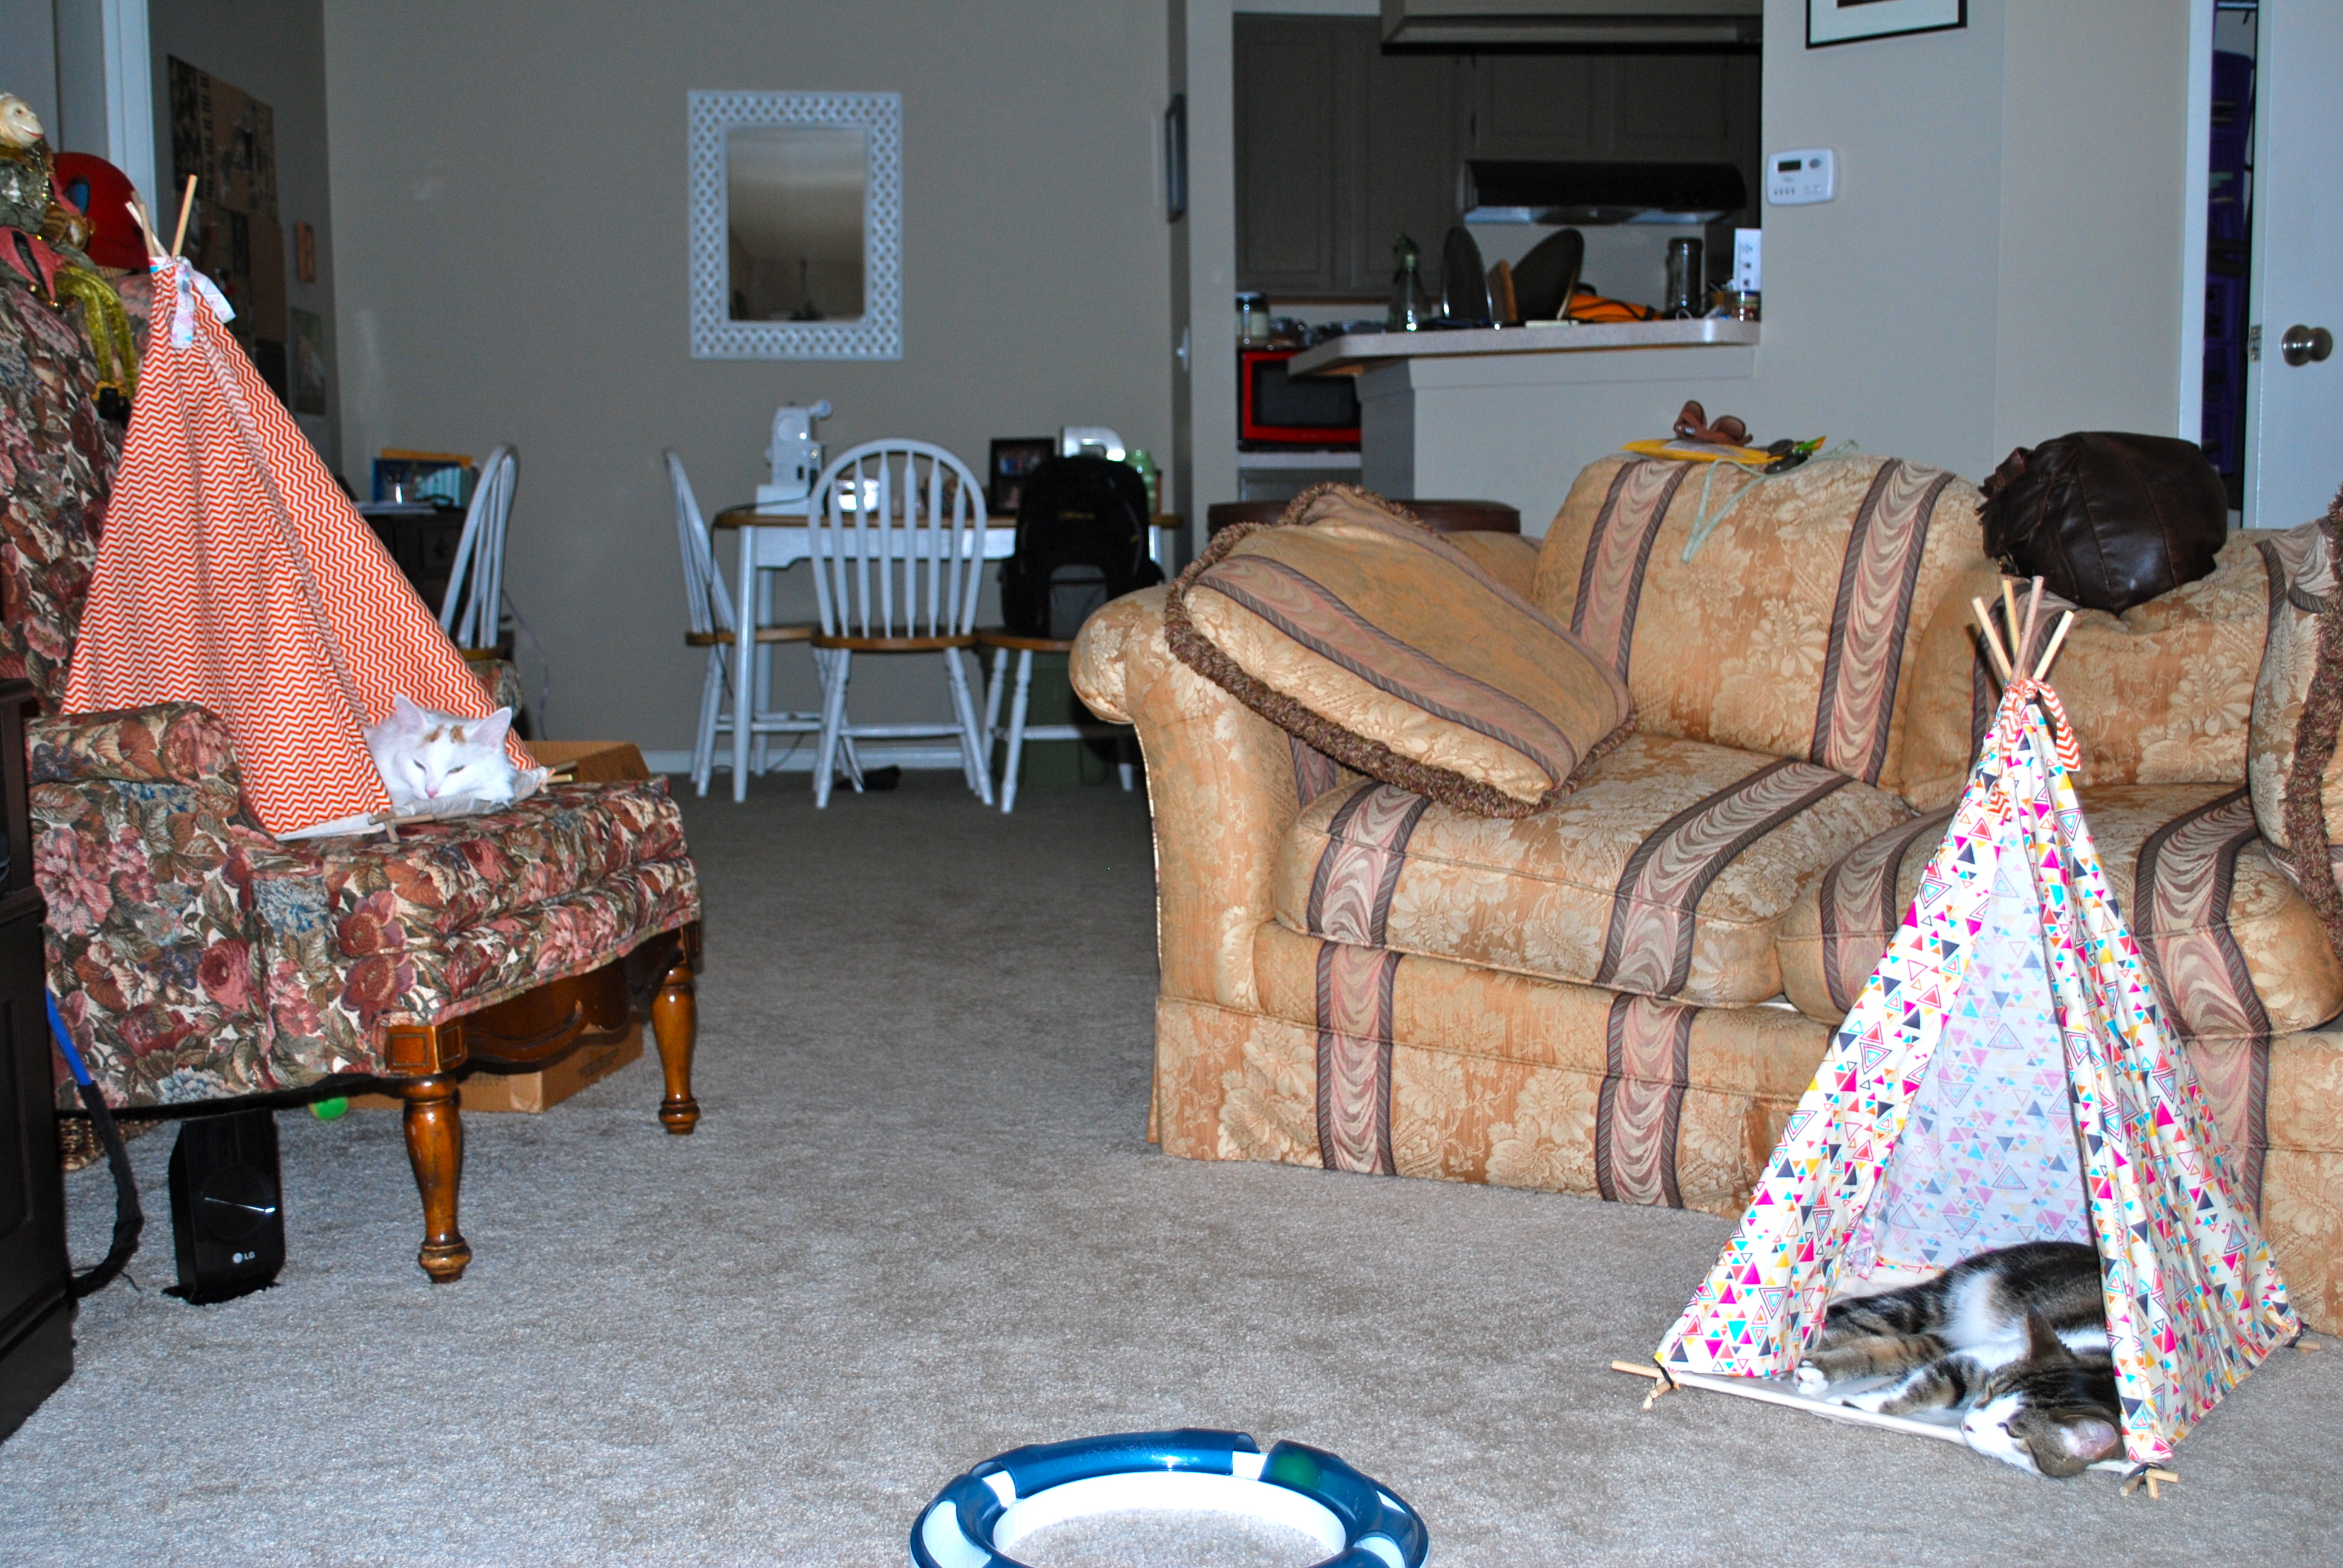
As you can see Gatsby claimed this one and still uses it! Lucy will sit in it occasionally but if your cat likes hiding in things (like most cats), then they will love a tepee!

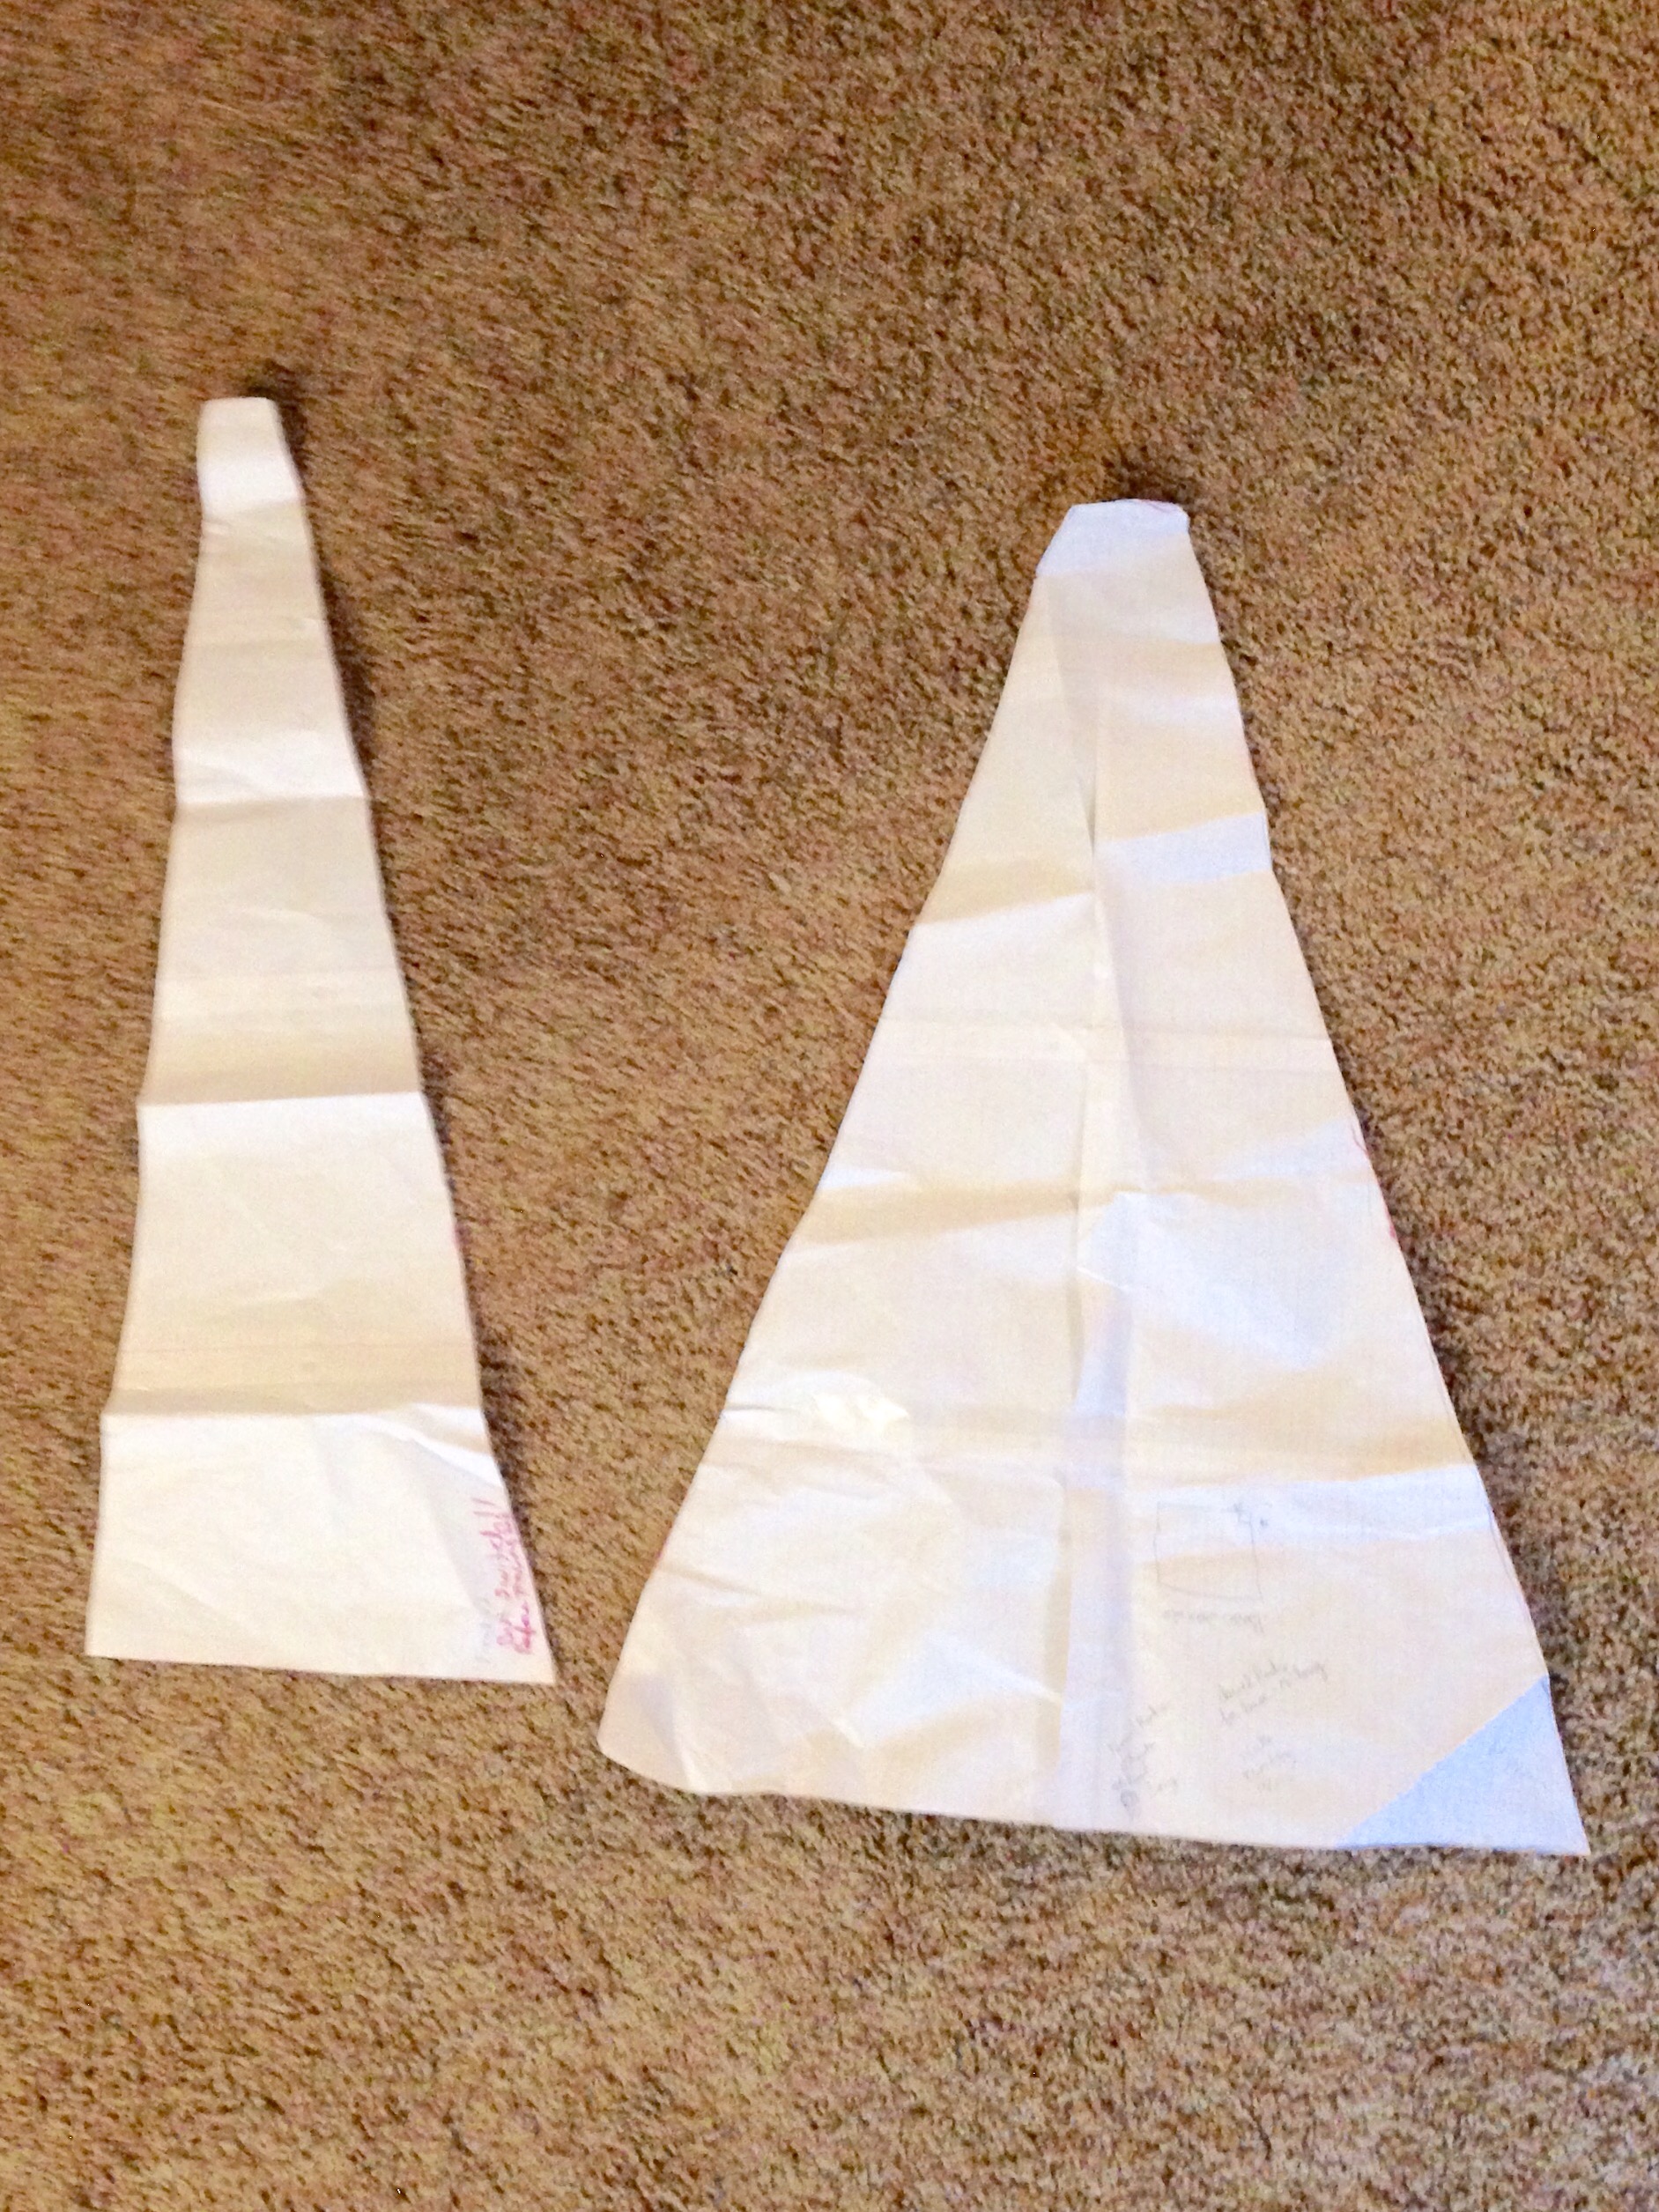
This is the picture of how to cut the three side panels and two shorter front panels out of the yard of fabric. Lay the piece out in a single layer


Here are my crazy homemade patterns for the side and front panels since I made more than one
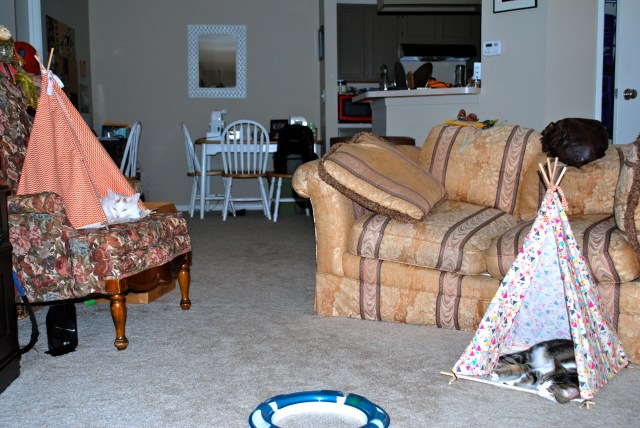
They don’t like to share!
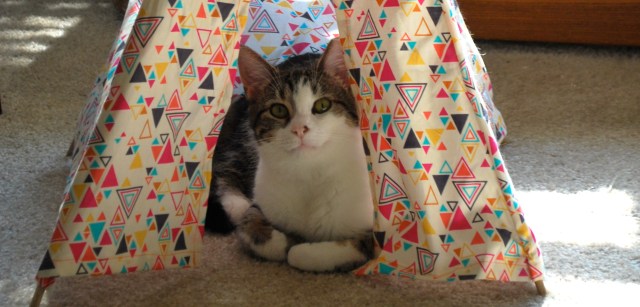
So Happy!!!