Solar Jar Lights

DSC_0084Hello all, Sorry I’ve been a bit MIA, I’ve been busy with work and other things but I have a super easy and cool looking diy on the blog today!  I made these Solar Jar lights as presents for Mother’s Day.  I got the idea on Pinterest from a blog named Dreamalittlebigger.com.

DSC_0110

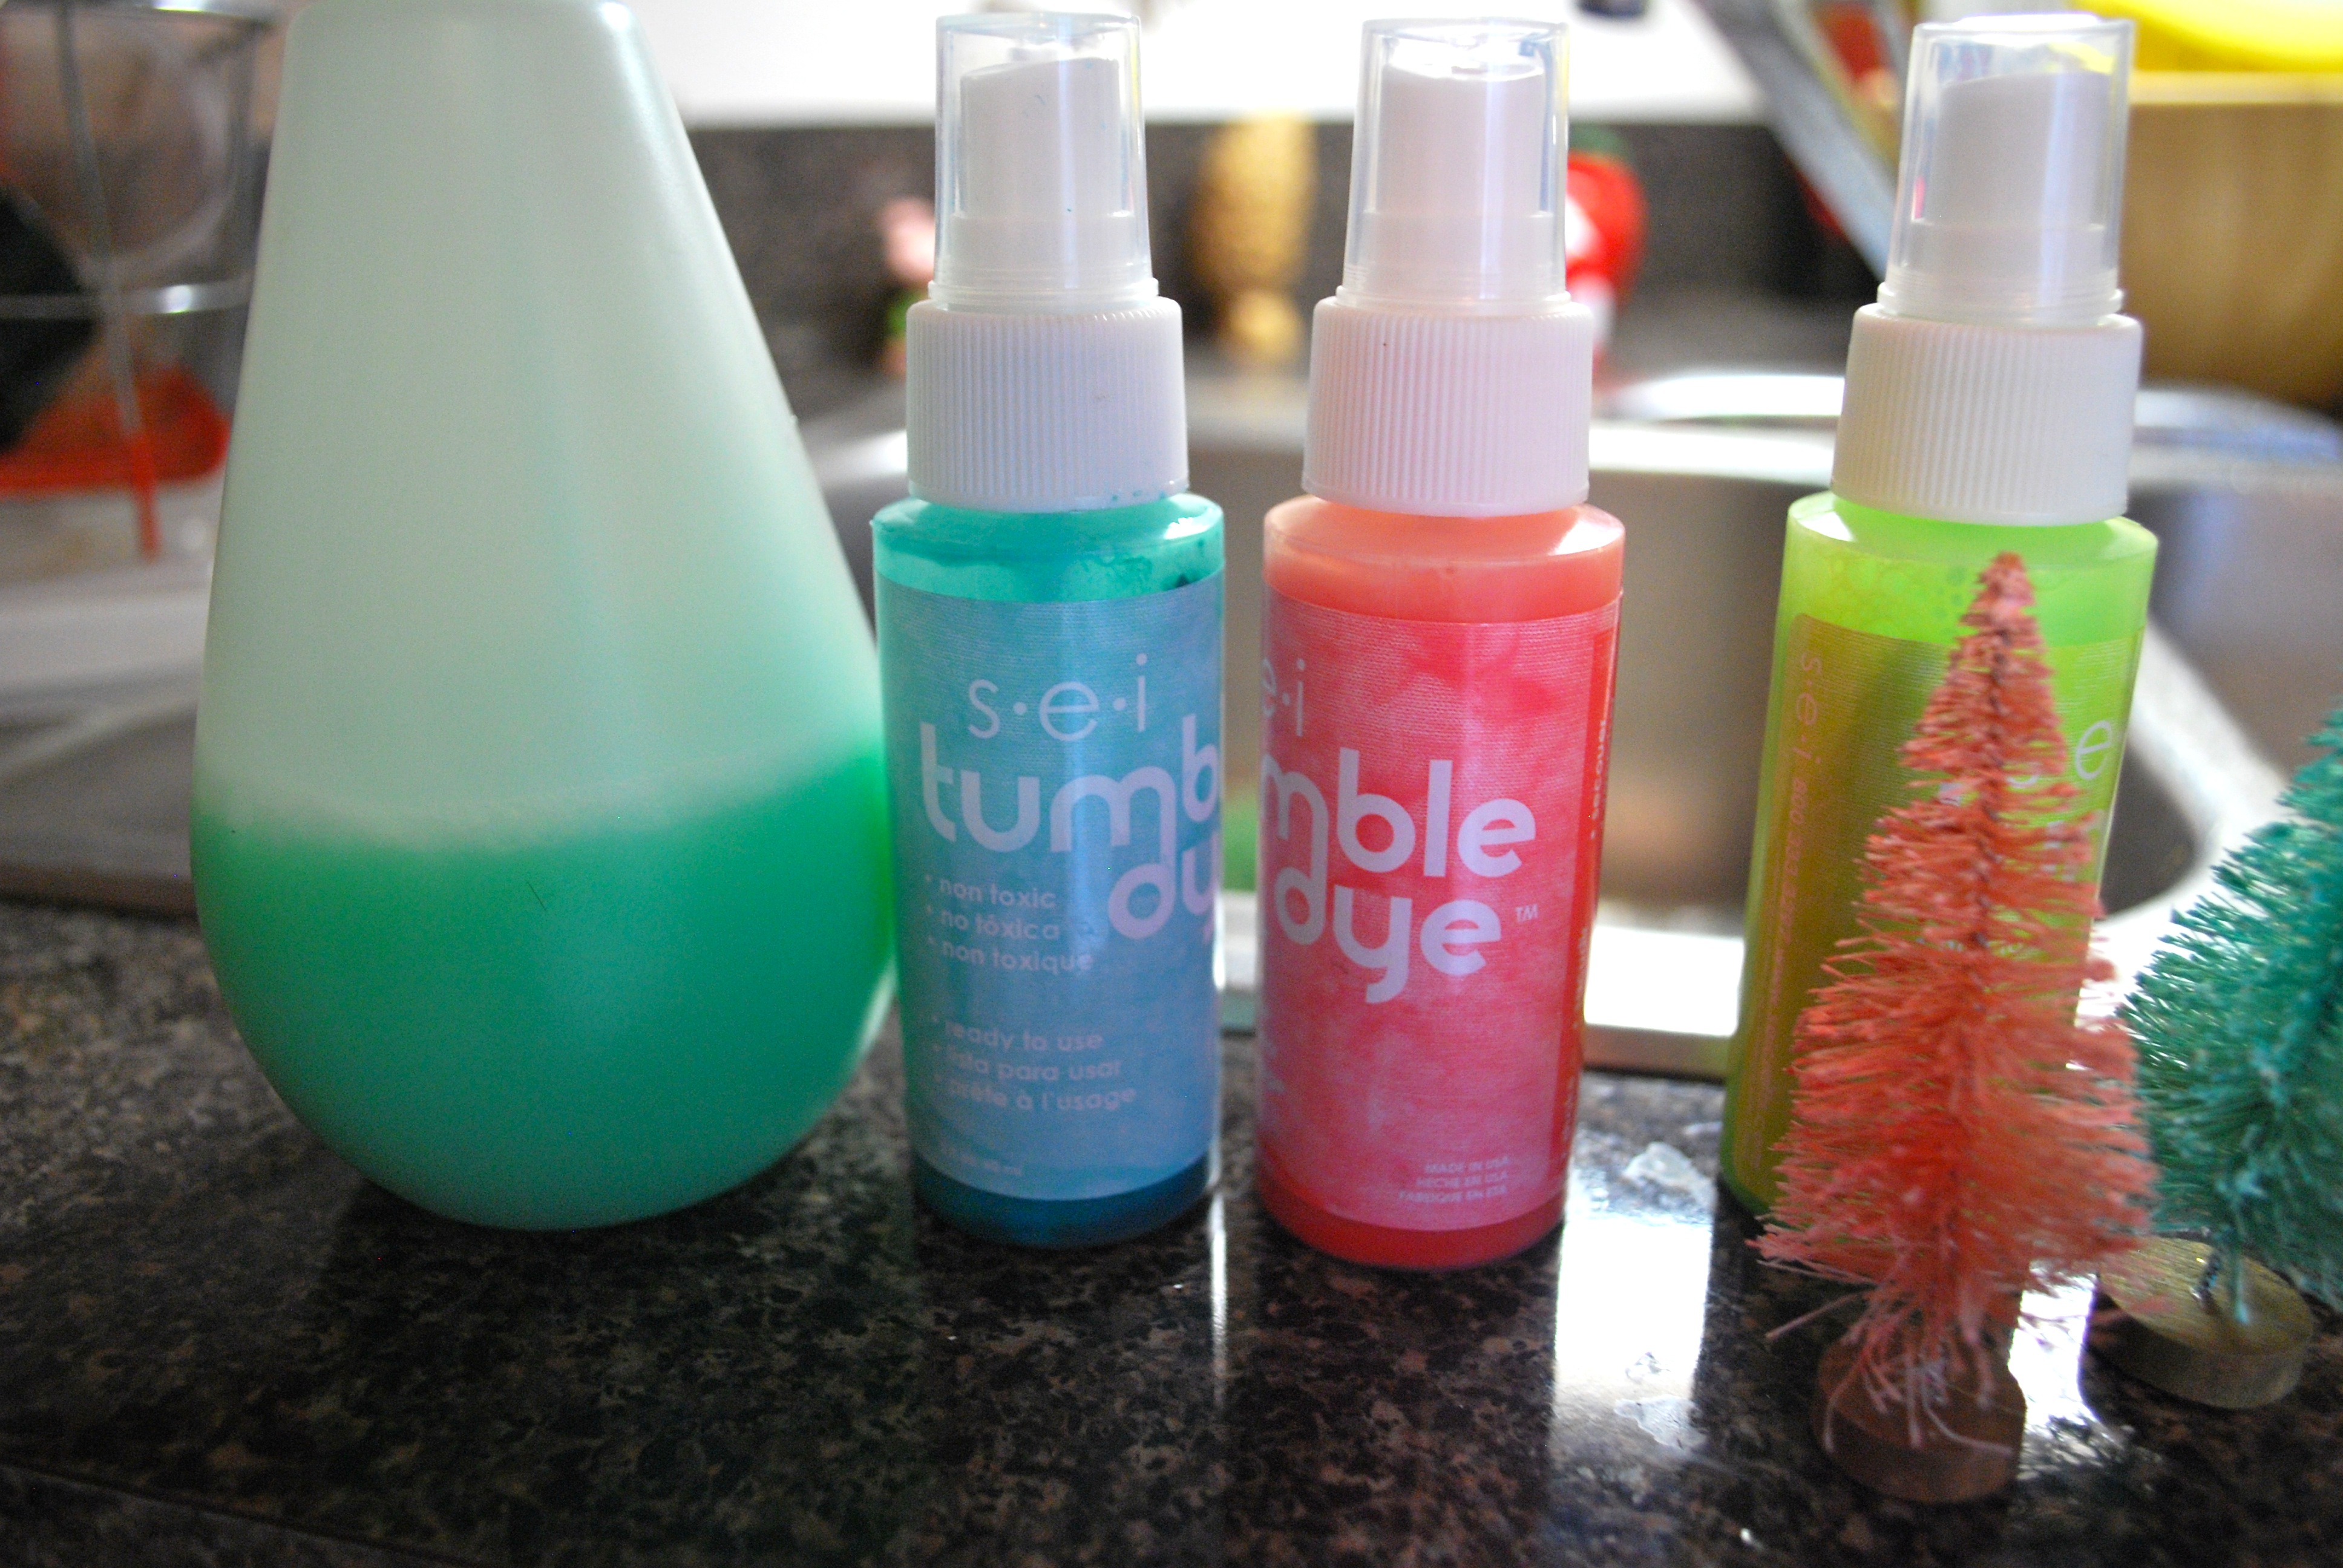
It was a very simple project that was relatively inexpensive and only took bout 30 minutes to make.  I bought the solar lights and glass gems from Dollar Tree and had the green and blue mason jars already.  For my version I used the kind of mason jars with the canning lids that come in two pieces.  The solar lights were easy to remove from the stakes and plastic clear part.  I pushed the round top containing the solar panel and light  up though the rim lid and it fit snugly so I chose to not glue it in. (As pictured below)  If you don’t want to use a solar light you could also use a tea light.

DSC_0058

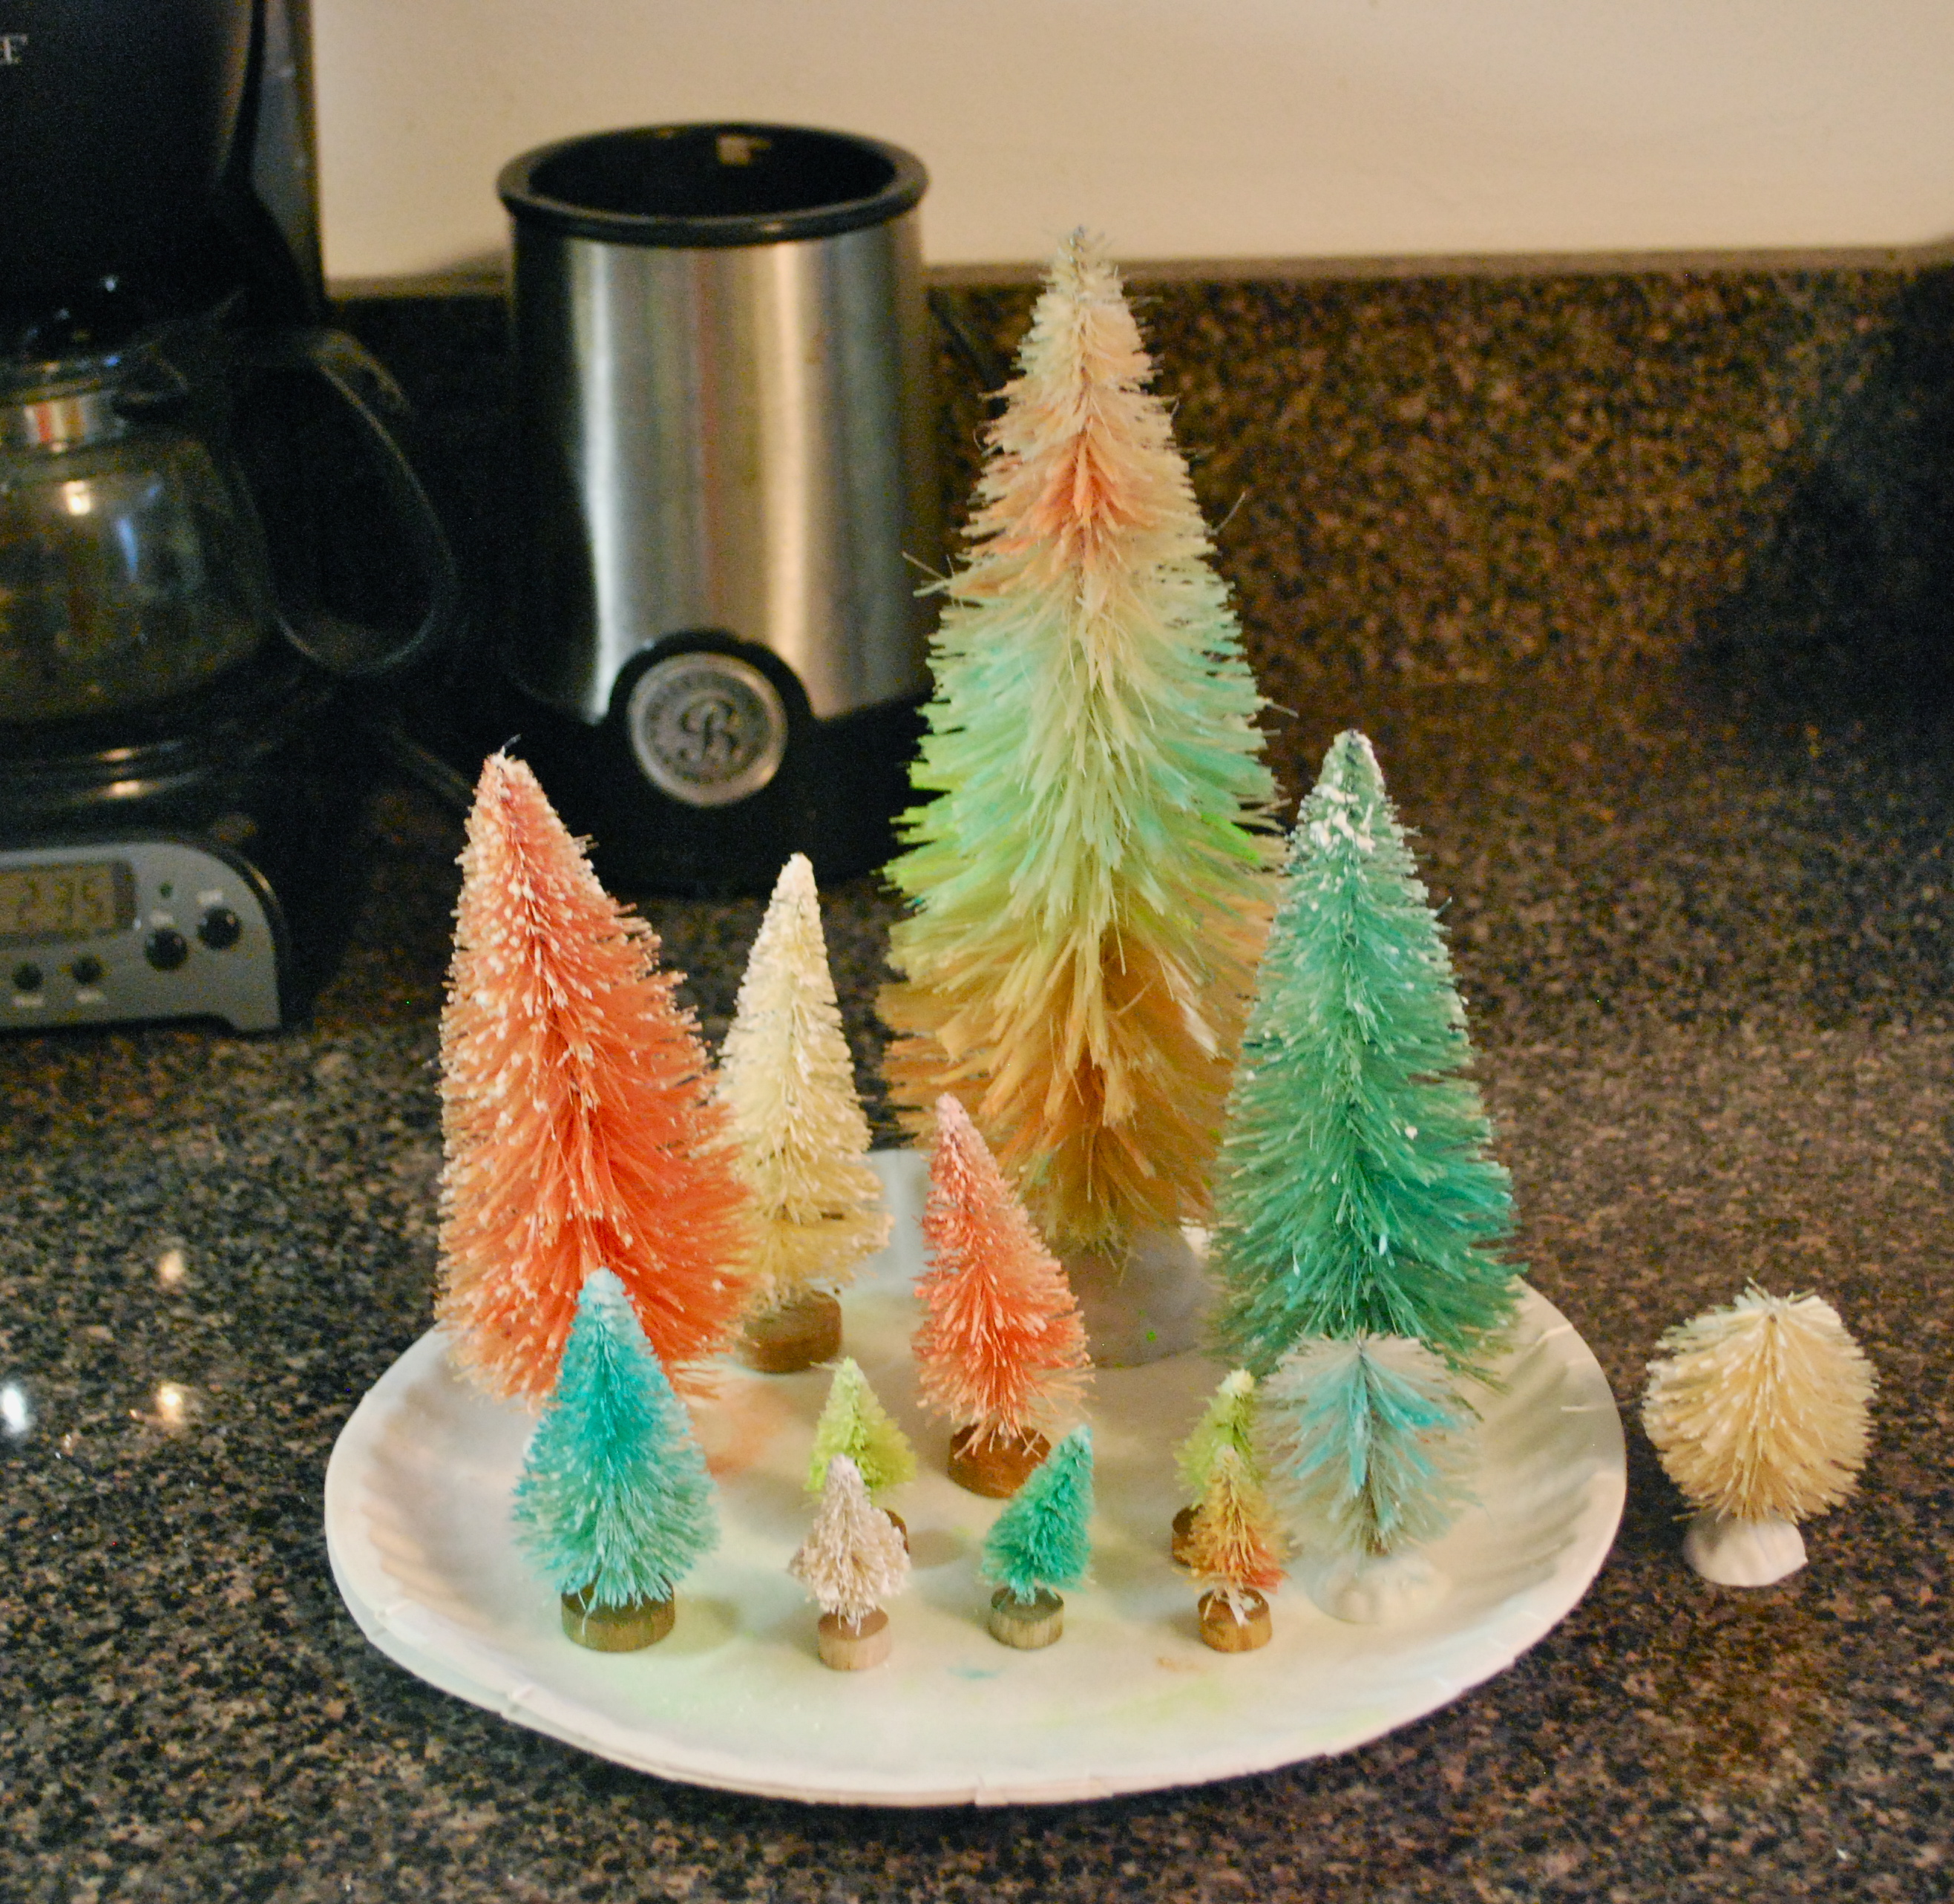
Next I used a hot glue gun to glue the glass gems onto the jars.  I used one bag per jar in case you are wondering how many to get. This went quick and I was able to do it while watching TV. 😉  The next step is to put them outside or around your house somewhere where they can get sun in the day time and enjoy!

IMG_3719

Concrete Easter Eggs 

Hey everyone, it’s Wednesday, woohoo! We’re half way to the weekend and even though we just got about 4″ of snow here on Monday, (not cool Mother Nature) I’m excited for Spring and Easter.  My family never did a whole lot to celebrate Easter other than Easter egg hunts and and getting together to eat too much food, but its always been one of my favorite holidays to decorate for.  I think its because I love rabbits and animals in general along with anything Spring/Summer related.   DSC_0159  I found this diy on Pinterest by Camille Styles for making concrete eggs with real egg shells.  I’ve actually been working on this for a while because I needed to get enough egg shells to fill.  When I would use an egg to cook with I would just break out the bottom with a knife of my finger.  You want to take the bottom out so that you can fill it from there and then when the concrete is dry they can stand up.  Below are the supplies I used; the cup and knife were for the concrete mix and make sure to have paper towels handy. You can usually find concrete mix at any craft or hardware store, it’s pretty fun to work with!  If you’ve never mixed concrete, plaster, or anything similar, I use the mound method which is where you fill the cup up with about 1/3 water and slowly add the mix until there is a little mountain on top that doesn’t sink down immediately into the water.  Stir it up until there are  no clumps or bubbles.  it should be about the consistency of pancake mix.  I have to admit I got some of mine a little too thick and some didn’t quite turn out perfect but I like some imperfections in mine.

I got a little messy and broke one, whoops! ;)

I got a little messy and broke one, whoops! 😉

After your eggs are filled let them dry outside for at least 24 hours.  Use an exact-o knife to help peel the shell of and that’s all!  If you’d like you can paint or stamp you eggs or anything else you can think of.  I might do something with mine but I’m not sure what yet.  If I do change them I’ll give an update.

IMG_3719

DSC_0157

My Easter table

My Easter Table

P.S.  the adorable basket and grass cloth are from my good friends at Glory Days Mercantile, check them out they have tons of cute Easter decor!

Make a Camera Strap Cover

I’ve been wanting to make a cover for the strap of my camera so I don’t look like a tourist with the factory strap.  I had some time since we got all that snow so I sat down and made one, which didn’t take much time at all!  If you make one you’ll have to measure out your strap.  Mine is a Nikon and it was 20 1/2″ long and 1 1/2 ” wide.  I cut the fabric out 22″ long so I could fold it over twice on each side and sew a 1/4″ hem.  I made it 4″ wide so I could fold in in half and sew the seam.  For whatever reason my machine would only sew a zigzag seam so yeah…, oh well if that’s the worst that happened!  After everything is sewn use a safety pin to turn it right side out by pining an end and running it through to the other side.  I also used a safety pin on the end of my camera strap to feed it through the cover.  I made mine fit snug on the ends so that it wont ride up when I’m using it, but you can make yours however you want!

I had some fabric left from my kimono that I liked so I used that and then made another one out of some peppermint fabric that a friend had given me.  I was saving it for the perfect project but I tend to do this with things and then they never get used!  I had originally planed to make a pocket for my lens cap, but my cap is quite a bit wider than the strap so it would have to really stick out.  Maybe I’ll add one later, we’ll see, but again up to you!

IMG_3719

IMG_5211

IMG_5213

IMG_5214

IMG_5215

IMG_5220

IMG_5227

IMG_5255

DIY Kimono

DSC_0159If you are somewhere where theses lots of snow like Chicago I hope you’re staying warm and safe! As seen in the pictures I made this the day before the snow hit and it has me dreaming of warmer weather to wear it out in.

I don’t know about you, but I’ve had my eye on the kimonos I see in stores, not so much for winter but as the perfect breezy coverup for summer.  I am a lizard woman and even in the Summer I’m always cold, especially in air conditioning!  I love kimonos but am not a fan of the prices I see  So I found this handy tutorial by By Hand London which after searching seemed to be about the easiest to follow , but of course made a few changes to mine.  Everyone’s will be different depending on your size or how big you want it but for mine I bought 5 feet of fabric.  Now I wanted to use something with a little stretch or something light and breezy but I couldn’t find any I liked so for my first kimono I just used regular cotton cloth.

Start by folding your fabric in half with the back showing.  I cut mine down a few inches so the sleeves wouldn’t be quite as long but of course it just depends on what you want.  From there I took chalk and marked where to cut the sleeves.  When I was ready I folded the fabric again to cut both sleeves at the same time.

IMG_5157IMG_5162 copySorry about the bad pictures but my craft room is pretty dark and I tend to do most of my stuff at night, which in the Winter starts about noon.  So these are the measurements I used for mine.  After you pin the sides and bottom of sleeves, sew them up and zigzag the ends so they don’t fray.  Roll the ends of the sleeves twice so they are about 1 cm. and sew.

Measure the middle and mark 8 cm on each side for the neck hole.  find the middle at the bottom and mark up to the neck marks at the top.  remember to only cut the top layer for this cut.  Sew just like the sleeves and there ya go!  I added pom pom ribbon to the bottom of mine but this is optional.  Fringe would also look awesome!  FullSizeRenderDSC_0161DSC_0160It’s a little too cold for it now but I have a feeling I’ll be wearing it a lot this Spring and Summer!  I’ll probably be making more. 😉

IMG_3719

My New Cross Stitch Phone Case

DSC_0126

So I’m kinda bad at finishing things I started sometimes, or things I haven’t started in this case!  I bought this phone case from Rue 21 about a year ago because I knew I could do a cool DIY with it, also it was only about $1 on sale.  It came with some patterns but I made up my own and really like the way it came out!  I was able to find some of these cross stitch template cases on Amazon made by Coats and Clark if you are interested.  I was only able to find some for 5 and 4 and no other brand of phone but you might be able to find some if you search.  If you make one send me a picture so I can see!

IMG_3719

Valentine’s Day Garland

DSC_0108

Hola peeps!  I took a bit of a hiatus from blogging, not really on purpose but more because I was too busy to start/work on new projects and before I knew it January was half over!  I am totally scared by the way time works and wish things would slow down just a bit.  Now its that time of year that I just want to bypass to warmer days but I’m trying to enjoy the here and now and find the good, even in this frozen wasteland, because one day I’ll look back and miss these times!

DSC_0107

I’ve never really decorated too much for Valentines day but since I have a craft blog now I figured I’d see what I could come up with, and love the results.  I’m really starting to get in that heart everything spirit now and even though I don’t do frilly decorations (unless they’re vintage of course!) I made some simple nature inspired pieces.  The arrows are inspired by similar ones I found on Pinterest.  I used sticks for mine though and used paint and marker for the feathers.  the heart tips are cardstock.  I also made some of the feathers into earrings for my Etsy shop Peppermint Emporium.  The garland is straight from my noggin and is just sticks, coffee filters dyed with watered down craft paint and twine.  grab your glue gun and there ya go! Ben buys the unbleached coffee filters so I was a little disappointed that they weren’t white, but afterward I decided I liked the brown color better, it lends itself to the natural rustic vibe I was going for.

IMG_3719

DSC_0111

Holiday Gifts

Hello, I hope you had a Merry Christmas and are resting up with family and friends! I know Christmas is over, but I couldn’t post any of the stuff I made as gifts until I gave them out, but you could still make them for yourself or birthdays, or just wait till next year.  So here we have wood burned bamboo spoons, hand stamped cork coasters, and yes, those are the marble clay dishes from A Beautiful Mess! DSC_0056IMG_3719

Clay Pet Paw Ornaments

DSC_0023I made these ornaments of my cats’ paw prints for Christmas, and love how they turned out.  I used crayola model magic because I needed something that was light and easy to press into since cat paws are not very big, plus it air drys so there’s no baking!  For dogs you could also use polymer clay, or salt dough as well.  I might experiment with some more clays to see what I can use also.

DSC_0041

notice the claw marks Hehe!

Have an Merry Christmas and Happy Holidays!

IMG_3719

Bleaching and Dyeing Bottle Brush Trees

DSC_0017I’ve been seeing lots of bottle brush trees all over Pinterest this Christmas season and love all of the different colors.  I love the vintage-looking scenes that can be set up with bottle brush trees and I’ve always preferred to decorate with pastels and bright colors instead of the usual red and green themes.  I had some bottle brush trees left over from the snow globes I made last year and also bough a bag of small bleached trees from Michaels.

I bleached the trees I had that were green with the intention of dyeing them after I was done but was pleasantly surprised when the trees I had from last year turned light pink before bleaching completely and the one green tree I had bought this year turned a light mint bluish-green.  Since this was the colors I wanted to dye them I left them this color and then fully bleached a few.

DSC_0010I used my hurricane glass vase to bleach because I wanted something that was tall and narrow to stick the trees is, normally I wouldn’t use my good glass but ya know, use what you have!  I used 1/3 bleach to 2/3 water in the glass and used tongs to dip them in.  It really didn’t take long for them to start bleaching and I swished them around in the bleach water to help with the tongs, just wear rubber gloves and be careful.  After I bleached the trees I soaked them in soapy water to get the bleach off.

DSC_0012DSC_0015DSC_0013Most of the tutorials I read said to use Rit dye to dye, or food coloring or cool-aid would also probably work, but I used this spray on dye by SEI Tumble Dye that I already had.  I love this because it is already made and you can just spray it on, it’s perfect for small dye jobs and comes it tons of colors.  You can find it at craft stores or online at www.shopsei.com. 

DSC_0021

DSC_0026I also touched up the happy accident trees a bit with the spray dye and mixed a bit with water in a spray bottle to get different shades.  On the biggest tree I sprayed a couple different colors for an airbrushed ombre effect.  That was another reason I used the spray, for the ombre effect, but if you’re going for one solid color, I’d recommend the dip dye method.

I love how they turned out, and I also sprayed a bottle brush wreath I found at Joanne Fabric! Show me yours on Instagram with the hashtag #peppermintsandhoneybees.

I also dyed this bottle brush wreath I found!

Happy Holidays!

IMG_3719

DIY Snow Globes

DSC_0075

Hello, I’ve been busy trying to get all of my Christmas shopping done and make the presents that I am hand-making.  This was actually something I made last Christmas as presents for everyone and silly me I didn’t take any pictures of all of them before I gifted them, probably because I didn’t have a blog yet, but I do have one left.  I kept this little guy for myself to put out.

I had looked at quite a few different blogs to see how they made theirs and after reading about how the ones containing water and glycerin had made the green of the bottle brush trees bleed after a year, I decided to go without liquid.  I was worried it wouldn’t look as cool but I was pretty happy with how they turned out, as I was going for more of a terrarium scene than actual snow globe I guess.  Plus I didn’t have to buy glycerine!

I used:

  • Old glass jars with lids
  • Bottle brush trees
  • Tiny winter animals, cars, people, houses, ect.
  • fake snow (mine is from Michaels where the miniature Christmas village houses and stuff is)
  • glass beads to glue on tree for ornaments (optional)
  • I used bakers string for the jar, you could also use ribbon or nothing at all
  • Spray-paint (again optional)  I spray-painted all of my jar lids silver because they were from food jars
  • Glue, I used my trusty E-6000 but hot glue would also work

I glued the tree and animal to the inside of the lid and put the desired amount of snow in the jar.  I then screwed the lid on after everything was dry and voila,  It’s that easy! I’d love to see what yours look like so put them on Instagram and hashtag them #peppermintsandhoneybees.

IMG_3719

DSC_0076DSC_0078